
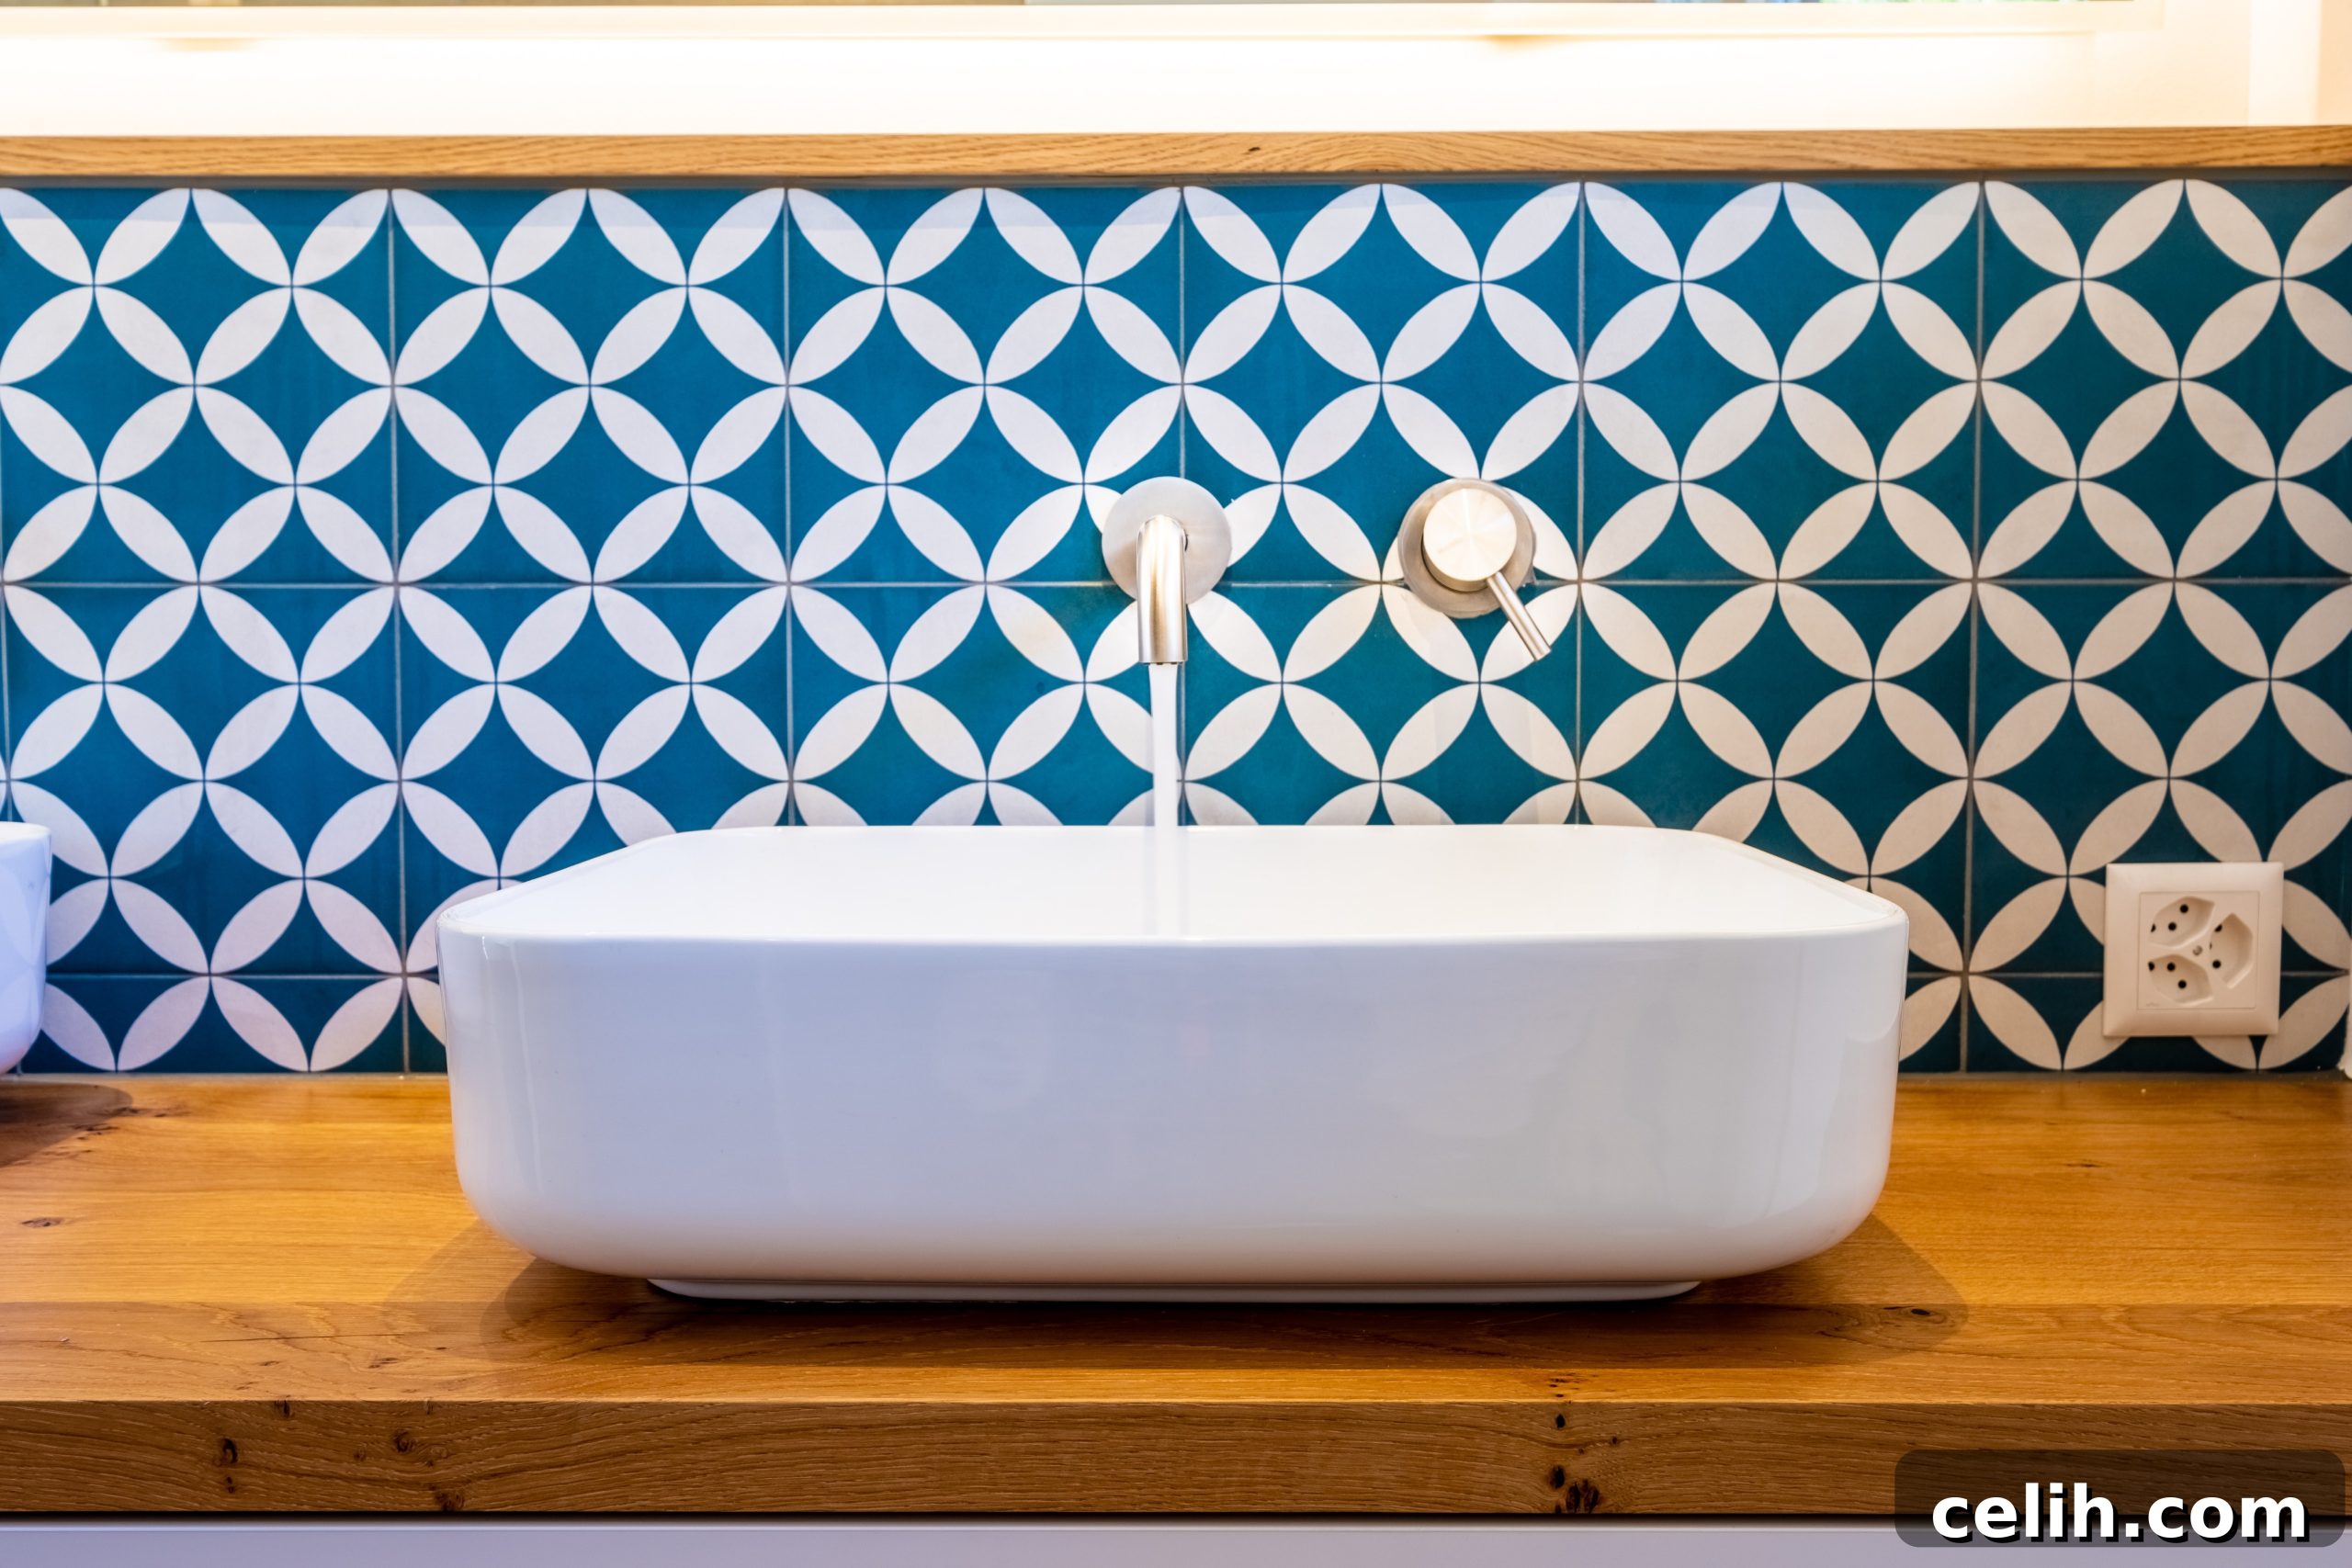
Embarking on the journey of shopping for the perfect tiles for your home can feel overwhelming, a delightful dilemma caused by the sheer abundance of options available today. The market is brimming with an incredible variety of tiles, differing in shape, design, material, and price point. From locally sourced Australian tiles to exquisite, high-quality designs once exclusively found in opulent European estates, the choices are boundless. This vast selection often leaves homeowners wondering: how can one discern truly exceptional tiles from the merely average? How do you ensure your investment enhances your home’s beauty and functionality for years to come?
Navigating the world of tiles requires careful consideration and a strategic approach. It’s not just about aesthetics; it’s about durability, maintenance, suitability for the space, and ultimately, ensuring your vision comes to life without unexpected hurdles. To help you make informed decisions and transform your living spaces with confidence, we’ve compiled five essential tips. These insights will guide you through the tile selection process, from initial inspiration to the final flawless installation, ensuring your tile project is a resounding success.
1. Do Your Research: The Foundation of Flawless Tiling
While those glamorous Pinterest boards and Instagram feeds offer endless inspiration, it’s crucial to look beyond the surface. What looks stunning online might be deceptively expensive, high-maintenance, or impractical for your specific needs. Thorough research is the bedrock of a successful tile project. Begin by understanding the different types of tiles available and their unique characteristics.
Exploring Tile Materials:
- Ceramic Tiles: A popular and versatile choice, ceramic tiles are made from clay, minerals, and water, then fired at high temperatures. They are durable, easy to clean, and available in an extensive range of colors, patterns, and sizes. Ideal for light to medium-traffic areas like bathrooms, kitchens, and living rooms, glazed ceramic tiles offer excellent stain and water resistance.
- Porcelain Tiles: Known for their exceptional durability and low water absorption, porcelain tiles are a type of ceramic tile made from denser clay and fired at higher temperatures. This makes them incredibly strong, resistant to stains, scratches, and frost, making them suitable for both indoor and outdoor applications, including high-traffic areas, bathrooms, and even commercial spaces.
- Natural Stone Tiles: Marble, granite, travertine, slate, and limestone offer unparalleled natural beauty and a luxurious feel. However, natural stone is porous and typically requires proper sealing to prevent stains and moisture absorption, especially in wet areas. While stunning, they often demand more maintenance and can be more challenging (and expensive) to cut and install, particularly in intricate spaces.
- Mosaic Tiles: Comprising small pieces of material (glass, ceramic, stone) arranged in patterns, mosaic tiles are perfect for adding decorative accents, backsplashes, shower floors, or creating intricate designs. They offer immense creative flexibility but can be more time-consuming to install due to the numerous grout lines.
- Glass Tiles: Offering a sleek, modern aesthetic, glass tiles are non-porous and highly resistant to stains and mildew, making them an excellent choice for backsplashes and shower walls. They reflect light beautifully, adding depth and brightness to a space.
- Vinyl Tiles/Planks: For those seeking a low-maintenance, budget-friendly, and easy-to-install option, modern vinyl tiles and luxury vinyl planks (LVP) have come a long way. Brands like Sticky Tiles offer innovative peel-and-stick solutions that mimic the look of natural materials without the hefty price tag or complex installation, making them ideal for DIY enthusiasts and temporary renovations.
Once you’ve narrowed down material types, consider your lifestyle. Do you need a low-maintenance, easy-to-clean option for a busy family home, or are you willing to invest time in caring for a more delicate material? Research specific tile trends that align with your aesthetic, but always prioritize practicality for the intended space. Understanding these factors upfront will prevent costly mistakes and ensure your chosen tiles serve you well for years.
2. Prep Your Space: Laying the Groundwork for Success
Proper preparation of your tiling surface is just as crucial as selecting the right tiles. A beautifully chosen tile will only look as good as the surface it’s laid upon. Before making any final purchase, meticulously inspect your space. Identify and address any cracks, damage, unevenness, or moisture issues. For floors, ensure the subfloor is stable, clean, dry, and perfectly level. Any imperfections here will inevitably transfer through to the tiled surface, leading to an unsightly finish and potential long-term problems like cracking or loose tiles.
Beyond structural integrity, visualize your design. A highly effective technique is to print out images of your desired tile style or patterns to scale and temporarily pin them onto the walls or lay them on the floor. This allows you to get a real sense of how the pattern, color, and size will look in your specific lighting conditions and within the context of your existing decor. You can experiment with various layouts, patterns (e.g., brick, herringbone, straight lay), and grout colors this way, narrowing down your choices before committing. Similarly, obtaining physical tile samples and placing them in your home for a few days, observing them at different times of day and night, will provide invaluable insight into their true appearance. While you’re in this preparatory phase, remove any old fittings, baseboards, or fixtures that might obstruct the tiling process, ensuring a clean slate for your new installation.
3. Buy Spares: The Smart Way to Protect Your Investment
It’s a common oversight, but purchasing a sufficient number of spare tiles is a critical step that can save you significant hassle and expense down the line. Even the most careful installation can result in a few broken tiles, and accidents happen post-installation – a dropped object, a pipe leak requiring access, or general wear and tear might necessitate a future repair. Having matching spares means you can easily replace damaged tiles without the frantic search for a specific batch.
Tile dye lots can vary significantly between manufacturing runs, meaning that tiles from different batches, even of the same style and color, might have subtle differences. If you need to replace a tile months or years down the line and don’t have spares from your original purchase, you might find it impossible to perfectly match the existing tiles, resulting in a noticeable disparity. As a general rule, aim to purchase at least 10-15% more tiles than your initial calculation. If you’re tackling a complex pattern or a particularly tricky installation, consider adding a little more.
When it comes to purchasing, timing can be everything. Keep an eye out for sales periods at major retailers, but also explore tile wholesalers who often offer discounted prices, especially for bulk purchases. Don’t shy away from negotiating – many retailers are willing to discuss pricing year-round, particularly for larger orders. Furthermore, if you’re working with a tradesperson, inquire if they have access to trade discounts. Capitalizing on these opportunities not only saves money upfront but also contributes to long-term savings by ensuring you have the right materials for any future contingencies, reducing the likelihood of needing a full re-tiling project due to unmatched repairs.
4. Check the Quality of Tiles: Don’t Compromise on Durability
Before any tile goes onto your wall or floor, a thorough quality check is non-negotiable. This is especially important during the planning stage when you have samples, but also upon delivery of your full order. High-quality tiles are characterized by their consistency, durability, and adherence to precise manufacturing standards. Start by placing individual tiles on a perfectly flat surface, such as a countertop or a true-level floor. Observe them closely: there should be no noticeable curvature, warping, or bowing, particularly for AAA-grade tiles. Any significant variations can lead to uneven surfaces, lippage (where one tile edge is higher than the adjacent one), and make installation exceedingly difficult, even for experienced tilers.
Next, perform a simple “tap test.” For porcelain tiles, a clear, resonant sound when gently tapped indicates a dense, well-fired product. A dull or hollow sound might suggest internal defects or inconsistencies. Carefully measure the angles of rectangular and square tiles to confirm they are precisely 90 degrees. For shaped tiles like hexagons, picket, or fish scale, verify their symmetry and consistent dimensions. Inconsistent angles or sizes will create unsightly grout lines and an unprofessional finish.
Finally, meticulously inspect each tile in your inventory for any visible defects. Look for chips, cracks, glaze imperfections, inconsistent coloration, or irregular edges. Even a small chip can compromise the tile’s integrity and aesthetic appeal. It’s far easier to exchange defective tiles with your supplier *before* they are installed. Once they are laid, returns become complicated, if not impossible, and you’ll be stuck with a flawed finish. Prioritizing this quality check will ensure your renovation maintains its beauty and integrity for years.
5. Do Not Skimp on Tile Installation: The Art of a Flawless Finish
You’ve invested time and money in selecting the perfect tiles, but their ultimate look and longevity hinge on the quality of their installation. Even the most luxurious and durable tiles can appear mediocre, or worse, fail prematurely if not installed correctly. Conversely, mid-range or more affordable tiles can look stunning and perform admirably with professional installation. The skill and experience of the tiler are paramount to bringing your dream project to life, ensuring not just aesthetic appeal but also compliance with building codes and standards.
Professional Installation:
A well-recommended and experienced tiler possesses the expertise to handle various tile types, complex layouts, and challenging spaces. They understand proper substrate preparation, adhesive selection, leveling techniques, and grout application – all critical factors that contribute to a durable and beautiful finish. A professional will also ensure appropriate waterproofing in areas like bathrooms, preventing costly future damage. When seeking a tiler, ask for recommendations, review their portfolio, and obtain multiple detailed quotes. Verify their insurance and inquire about warranties on their work.
DIY Tiling:
If you’re determined to tackle tiling as a DIY project, thorough preparation and practice are essential. Tiling is more than just sticking tiles to a surface; it requires precision, patience, and the right tools. Invest in quality tile cutters, levels, trowels, spacers, and safety gear. Watch tutorials, read guides, and consider practicing on a small, less visible area first. The most common pitfalls for DIYers include uneven surfaces, inconsistent grout lines, and incorrect cuts. Always double-check, triple-check, and even quadruple-check your measurements, angles, and layout before applying adhesive. Ensure your angles are perfectly square and your lines are plumb and level. Remember, mistakes in tiling are often difficult and expensive to rectify once the adhesive sets.
Whether you’re tiling a bathroom, kitchen, living area, or outdoor space, quality products and professional installation are an unbeatable combination. If your heart is set on particular tile trends, always find tile collections that offer the best balance of durability, style, and suitability for your specific environment. From there, it’s a matter of grabbing a tile sample or two to trial at home, ensuring they truly deliver the desired effect in your unique space. Once your chosen tiles are expertly laid and properly set, take the time to give them a thorough clean and polish. Then, step back and admire the incredible transformation your thoughtful tile renovations have brought to your home – a testament to careful planning and execution.