
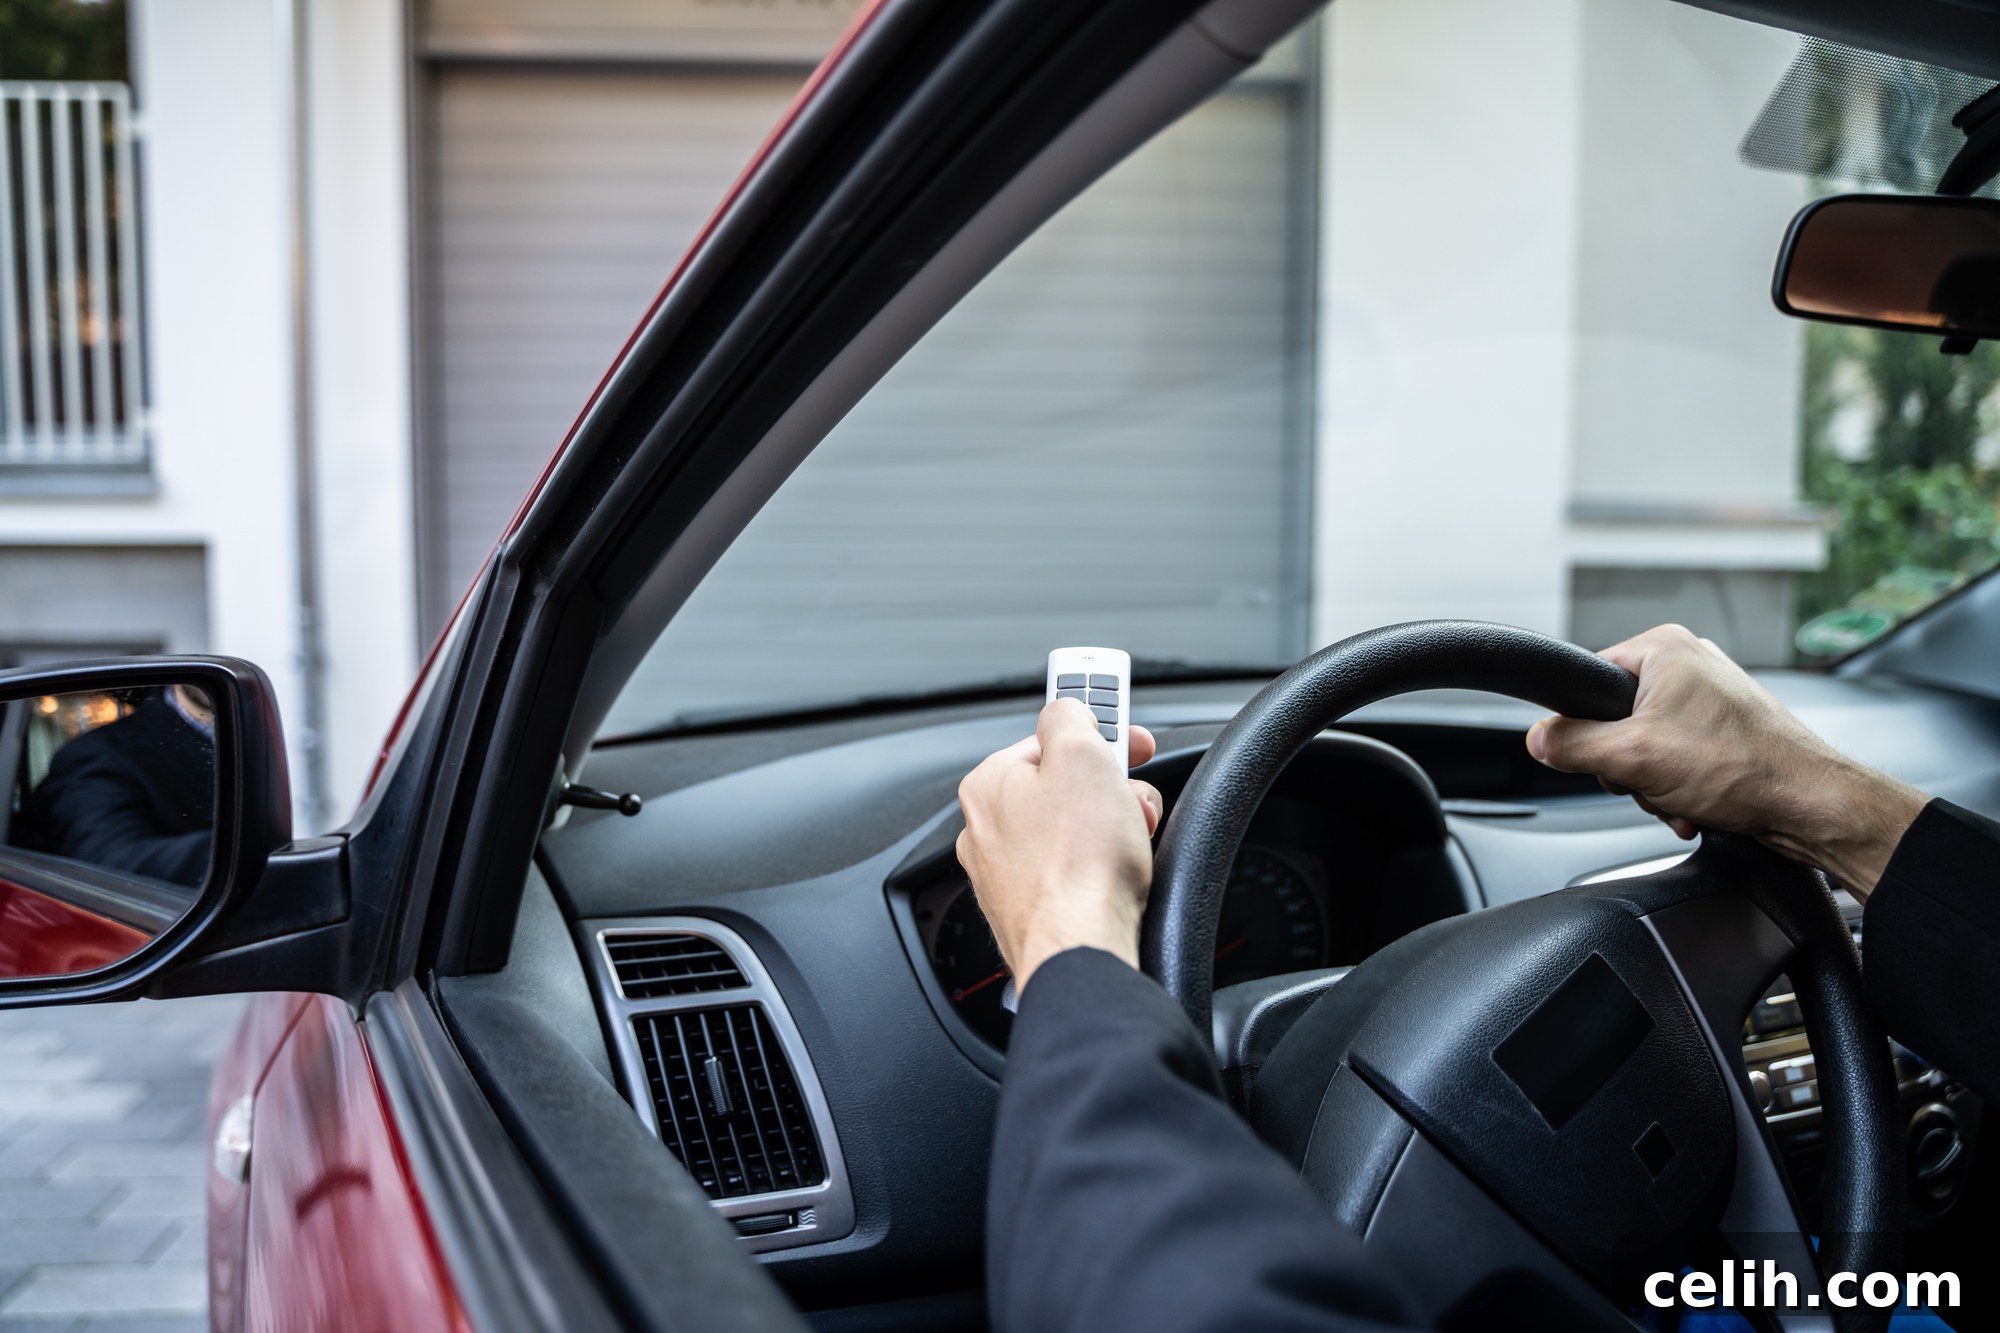
Upgrade Your Home: The Ultimate Guide to Installing a Wireless Smart Garage Door Opener
Imagine the seamless integration of technology into your daily life – a home that anticipates your needs, responding with intelligent efficiency. Among the most impactful upgrades for modern living is the installation of a wireless smart garage door opener. No more fumbling for a bulky remote or wrestling with a heavy manual door after a long day. With a simple tap on your smartphone or a voice command, your garage door glides open, welcoming you home. This isn’t just about convenience; it’s about enhancing security, boosting accessibility, and effortlessly integrating your garage into the larger ecosystem of your smart home. Embarking on this upgrade as a do-it-yourself project is incredibly rewarding, transforming a mundane daily interaction into a seamless experience. This comprehensive guide will walk you through every step, ensuring a successful and satisfying installation.
Unlocking the Potential: Why a Wireless Smart Garage Door Opener is a Must-Have
Modern wireless and smart garage door openers offer a multitude of advantages over their traditional, often cumbersome predecessors. These advanced systems are designed to provide unparalleled convenience, robust security, and seamless integration with contemporary smart home platforms. Let’s delve deeper into the transformative benefits:
Unrivaled Convenience and Accessibility
- Remote Control from Anywhere: The most significant benefit is the ability to control your garage door from virtually anywhere in the world via a smartphone app. Whether you’re at work, on vacation, or simply in another room, you can open or close your garage with a tap. This is invaluable for letting in guests, delivery services, or family members when you’re not home, eliminating the need to share physical keys or codes.
- Never Forget to Close Your Door: Ever driven away, only to wonder if you remembered to close the garage door? Smart openers provide real-time status updates directly to your phone, allowing you to check and close the door remotely, granting peace of mind.
- Scheduled Operations: Program your garage door to close automatically at a specific time each night or open for a short period to air out the garage, enhancing both security and ventilation.
- Hands-Free Access: Many smart openers support geo-fencing, automatically opening the garage door as your vehicle approaches your driveway, offering a truly hands-free entry experience.
Enhanced Security and Peace of Mind
- Real-Time Alerts: Receive instant notifications on your smartphone whenever your garage door opens, closes, or if it remains open for an extended period. This provides an immediate heads-up to potential security breaches or unusual activity.
- Activity Logs: Most smart openers maintain a detailed history of when and how the garage door was accessed, allowing you to monitor usage and identify any unauthorized entries.
- Rolling Code Technology: Modern openers utilize rolling code technology, which changes the access code every time the remote is used. This prevents code interception and duplication, making it significantly harder for criminals to gain unauthorized access.
- Vacation Mode: Some advanced systems offer a “vacation mode” that disables all remote controls and only allows access via the smartphone app, adding an extra layer of security when you’re away.
- Integration with Home Security Systems: Wireless garage door openers often seamlessly integrate with broader home security systems, creating a unified and impenetrable defense for your property.
Seamless Smart Home Integration
- Voice Control: Connect your wireless opener to popular smart home hubs like Amazon Alexa or Google Home. This allows for convenient voice commands such as, “Alexa, open the garage door,” or “Hey Google, is the garage door closed?”
- Custom Automation Routines: Create personalized routines and scenarios. For example, you can set a routine where your garage door closes, lights turn off, and the thermostat adjusts when you leave home, all triggered by a single command or schedule.
- Interoperability: Enjoy greater control by linking your garage door opener with other smart devices, such as smart lights or security cameras, to create a fully automated and responsive home environment.
By upgrading to a wireless smart garage door opener, you’re not just replacing an old mechanism; you’re investing in a more convenient, secure, and intelligent way of living.
Essential Preparations for a Smooth Installation
Before you dive into the installation process, thorough preparation is key to ensuring a successful and safe DIY project. This phase involves selecting the right opener, gathering your tools, and most importantly, prioritizing safety.
Choosing the Right Wireless Garage Door Opener
The market offers a wide array of wireless garage door openers, each with unique features and specifications. Consider the following factors to select one that perfectly matches your needs:
- Drive Type:
- Chain Drive: The most common and robust type, excellent for heavy doors, but can be noisy.
- Belt Drive: Quieter than chain drives, ideal for homes with living spaces above the garage. Often more expensive.
- Screw Drive: Fewer moving parts, making them durable and low-maintenance, but can be sensitive to temperature fluctuations and moderately noisy.
- Direct Drive: Mounted directly on the torsion bar, these are the quietest and often the most compact, but typically pricier.
- Horsepower (HP): Match the opener’s horsepower to the size and weight of your garage door. A standard single door often requires 1/2 HP, while larger or heavier double doors might need 3/4 HP or 1 HP.
- Smart Features: Look for built-in Wi-Fi, smartphone app compatibility, real-time alerts, geo-fencing, and integration with popular smart home platforms (Alexa, Google Home).
- Safety Features: Ensure it includes essential safety features like photo-eye sensors (required by law), automatic reverse function, and a manual release mechanism.
- Noise Level: If your garage is attached to living areas, a belt-drive or direct-drive opener will be significantly quieter.
- Brand Reputation and Warranty: Opt for reputable brands known for reliability and good customer support. Check the warranty terms for the motor and parts.
- Compatibility: Confirm the opener is compatible with your existing garage door type and structure.
Once you’ve made your selection, carefully review the manufacturer’s instruction manual. This document is your most valuable resource, detailing specific components, installation steps, and safety warnings unique to your chosen model. Familiarize yourself with every page before proceeding.
Gathering Essential Tools and Materials
Having all necessary tools readily accessible will streamline the installation process. Here’s a list of common tools you’ll need:
- Power Drill: For drilling pilot holes and fastening screws.
- Wrenches (open-end and adjustable): For tightening nuts and bolts.
- Screwdrivers (Phillips and flathead): For various fasteners.
- Measuring Tape: For accurate placement and alignment.
- Level: Crucial for ensuring the opener rail is perfectly horizontal.
- Pliers (needle-nose and standard): For wiring and small adjustments.
- Wire Strippers/Cutters: For preparing electrical connections.
- Stepladder or Extension Ladder: For safe access to ceiling-mounted components.
- Marker or Pencil: For marking drilling locations.
- Socket Set: For specific bolt sizes.
- Utility Knife: For cutting packaging or minor adjustments.
- Safety Glasses and Gloves: Non-negotiable for personal protection.
Additionally, have any included hardware, mounting brackets, and wires from your new opener kit laid out and organized.
Prioritizing Safety Above All Else
Working with garage doors involves significant risks due to their weight and the high-tension springs that assist their movement. While this DIY project focuses on the opener, not the springs, it’s paramount to be aware of all potential hazards:
- Disconnect Power: ALWAYS unplug the old garage door opener and turn off the circuit breaker that supplies power to the garage before you begin any work. This prevents accidental activation or electrical shock.
- Beware of Springs: Garage door springs are under extreme tension and can cause severe injury if mishandled. If you suspect your springs need adjustment or replacement, hire a professional. This DIY guide specifically focuses on the opener mechanism and generally does not involve directly interacting with the torsion or extension springs.
- Heavy Components: Garage doors and opener motor units are heavy. Enlist the help of a friend or family member for lifting and positioning heavy components, especially the motor head and rail assembly.
- Read the Manual: Reiterate the importance of following your specific opener’s manual, as instructions can vary by manufacturer and model.
- Wear Safety Gear: Always wear safety glasses to protect your eyes from debris and gloves to protect your hands from scrapes and pinches.
By diligently preparing and observing these safety guidelines, you set the stage for an efficient and secure installation process.
Step-by-Step Installation Guide: Bringing Your Smart Garage to Life
With all preparations complete, you’re ready to begin the hands-on installation. Follow these steps carefully, always referring back to your specific opener’s manual for detailed diagrams and instructions.
1. Removing the Old Garage Door Opener
Start by safely dismantling your existing opener. First, ensure the power is OFF at the outlet and circuit breaker. Disconnect the old opener’s power cord. Then, detach the opener arm from the garage door. Carefully unbolt or unscrew the motor unit from its ceiling mounts and gently lower it. Finally, remove the rail assembly and any header brackets or other hardware that supported the old system. Keep any hardware you might reuse (though often new hardware is provided and recommended).
2. Assembling the New Opener’s Rail and Motor
Unbox your new wireless garage door opener and lay out all components. Begin by assembling the multi-section rail. These sections typically slide and bolt together. Once the rail is assembled, attach it to the motor unit, ensuring all fasteners are tight and secure. Install the trolley onto the rail; this is the component that travels along the rail and pulls the door. Finally, attach the traveling belt or chain to the trolley and route it according to the manufacturer’s instructions. This part can be fiddly, so patience and precision are important.
3. Installing Mounting Hardware: Header and Ceiling Brackets
This step ensures your new opener is securely supported.
- Header Bracket: Locate the center of your garage door above the highest point it reaches when fully open. Mount the header bracket securely to the wall or header board, ensuring it is perfectly centered and level. This bracket will support the front end of the rail.
- Connecting the Rail: Lift the rail assembly and attach its front end to the header bracket.
- Ceiling Support: With assistance, lift the motor unit end of the rail to the ceiling. Ensure the entire rail is level and properly aligned with the center of the garage door. Use the provided metal straps or angle iron to firmly secure the motor unit to the ceiling joists. For drywall ceilings, you may need to locate wooden joists or use heavy-duty anchors for stability. Double-check all connections to ensure the rail is rigid and stable.
4. Connecting the Opener to the Garage Door
Now, you will link the opener’s movement to the garage door itself.
- Attach the Opener Arm: Connect the curved opener arm (often provided in two sections: a straight arm and a curved arm) to the trolley on the rail.
- Attach to Garage Door: Securely attach the other end of the opener arm to the top panel of your garage door. Most doors have a reinforcing plate or specific attachment point. Use robust bolts and fasteners, ensuring they are snug but not overtightened, as this could damage the door panel.
- Manual Test: Before any electrical connections, manually release the trolley (usually with a red cord) and test the door’s balance and smooth motion by hand. It should move freely without excessive resistance.
5. Wiring and Setting Up Controls and Safety Sensors
This is where your opener gets its power and intelligence.
- Power Connection: Plug the opener’s power cord into a grounded electrical outlet. Ideally, this should be a dedicated outlet near the opener.
- Wall Control Panel: Install the wall-mounted control panel inside your garage at an accessible height (at least 5 feet from the floor to keep it out of reach of small children). Run the low-voltage wires from the control panel to the motor unit, neatly securing them with staples or clips to keep them out of the way.
- Safety Sensors: This is a critical safety component. Install the two photo-eye safety sensors on either side of the garage door, typically 4-6 inches from the floor. They must be perfectly aligned with each other so that their infrared beams can communicate. If the beam is broken while the door is closing, it will automatically reverse, preventing injury or damage. Carefully run the sensor wires back to the motor unit and connect them as per the manual.
6. Programming and Thorough Testing
Your installation is almost complete – now it’s time to bring it to life and ensure it operates safely and correctly.
- Restore Power: Turn the circuit breaker back on and plug in the garage door opener.
- Set Travel Limits: Use the programming buttons on the motor unit or wall control to set the door’s upper and lower travel limits. This tells the opener how far to open and close.
- Adjust Force Settings: Set the opening and closing force limits. These settings determine how much resistance the door can encounter before it stops or reverses. Do not set the force too high, as this compromises safety.
- Program Remotes and App: Program your handheld remote controls and connect your smartphone app to the opener following the instructions.
- Crucial Safety Reversal Test: This step is non-negotiable. Place a 2×4 piece of wood flat on the floor in the path of the closing door. Activate the door to close. When the door contacts the wood, it MUST automatically reverse and open. If it does not, immediately re-adjust the force settings or consult the manual/professional assistance. Also, wave your hand or foot through the safety sensor beam while the door is closing; the door should immediately stop and reverse.
- Final Adjustments: Make any final adjustments to ensure smooth, quiet operation. Test the door multiple times using all controls (wall panel, remote, smartphone app).
Optimizing Your Wireless Smart Garage Door Opener
Once your new wireless smart garage door opener is installed and fully functional, there are several ways to maximize its potential and ensure its longevity and security.
Seamless Smart Home Integration and Automation
As touched upon earlier, one of the greatest advantages of a modern wireless opener is its ability to integrate with your existing smart home ecosystem. Dive deeper into automation:
- Voice Command Mastery: Configure your opener with Amazon Alexa or Google Home for convenient voice control. Experiment with different phrases to find what works best for your family.
- Crafting Custom Routines: Leverage platforms like IFTTT (If This Then That) or your smart home hub’s native automation features. For example:
- “When I leave home (geo-fencing), close the garage door and turn off the lights.”
- “At 10:00 PM every night, ensure the garage door is closed.”
- “When the garage door opens, turn on the garage light.”
- Security Camera Link: If you have smart security cameras, integrate them with your garage door. You can set them to start recording when the garage door opens or receive a video clip whenever activity is detected.
Maintenance Tips for Longevity and Performance
Regular, simple maintenance can significantly extend the life of your garage door opener and ensure smooth operation:
- Lubrication: Periodically lubricate the moving parts of your garage door system, including rollers, hinges, and springs, with a silicone-based lubricant. Avoid using grease or oil on belt or chain drives unless specifically recommended by the manufacturer.
- Sensor Cleaning: Keep the safety photo-eye sensors clean and free from dirt, dust, or spiderwebs. A quick wipe with a soft cloth can prevent false reversals.
- Inspect Moving Parts: Annually inspect cables, rollers, and hinges for signs of wear and tear. If you notice frayed cables or damaged rollers, consider calling a professional.
- Test Safety Features: Perform the safety reversal test (with the 2×4) and the safety sensor test (by blocking the beam) monthly to ensure these critical safety mechanisms are functioning correctly.
- Check for Loose Hardware: Periodically check that all bolts, nuts, and screws on the opener and door are tight. Vibration can sometimes loosen components over time.
Enhancing Security Practices
While wireless openers offer advanced security, reinforcing good practices is always beneficial:
- Strong Passwords: Use strong, unique passwords for your smartphone app and Wi-Fi network.
- Two-Factor Authentication: If your app supports it, enable two-factor authentication for an added layer of security.
- App Updates: Keep your garage door opener app updated to benefit from the latest security patches and features.
- Don’t Leave Remotes in Plain Sight: Avoid leaving physical remotes in your car, especially if the car is parked outside or easily accessible.
Conclusion: Embrace the Future of Home Convenience and Security
Installing a modern wireless smart garage door opener is a transformative DIY project that brings an unparalleled blend of convenience, security, and smart home integration to your daily life. From the ease of smartphone control and remote access to the peace of mind offered by real-time alerts and advanced safety features, this upgrade positions your home at the forefront of contemporary living. By carefully following the step-by-step installation guide, prioritizing safety, and utilizing the optimization tips, you can confidently embark on this rewarding endeavor. Embrace the seamless functionality and enhanced security that smart technology offers, simplifying your routine and adding significant value to your home. This isn’t just an upgrade; it’s a smart investment in the comfort, safety, and efficiency of your modern household.