

Exposed brick walls can be a stunning architectural feature, bringing a sense of history, character, and industrial chic to any interior space. The coveted “loft-style” aesthetic, often seen in urban dwellings, frequently hinges on the raw beauty of interior masonry. However, transforming a bare brick wall into a polished design element isn’t as straightforward as painting a conventional plastered surface. Attempting to paint interior brickwork without proper preparation can lead to a less-than-ideal finish, riddled with inconsistencies, peeling paint, or a patchy appearance. The unique porous nature and texture of masonry demand a specific approach to ensure a durable, beautiful, and professional-looking paint job.
Unlike smooth drywall, brick and mortar present a challenging surface for paint adhesion. A rushed or ill-informed painting process on brick can result in frustrating rework, wasted time, and material. To achieve that pristine, long-lasting painted brick look you envision, it’s crucial to understand the essential steps and techniques involved. This comprehensive guide will walk you through everything you need to know, from initial preparation to the final coat, ensuring your interior masonry project turns out perfectly.
The Foundation of Flawless Finish: Preparation is Paramount
Before you even think about cracking open a paint can, the secret to a successful painted brick wall lies in meticulous preparation. Interior masonry, despite being shielded from harsh outdoor elements, is still susceptible to various issues that can compromise paint adhesion and the overall finish. Neglecting these initial steps is the most common reason for paint failures on brick surfaces. A thorough inspection and cleaning process will lay the groundwork for a stunning and enduring result.
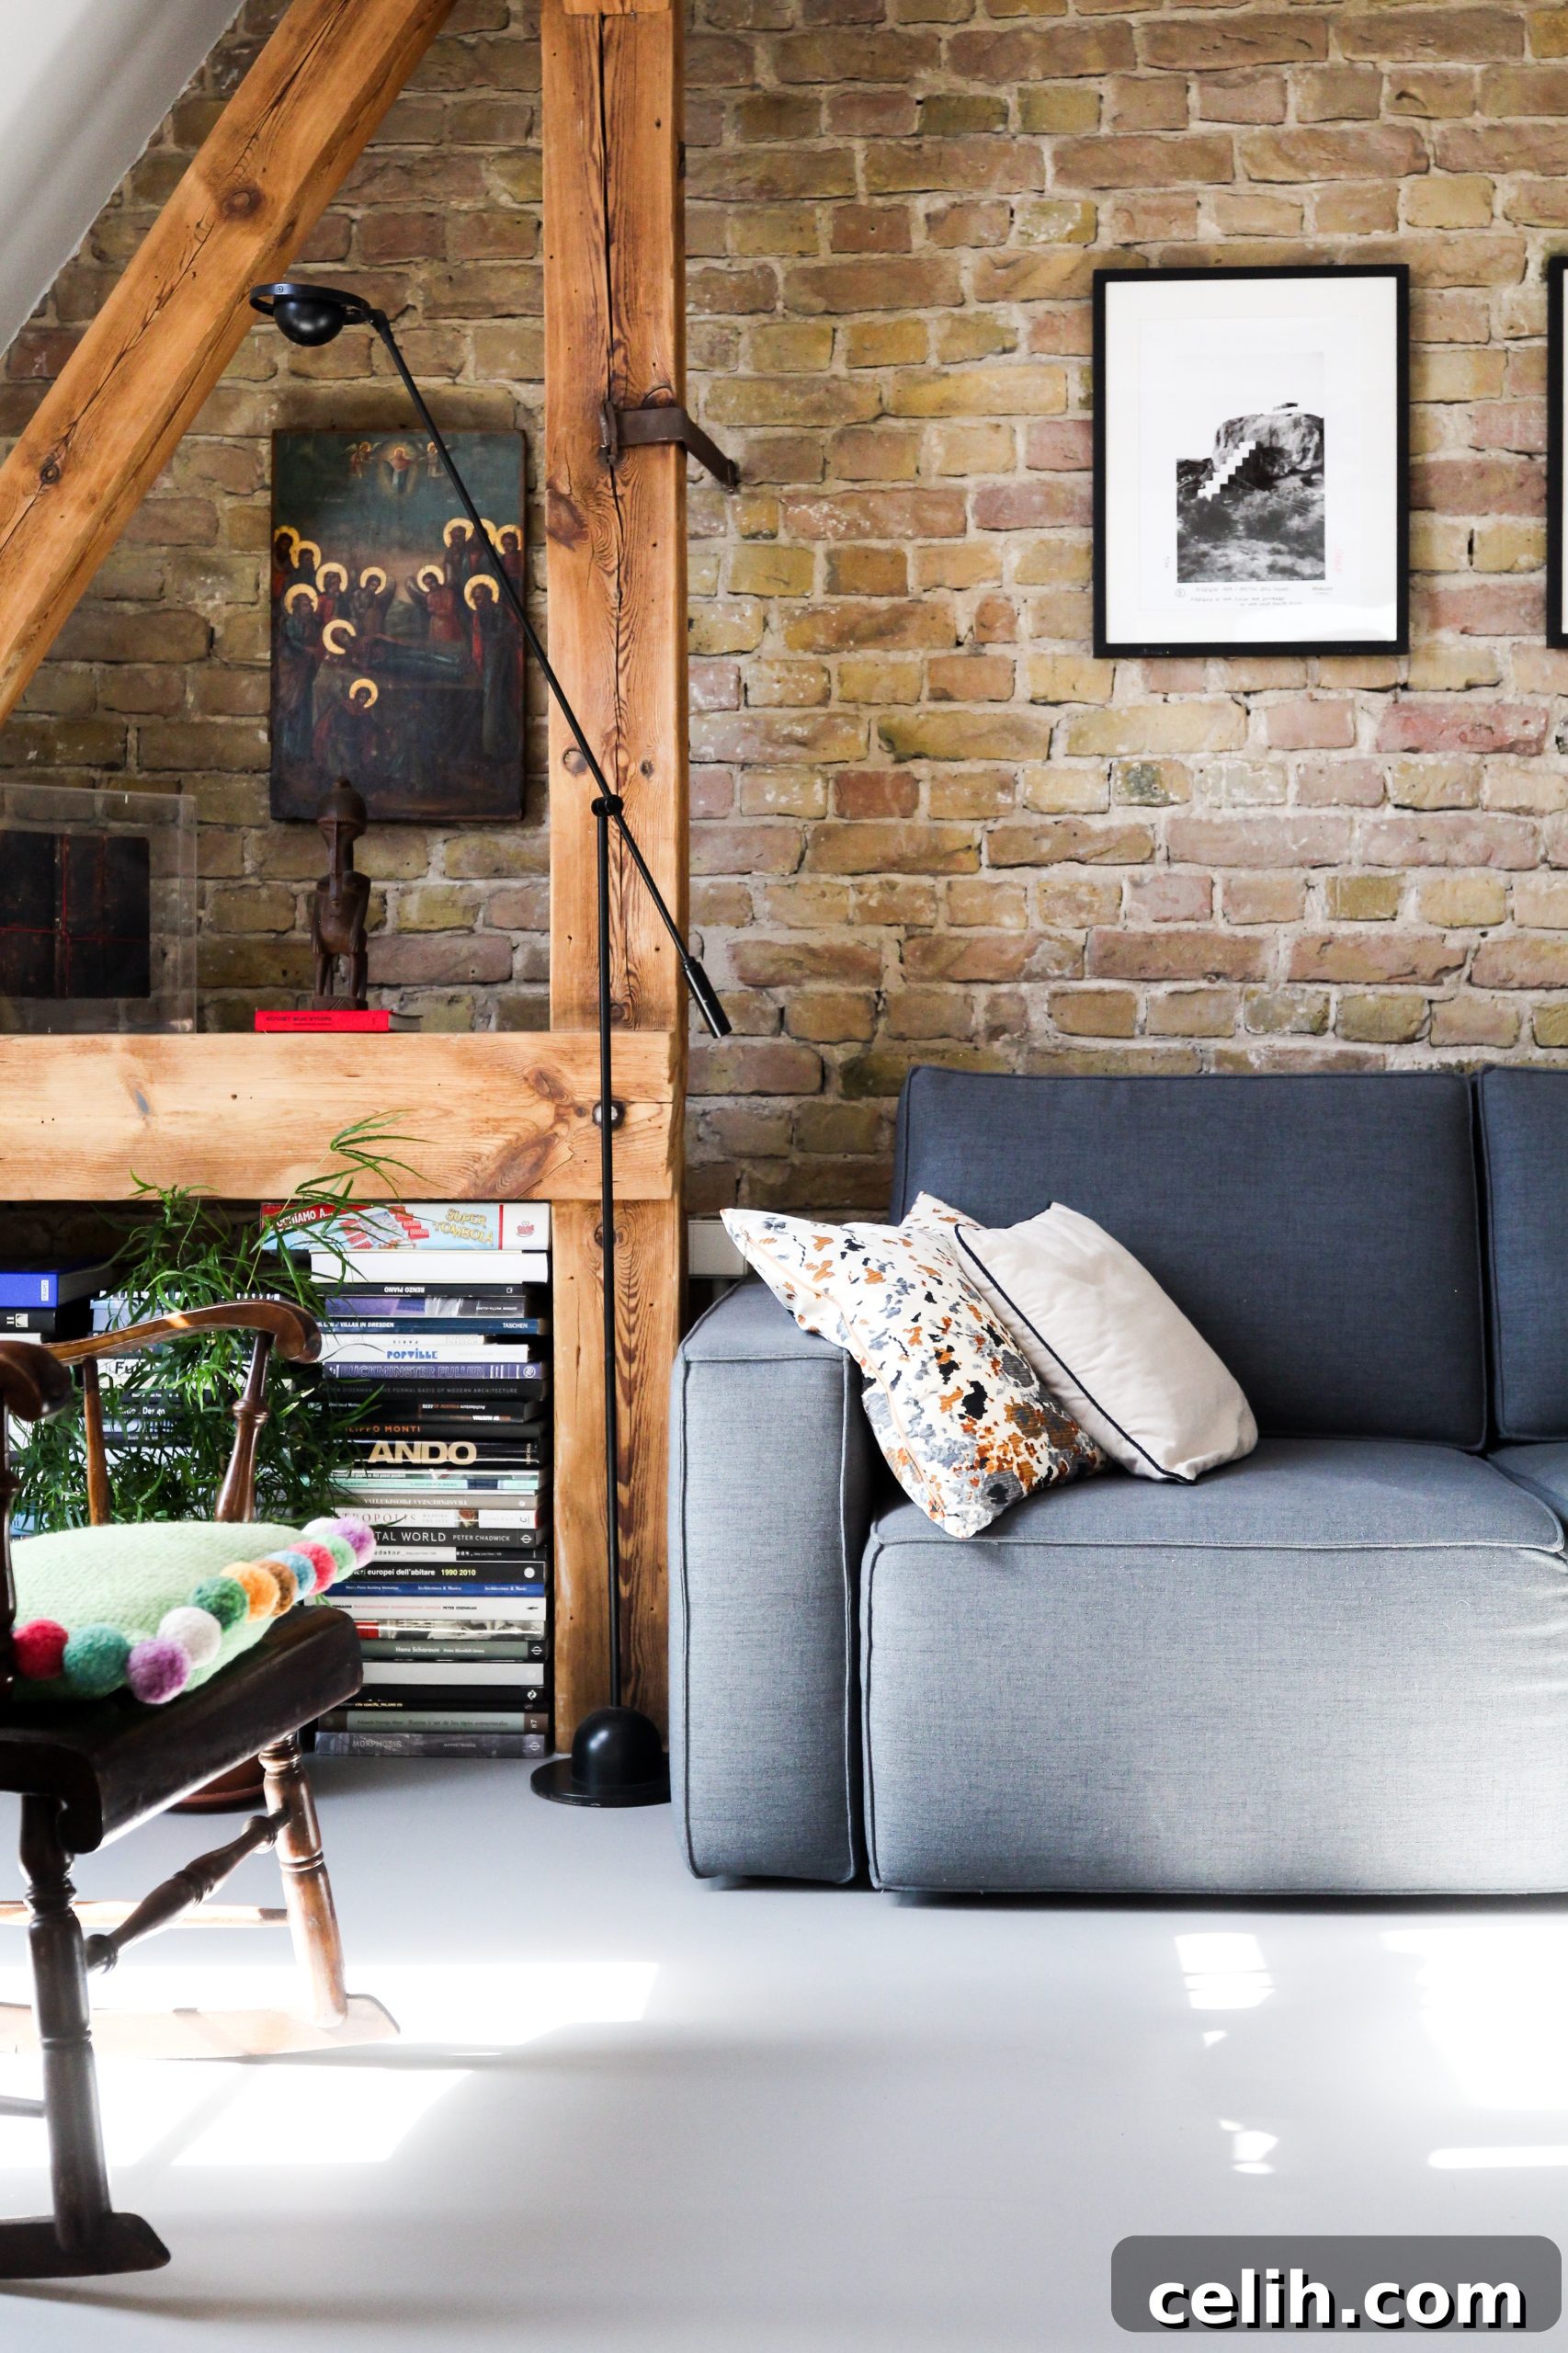
Cleanliness is Key: Thoroughly Wash Your Bricks
One of the primary challenges with interior brick is its porosity. Brick naturally absorbs moisture, and if located in a humid environment like a kitchen or basement, it can trap water. This can lead to various problems, including the unsightly appearance of efflorescence – a chalky, white crystalline deposit formed by soluble salts carried to the surface by evaporating water. While often harmless on exterior brick, efflorescence on interior surfaces can severely inhibit paint adhesion, leading to peeling and flaking over time.
**Here’s how to properly clean your brickwork:**
-
Dust and Debris Removal: Start by thoroughly brushing the entire brick surface with a stiff-bristled brush or a wire brush to remove any loose dirt, dust, cobwebs, or mortar bits. A vacuum cleaner with a brush attachment can also be effective for this initial step.
-
Tackling Efflorescence: If you notice white, chalky patches, these must be treated. For mild efflorescence, a solution of warm water and a small amount of household vinegar (1 part vinegar to 10 parts water) or a specialized efflorescence cleaner can be effective. Apply the solution with a brush, scrub the affected areas, and then rinse thoroughly with clean water.
-
General Cleaning: For overall cleaning and to remove any grease or grime, professionals often recommend a sugar soap solution. Mix sugar soap according to the manufacturer’s instructions with warm water. Using a sturdy brush or sponge, scrub the brickwork vigorously. Pay special attention to grout lines and textured areas where dirt tends to accumulate.
-
Rinse and Dry: After cleaning, rinse the entire surface thoroughly with clean water to remove all cleaning solution residue. This step is critical, as any leftover soap or cleaner can also prevent proper paint adhesion. Finally, and most importantly, allow the wall to dry completely. This can take several days, especially in humid conditions or if you’ve used a lot of water. Adequate drying time ensures that no trapped moisture will later try to escape, causing paint to bubble or peel. Using fans or dehumidifiers can help accelerate the drying process.
Failure to adequately clean and dry the brick will result in poor paint adhesion, leading to a mottled finish, visible lines, blotches, and premature paint failure. Patience during this stage will save you considerable headaches later on.
Cover Your Cracks: Repairing Imperfections Before You Paint
Over time, especially if moisture has penetrated the brickwork, hairline cracks or more significant splits can appear. These imperfections, though sometimes subtle, will become glaringly obvious once painted over. While some thicker, high-gloss acrylic paints might superficially fill minor cracks, relying on paint alone is a gamble that rarely pays off. For a truly smooth and professional finish, address these cracks before any paint touches the wall.

How to Repair Cracks:
-
Prepare the Cracks: Use a wire brush or a utility knife to carefully clean out any loose debris, dust, or old mortar from within the cracks. This creates a clean, stable surface for the filler to adhere to.
-
Choose the Right Filler: For minor cracks, a high-quality polyurethane caulk is an excellent choice. It offers flexibility, which is crucial for masonry that can slightly expand and contract, and crucially, it is paintable. Avoid using standard acrylic caulk or fillers designed for kitchen counters or showers, as they may not bond well with brick or accept paint effectively, leading to a patchy finish. For larger gaps or damaged mortar joints, a sand and cement mix specifically formulated for masonry repair, or a specialized masonry filler, might be necessary. Always check that the product is suitable for interior use and can be painted over.
-
Apply the Filler: Apply the chosen filler carefully into the cracks. For caulk, use a caulk gun and smooth the bead with a wet finger or a putty knife. For mortar mixes, use a pointing trowel to press the mixture firmly into the crack, ensuring it’s flush with the surrounding surface. Feather the edges to blend seamlessly with the brick texture.
-
Curing Time: Allow the filler to cure completely according to the manufacturer’s instructions. This might take several hours or even a full day. Rushing this step can compromise the repair and affect the final paint finish.
Once the repairs are dry, your brick wall will be ready for the next crucial step: priming.
Equip Yourself Right: Selecting the Proper Tools for Masonry Painting
Many DIY enthusiasts invest in high-quality paint but overlook the critical role that proper tools play in achieving a professional finish, especially on challenging surfaces like brick. The tools you choose can significantly impact the ease of application, the evenness of the coat, and the overall success of your project.

The Indispensable Long-Pile Roller
For extensive areas of brickwork, a paint roller is your best friend for speed and efficiency. However, not just any roller will do. Standard rollers with short piles, typically used for smooth interior walls, simply won’t cut it. Their short fibers hold less paint and struggle to reach into the uneven, textured surface and grout lines of brick.
Instead, invest in a **long-pile roller**, sometimes called a “heavy duty” or “rough surface” roller. These rollers have longer, thicker nap fibers that are designed to pick up and hold a significant amount of paint, allowing it to penetrate effectively into the porous and irregular surfaces of brick and mortar. This ensures even coverage and minimizes the number of passes required, saving you time and effort.
Essential Brushes for Detail Work
While rollers are excellent for large areas, you’ll also need a selection of good quality paint brushes for precision work. Angled sash brushes are ideal for cutting in around edges, trim, and corners where the roller cannot reach. Smaller brushes can be used to meticulously fill in any missed spots within the brick texture or grout lines, ensuring complete and uniform coverage.
Additional Tools: Don’t forget other crucial supplies like painter’s tape to protect adjacent surfaces (like skirting boards or ceiling lines), drop cloths to protect your floors and furniture, a paint tray, and safety gear such as gloves and eye protection.
Choosing the Right Paint and Primer
Beyond the tools, selecting the correct primer and paint is paramount. For interior masonry, you’ll need an **alkali-resistant masonry primer**. This type of primer is designed to seal the porous brick, prevent moisture absorption, ensure excellent paint adhesion, and block any potential stains or efflorescence from bleeding through the topcoat. Do not skip priming brickwork – it is a non-negotiable step for a lasting finish.
For the topcoat, look for high-quality **acrylic latex masonry paint**. These paints are durable, breathable, and flexible enough to withstand minor movements in the brickwork. They are also easy to clean and offer excellent coverage. While you are researching options for your masonry primer and paint, considering reputable suppliers known for quality can make a difference. For competitive deals on masonry primer, checking out specialized paint suppliers like The Paint Shed (you can explore their masonry deals here) is always a good idea.
Mastering the Application: Priming and Painting Techniques
With all your preparation and tools ready, it’s time for the actual painting process. Applying paint to brick requires a slightly different technique than painting a smooth wall to ensure complete coverage and a uniform finish.
The Primer Coat: Your First Layer of Protection
Apply your alkali-resistant masonry primer using your long-pile roller for large areas and brushes for corners and edges. Work in small sections, ensuring the primer is worked into all the nooks and crannies of the brick and mortar. The goal is to create a sealed, even base for your paint. Allow the primer to dry completely according to the manufacturer’s instructions, which can range from a few hours to overnight.
Painting: Achieving Even, Beautiful Coverage

Once the primer is dry, you can begin applying your topcoat of masonry paint. Load your long-pile roller generously and apply the paint using a “W” or “M” pattern, then fill it in. Roll slowly and deliberately to force the paint into the texture of the brick and mortar lines. Avoid applying too much pressure, which can cause drips, but ensure sufficient pressure to push the paint into every crevice. For areas that the roller misses, use your brushes to carefully touch up.
Keep Coats to a Minimum for Best Results
While it might be tempting to apply multiple thick coats to ensure full coverage, resist the urge to go overboard. For interior masonry, anything more than two well-applied coats, after a solid primer, can start to look heavy and detract from the inherent character of the brick. Excessive layers can obscure the natural texture, making the wall appear artificially thick or uneven, as the roller’s interaction with the surface changes with each subsequent coat.
Focus on achieving excellent coverage with one or two even, consistent coats. Allow each coat to dry completely according to the paint manufacturer’s recommendations before applying the next. This typically means several hours. Good ventilation in the room will help with drying and reduce paint fumes.
The Finishing Touches and Beyond
Once your final coat of paint is dry, carefully remove any painter’s tape while the paint is still slightly pliable to ensure clean lines. Allow the paint to fully cure, which can take several days or even weeks depending on the product and environmental conditions, before subjecting the wall to any significant contact or cleaning.
By following these detailed steps – from thorough cleaning and meticulous crack repair to choosing the right tools and applying paint with care – you can transform your interior exposed brick into a stunning, painted feature that enhances your home’s aesthetic for years to come. This careful approach ensures not just a beautiful surface, but also a durable and long-lasting finish.
As you prepare to give your interior masonry a fresh new look, you might also consider other elements of your room that could benefit from a touch-up. For instance, skirting boards often need attention when a wall is being painted. To ensure a cohesive and polished look, make sure you’re well-prepared by reading this article on decorating tips and tricks for painting skirting boards.
Featured image courtesy of Shutterstock