
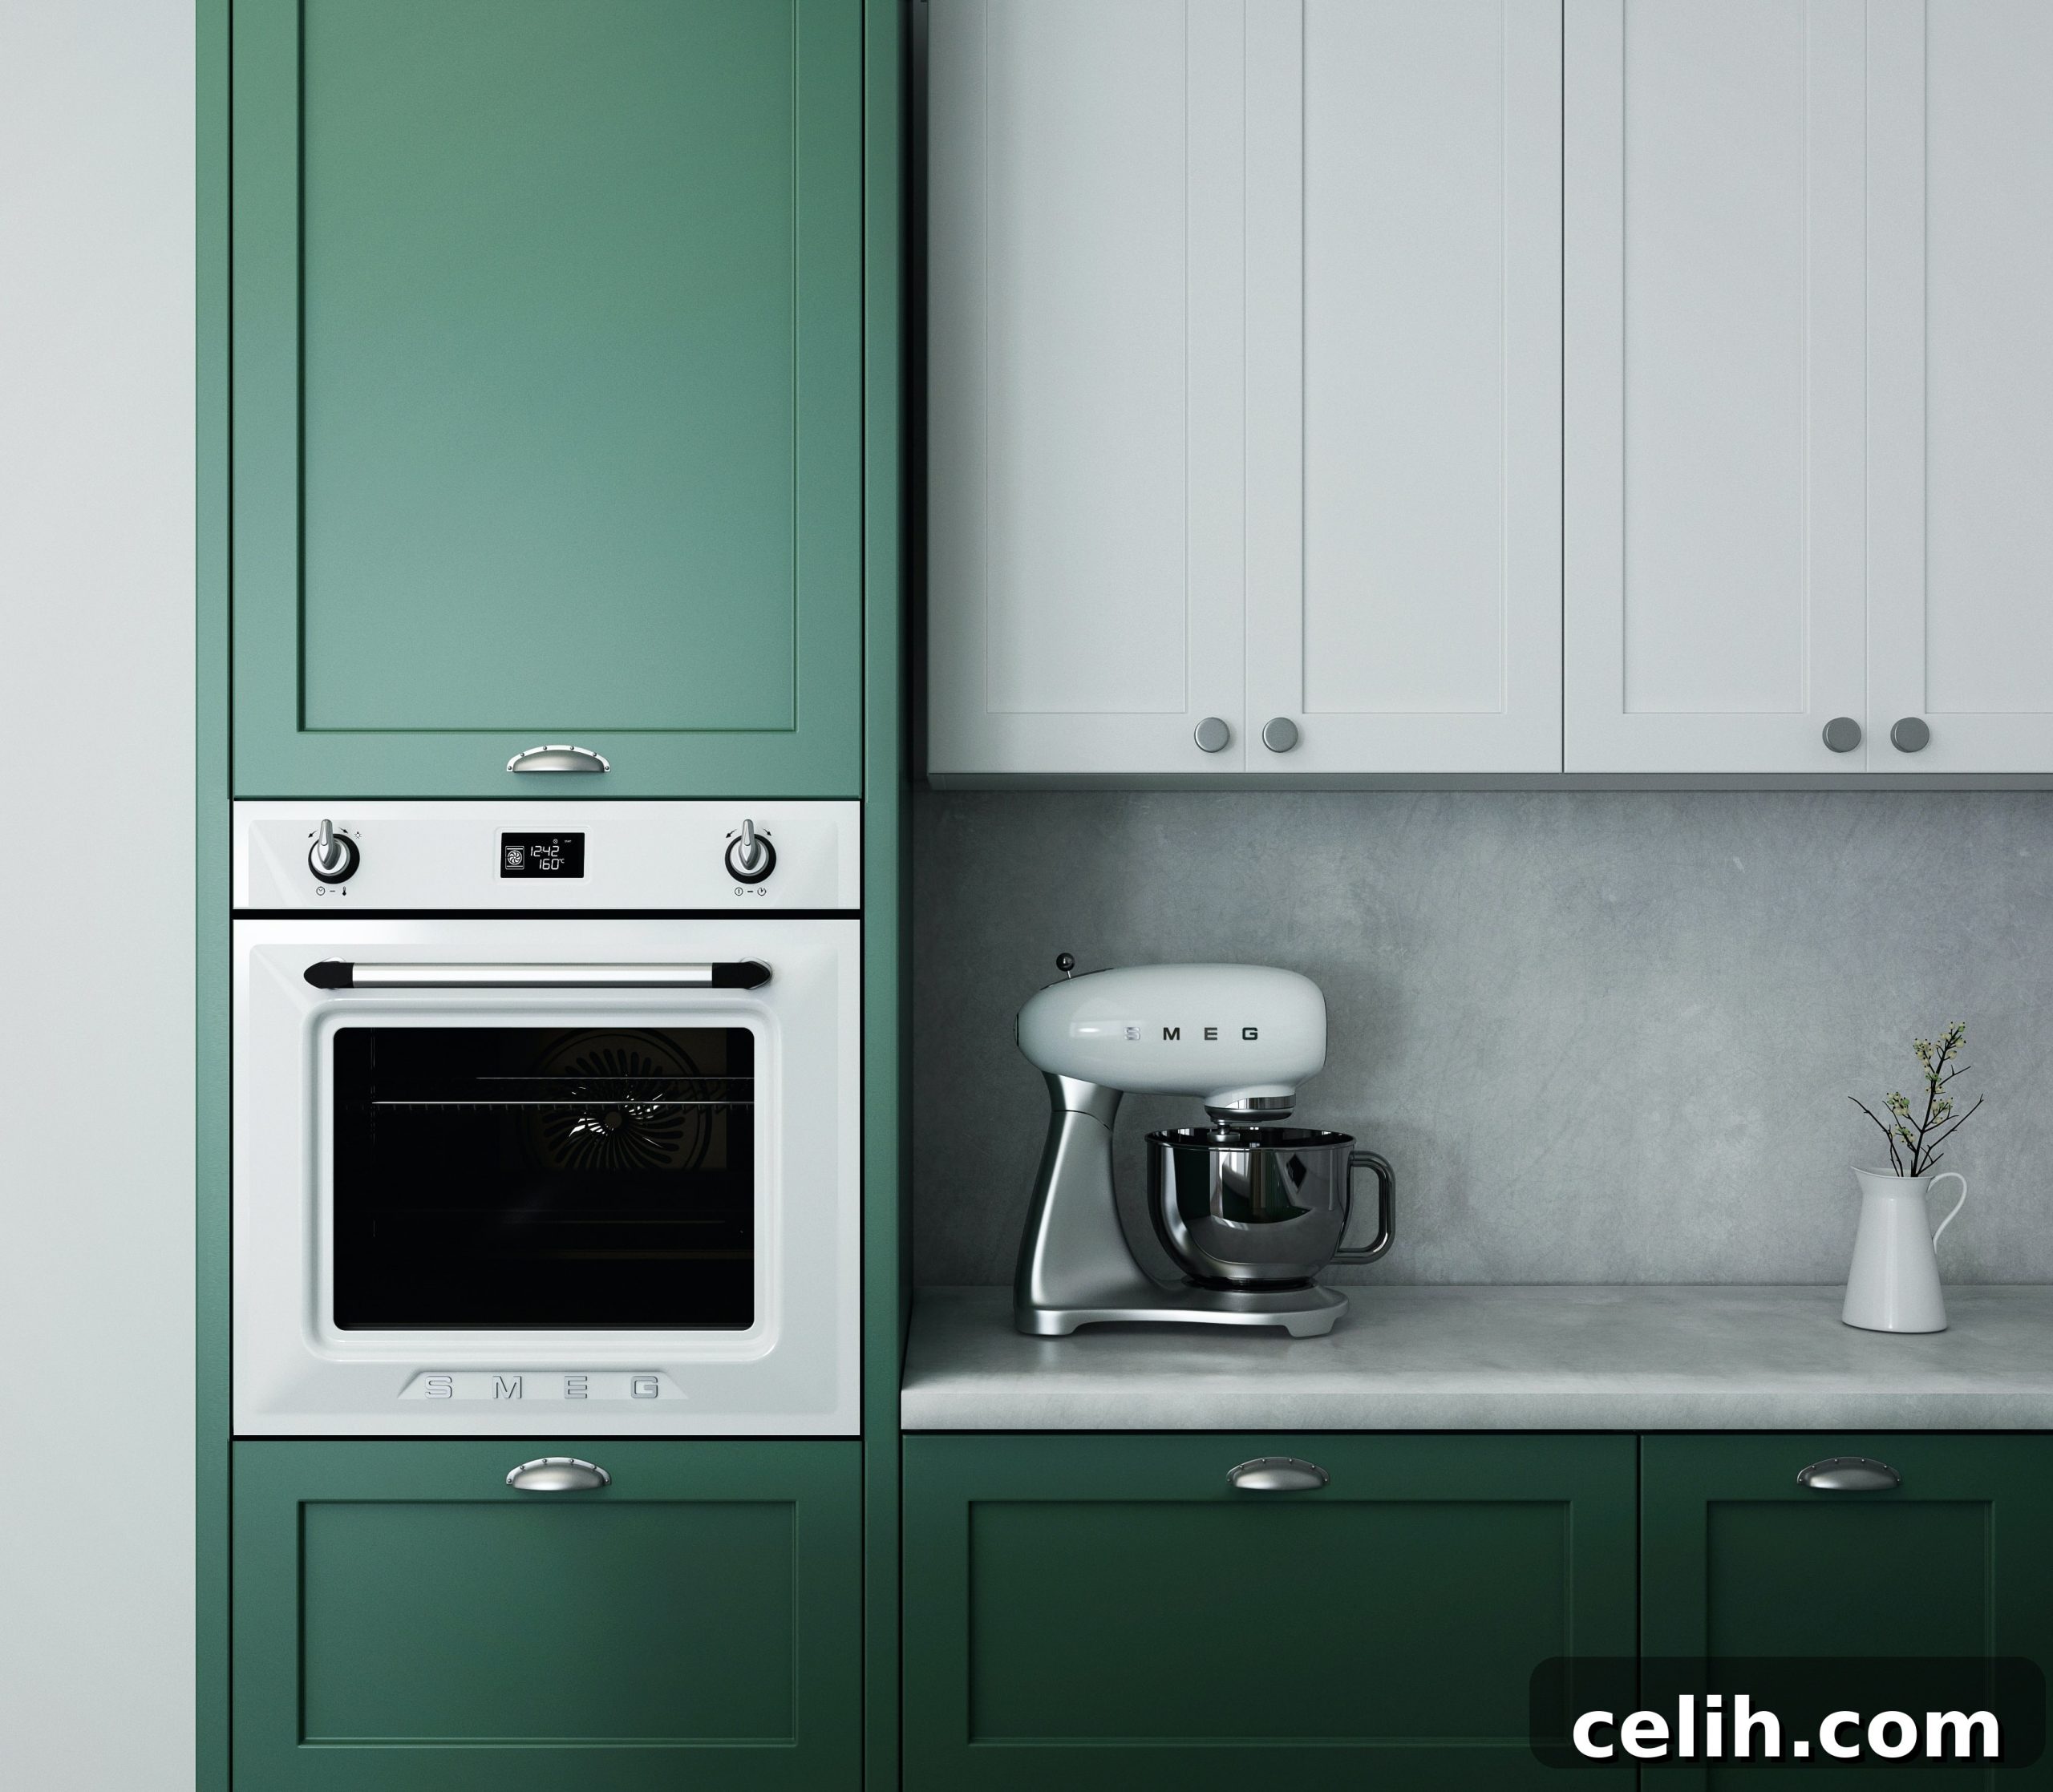
Master Your Oven: A Comprehensive Guide to DIY Repairs and Troubleshooting
There’s nothing quite as frustrating as stepping into your kitchen, ready to prepare a delicious meal, only to discover your oven isn’t working as it should. Whether it’s refusing to heat, making strange noises, or simply not turning on, a malfunctioning oven can throw a wrench in your daily routine. While the immediate impulse might be to pick up the phone and call a professional technician, you might be surprised to learn that many common oven issues can be diagnosed and repaired with a bit of DIY spirit and some basic tools.
Embracing the world of do-it-yourself appliance repair can save you a significant amount of money on labor costs, provide a valuable sense of accomplishment, and even extend the lifespan of your appliance. This comprehensive guide is designed to empower you, offering clear, step-by-step advice on how to troubleshoot and fix some of the most frequent oven problems. From a replacement control board for complex issues to simple fixes for a faulty door, we’ll help you understand when you can tackle the repair yourself and when it’s best to call in an expert.
The Essential First Steps for Any DIY Oven Repair
Before you even think about grabbing your toolbox, it’s crucial to follow a few fundamental steps to ensure your safety and streamline the repair process. These initial precautions are paramount for any home appliance repair.
- Safety First: Unplug and Disconnect: Always, and without exception, unplug your oven from the electrical outlet or turn off the circuit breaker that supplies power to the oven before you begin any inspection or repair. For gas ovens, turn off the gas supply as well. This prevents electric shock or gas leaks and is the single most important safety measure you can take.
- Consult Your Owner’s Manual: Your oven’s manual is a treasure trove of information. It contains diagrams, troubleshooting guides specific to your model, and instructions on accessing various components. If you’ve misplaced it, a quick search online with your oven’s make and model number will usually yield a digital copy.
- Identify Your Oven’s Model Number: This number is vital for ordering correct replacement parts. It’s typically found on a label around the oven door frame, on the back of the appliance, or inside the storage drawer.
- Gather Basic Tools: Most DIY oven repairs require only a few common tools, such as screwdrivers (Phillips and flathead), a pair of pliers, a multimeter (for electrical testing), work gloves, and potentially a headlamp for better visibility in tight spaces.
Common Oven Problems and How to Fix Them Yourself
Let’s delve into the specific issues you might encounter with your oven and practical solutions you can implement.
1. Faulty Oven Door: When Your Seal is Broken or Hinges Fail
An oven door that doesn’t close properly is not only a safety hazard, but it also leads to significant energy waste and uneven cooking. Heat escapes, and your oven struggles to maintain the set temperature. This issue can stem from several common problems.
Common Causes:
- Loose or Damaged Hinges: Over time, oven door hinges can become loose, bent, or even break, preventing the door from sealing tightly.
- Worn Door Gasket/Seal: The rubber or mesh gasket around the oven door creates an airtight seal. If it’s cracked, torn, or compressed, heat will escape.
- Misaligned Door: Repeated opening and closing can sometimes knock the door out of alignment.
DIY Solutions:
If your oven door is sticking, squeaking, or has come off its hinges, the fix is often simpler than you might imagine. With the power off, inspect the hinges. Sometimes, it’s as straightforward as tightening a few screws that have worked themselves loose. If a hinge is bent or broken, you’ll need to order a replacement part specific to your oven model. These can often be found at local appliance parts stores or online retailers. Replacing hinges typically involves carefully detaching the door (which can be heavy, so enlist help if needed), unscrewing the old hinges, and installing the new ones with a good pair of pliers or a screwdriver.
For a faulty door seal, a visual inspection will usually confirm the damage. If the gasket is brittle, torn, or no longer plush, it needs replacement. Most oven gaskets are designed to be easily pulled out of a groove and a new one pushed into place, often without the need for special tools. This simple repair can dramatically improve your oven’s efficiency and cooking performance.
2. The Smoking Oven: More Than Just a Burning Meal
An oven emitting smoke can be alarming, especially if you haven’t spilled anything and your food isn’t burning. While it can indicate a serious problem, more often than not, the culprit is accumulated grease build-ups and food residue.
Common Causes:
- Grease and Food Splatters: This is by far the most common reason for oven smoke. Drippings from previous cooking sessions burn off when the oven heats up, creating smoke and sometimes unpleasant odors.
- New Oven Residues: A brand new oven might smoke during its first few uses as manufacturing oils and residues burn off. This is usually temporary and harmless.
- Faulty Heating Element: In rare cases, a damaged heating element can cause smoking if it’s shorting out or if food debris has become embedded in it.
DIY Solutions:
Before you consider any complex repairs, ask yourself: when was the last time you gave your oven a thorough deep clean? If you can’t remember, it’s highly probable that food residues are the main problem. Invest in a heavy-duty oven cleaner and some sturdy sponges or brushes. Follow the cleaner’s instructions carefully, allowing it to sit for the recommended time to break down stubborn grease. Scrub away all visible grime from the oven walls, racks, and especially the bottom surface. You might need several cleaning sessions for heavily soiled ovens. Once clean, run the oven on high heat for 15-20 minutes with the window open to burn off any residual cleaner fumes. If the smoking persists after a meticulous cleaning, then you might need to investigate further, possibly checking the heating elements for visible damage.
3. Oven Won’t Turn On: Diagnosing Power Issues
An oven that refuses to power up can be incredibly frustrating and leave you at a complete loss. While it could signify a major internal fault, it’s crucial to rule out simpler electrical issues first.
Common Causes:
- Tripped Circuit Breaker: Ovens draw a lot of power, and it’s common for their dedicated circuit breaker to trip if there’s a power surge or overload.
- Faulty Outlet or Plug: Less common for built-in ovens, but possible for range ovens. The electrical outlet itself or the power cord could be damaged.
- Igniter/Heating Element Failure: For gas ovens, a faulty igniter can prevent the gas from lighting. For electric ovens, a completely failed heating element might prevent startup.
- Control Board Malfunction: The electronic control board manages all oven functions. A fault here can prevent it from turning on.
DIY Solutions:
First, check your home’s circuit breaker panel. Has your oven tripped a switch? Look for a breaker that is in the “off” position or halfway between “on” and “off.” Flip it completely off, then back to the “on” position. If it immediately trips again, there’s likely a short circuit or overload that requires professional attention. Next, ensure the oven is fully plugged into its dedicated outlet. For range ovens, you can try plugging another small appliance into the same outlet (if safely accessible) to test if the outlet itself is working. If the electrics aren’t the problem and your oven still shows no signs of life, especially if you have no experience with internal electrical components, it’s generally best to let a professional appliance technician take a look. Dealing with high-voltage wiring within an oven can be dangerous if you’re not properly trained.
4. Noisy Oven: Understanding Whirs, Buzzes, and Rumbles
Just like smoke, an oven that’s making loud, unusual noises – a persistent whirring, buzzing, or rattling – can be a cause for concern. However, often, this problem’s bark is worse than its bite, frequently pointing to an issue with the oven’s fan system.
Common Causes:
- Convection Fan Issues: Many modern ovens have a convection fan to circulate hot air. If the fan blades are hitting something, or if the motor bearings are worn, it will create noise.
- Cooling Fan Malfunction: Some ovens have a separate cooling fan that runs during and after operation to cool down internal components and the control panel. Problems here can also cause noise.
- Loose Components: Screws, brackets, or even oven racks can vibrate and cause rattling sounds.
DIY Solutions:
A loud oven usually means its fan needs attention. There are typically two types of fans in an oven: the convection fan (located at the back of the oven cavity) and sometimes a cooling fan (usually at the top or back, outside the cooking cavity). With the power safely disconnected, open the oven door and carefully inspect the convection fan. Are there any obstructions like food debris or foil caught in the blades? Are the blades loose or damaged? Often, you can access and clean the fan blades or tighten the mounting screws. If the fan motor is making a grinding noise, it likely indicates worn bearings, meaning the entire fan motor assembly might need replacing. This is a moderately challenging repair but can be done by a confident DIYer with the right replacement part. Identifying your oven’s fan type and its exact location using your manual will be key to a successful repair. If your oven goes quiet after a period of being noisy, it might mean the fan has stopped completely, which will lead to uneven cooking, especially in convection mode.
5. Oven Not Heating Properly or Unevenly
This is one of the most common and frustrating oven problems. Your food takes forever to cook, or one side burns while the other remains undercooked. This issue can stem from several components.
Common Causes:
- Failed Heating Element (Electric Oven): The bake or broil element might be burned out, preventing proper heating. You might see visible signs like blistering or a break in the element.
- Faulty Igniter (Gas Oven): For gas ovens, if the igniter is weak or failing, it won’t be able to ignite the gas properly, leading to no heat or very slow heating.
- Malfunctioning Temperature Sensor/Thermostat: The oven’s temperature sensor or thermostat is responsible for accurately reading and maintaining the set temperature. If it’s faulty, the oven won’t heat correctly.
- Control Board Issues: A failing control board can send incorrect signals to the heating components.
DIY Solutions:
For Electric Ovens: With the power off, visually inspect the bake and broil elements inside the oven. Look for any visible breaks, cracks, or glowing spots that shouldn’t be there. If an element is visibly damaged, it needs to be replaced. This is a relatively straightforward repair: simply unscrew the old element, disconnect the wires, and connect the new one. Ensure you use an exact replacement part for your oven model.
For Gas Ovens: If your gas oven isn’t heating, listen for the click of the igniter and watch for the flame. If the igniter glows but doesn’t light the gas within 60-90 seconds, it might be too weak and needs replacement. If there’s no glow at all, check the connections to the igniter. Replacing an igniter can be a bit more involved, often requiring removal of the oven’s bottom panel and careful handling of gas connections, so proceed with caution or call a pro if unsure.
For Both Types: If elements or igniters seem fine, a faulty temperature sensor might be the culprit. These are usually located at the top rear of the oven cavity and are simple to replace. Use a multimeter to test its resistance if you’re comfortable with electrical testing, and compare it to the readings in your owner’s manual. A miscalibrated thermostat can also cause temperature inaccuracies, but recalibration usually requires a professional.
6. Oven Light Not Working: A Simple Fix
Not all ovens have lights, but if yours does and it has suddenly gone out, you probably just need to buy a new bulb. This is one of the easiest oven repairs you can undertake.
Common Cause:
- Burned-Out Bulb: Just like any light bulb, oven bulbs have a finite lifespan and will eventually burn out.
DIY Solution:
With the oven unplugged and completely cool, unscrew the old bulb. Oven light bulbs are specially designed to withstand high temperatures, so they aren’t the same as standard household bulbs. You’ll need to purchase a heat-resistant appliance bulb, often labeled as an “oven light bulb,” which you can find at most hardware or DIY shops, or online appliance parts retailers. Make sure the new bulb’s wattage matches the specifications in your oven’s manual. Screw in the new bulb, plug your oven back in, and enjoy your illuminated oven cavity once more.
When It’s Time to Call a Professional
While DIY oven repairs can save you money and empower you, there are definitely situations where calling a qualified professional is the safest and most sensible option. Understanding these boundaries is crucial for both your safety and the longevity of your appliance.
- Gas Leaks: If you smell gas, immediately turn off the gas supply to your oven and ventilate your home. Do not attempt to fix this yourself; call a gas professional or your utility company immediately.
- Complex Electrical Issues: Beyond checking a tripped breaker or a simple power cord, if you suspect internal wiring problems, short circuits, or faults within the main control board that you cannot diagnose safely, it’s time for an expert. Electrical work carries significant risks.
- Major Component Failure: While replacing an element or igniter is often DIY-friendly, if your oven requires a complete control board replacement and you’re not confident in handling delicate electronics, or if the repair seems too daunting, a technician will have the specialized tools and experience.
- Lack of Confidence or Time: If you’re uncomfortable with any step of the repair process, or simply don’t have the time to dedicate to troubleshooting, there’s no shame in seeking professional help.
- Safety Concerns: If at any point you feel unsafe during a repair, stop immediately and call a professional. Your safety should always be the top priority.
Prolonging Your Oven’s Lifespan: Essential Maintenance Tips
Regular maintenance can prevent many common oven problems, saving you time, money, and hassle in the long run. Incorporating these simple habits into your routine can significantly extend the life of your appliance.
- Regular Cleaning: As discussed, grease and food buildup are major culprits for smoke and odors. Aim for a quick wipe-down after each use and a deep clean every few months, depending on how frequently you use your oven.
- Inspect Door Seals: Periodically check your oven door gasket for cracks, tears, or wear. A healthy seal ensures efficient heating and prevents heat loss.
- Keep Vents Clear: Ensure that the oven’s exhaust vents (usually at the back or top) are not blocked by walls or other kitchen items. Proper ventilation is essential for its operation.
- Avoid Overloading: Don’t overload oven racks, as this can impede air circulation and lead to uneven cooking, and can also put undue stress on the oven’s heating system.
- Address Issues Promptly: Don’t ignore minor problems like a flickering light or a strange noise. Addressing small issues quickly can prevent them from escalating into more expensive repairs.
By understanding these common oven issues and applying these DIY troubleshooting and maintenance tips, you can often save yourself the cost and inconvenience of a service call. Remember to always prioritize safety, consult your owner’s manual, and know when it’s best to call in the professionals. Happy cooking!
Featured image credit: Photo by Kam Idris on Unsplash