
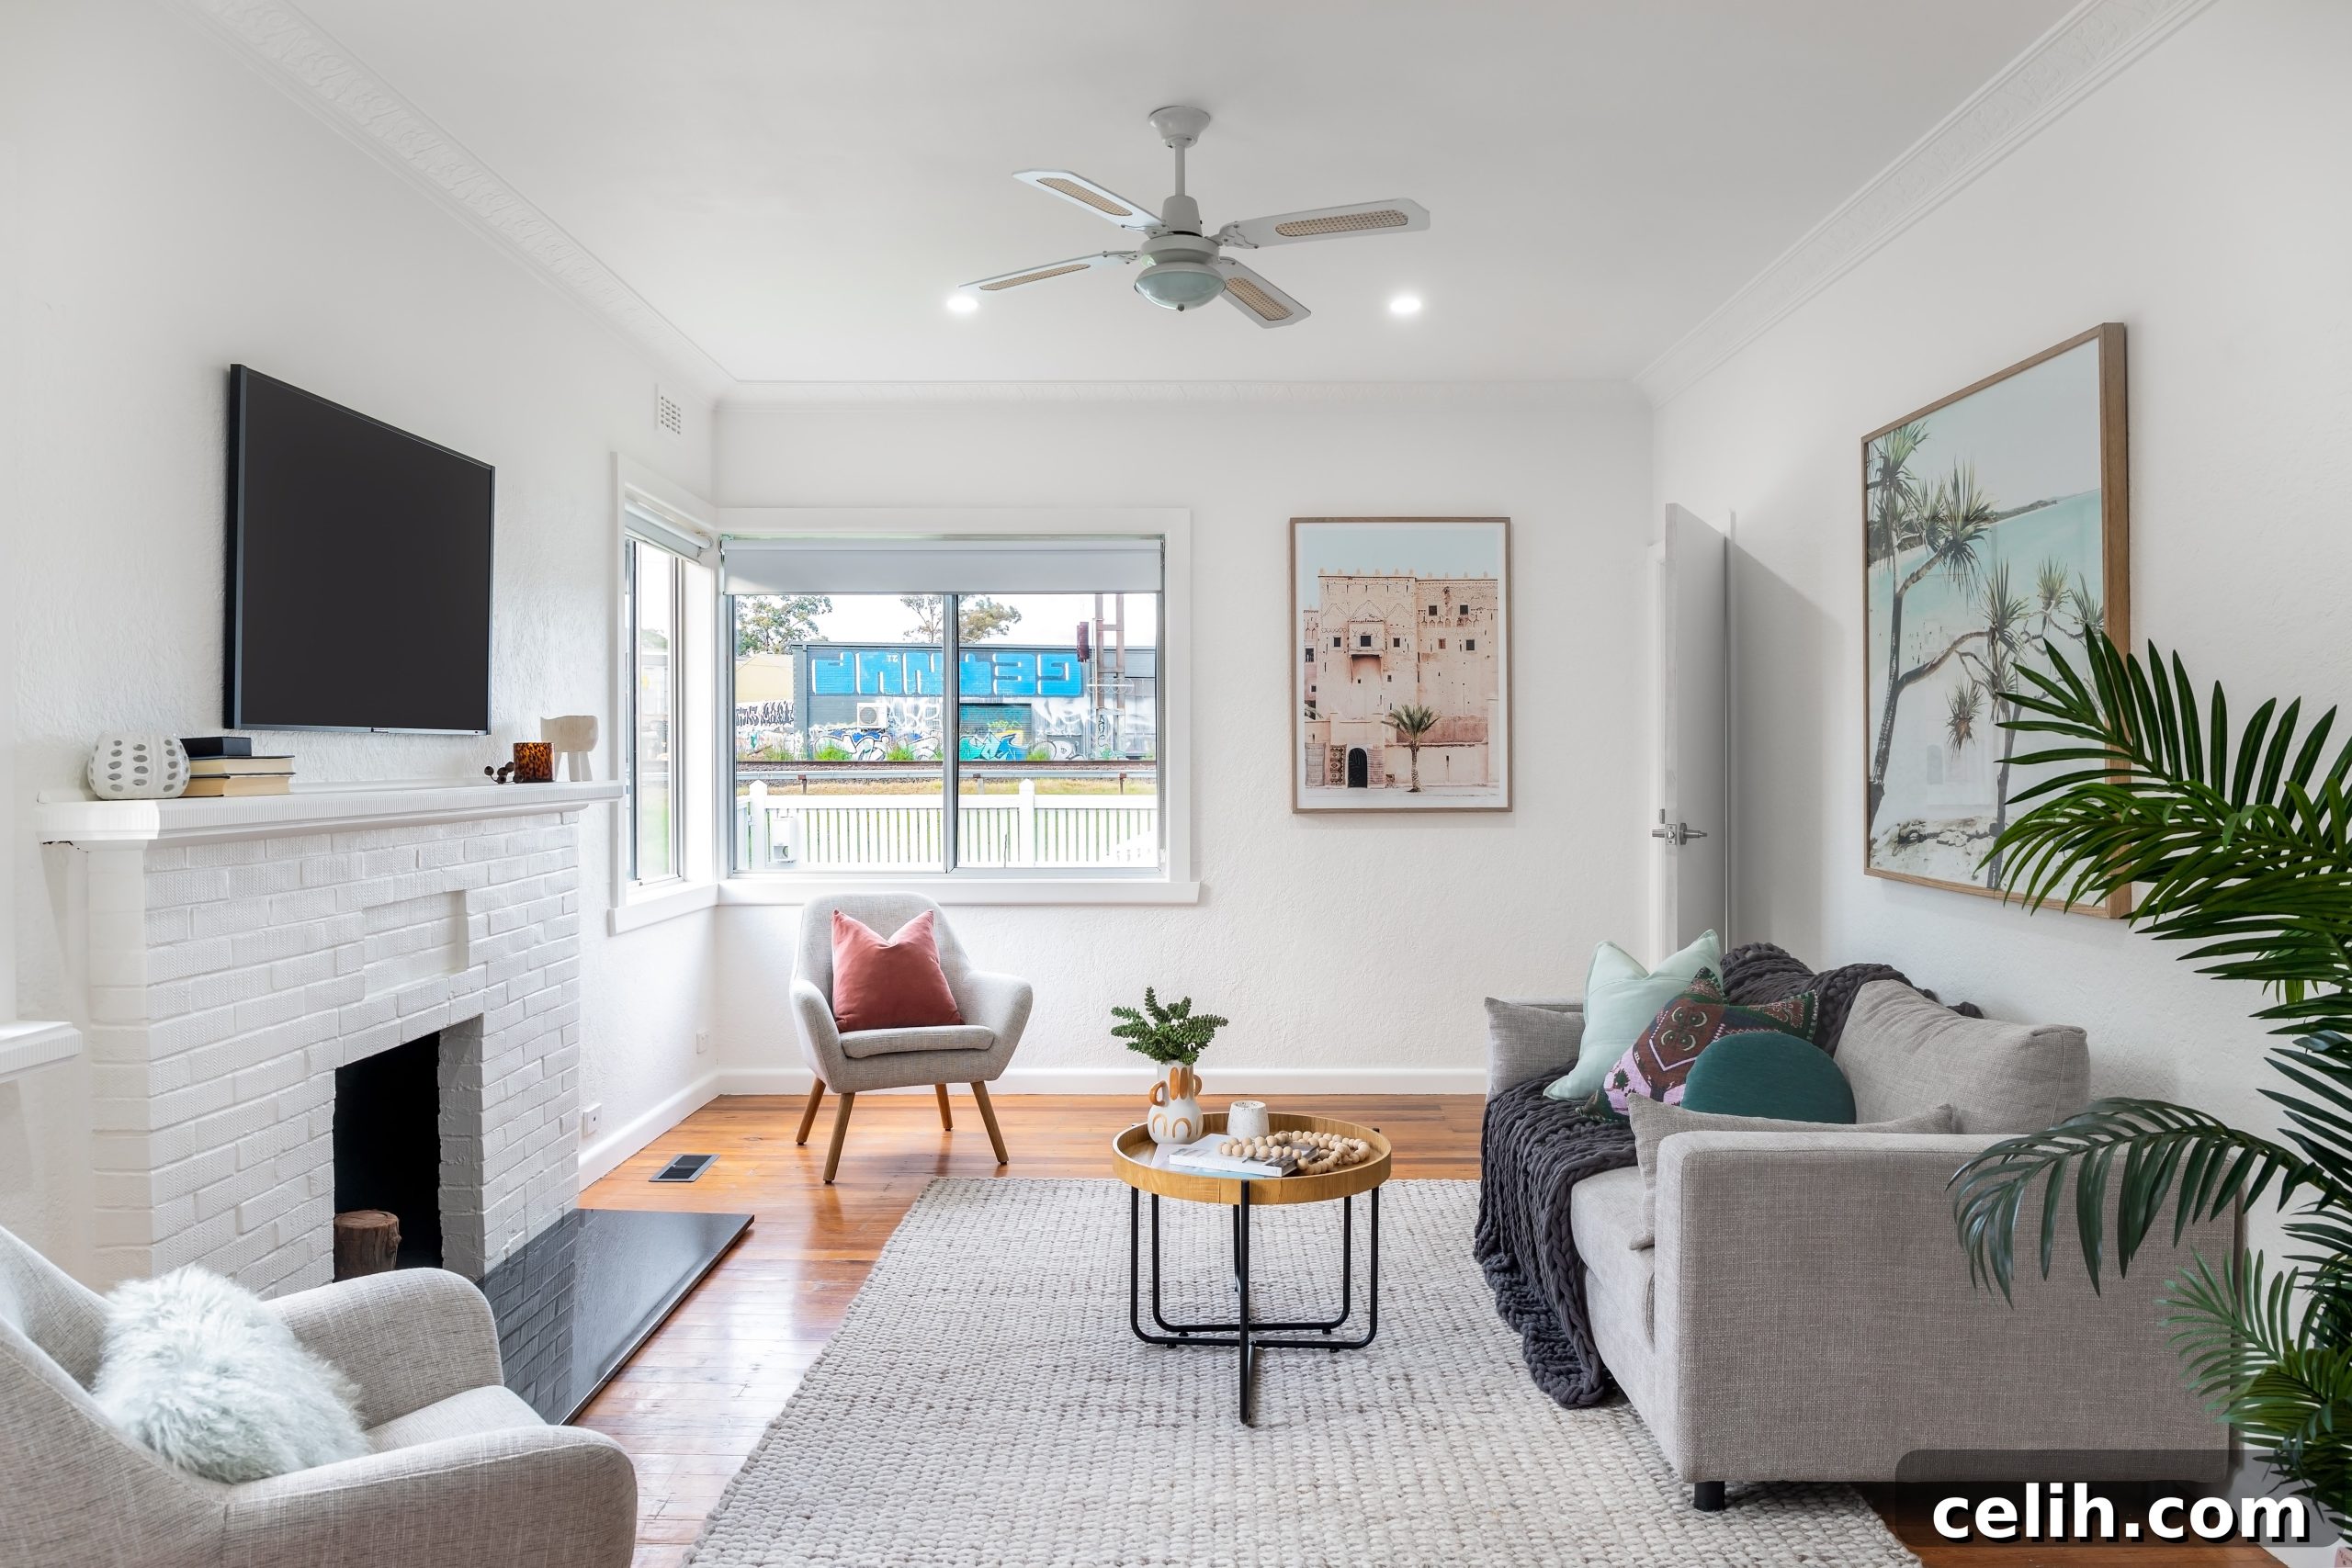
Are you looking for a transformative yet budget-friendly way to revitalize your living space? One of the most impactful and often overlooked home renovation projects is simply updating your light fixtures. Far more than just functional elements, lighting choices play a pivotal role in setting the ambiance, enhancing decor, and improving the overall comfort of your home.
Changing your light fixtures serves a dual purpose: it instantly modernizes your home’s aesthetic and dramatically improves illumination. Nobody enjoys stepping into a dimly lit, dreary room. The right light fixture can instantly dispel shadows and create a welcoming, vibrant atmosphere. Moreover, outdated fixtures, such as those with faded brass or plain white finishes, can make a room feel stagnant and old-fashioned. A carefully selected modern fixture, however, can provide an immediate and noticeable facelift, aligning your space with contemporary design trends.
The beauty of updating light fixtures lies in its relative affordability and accessibility as a DIY project. Unlike major renovations, most fixtures are reasonably priced, and with a bit of guidance, many homeowners can easily tackle the installation themselves, saving on labor costs. This article will delve into the numerous benefits of upgrading your lighting, explore a variety of fixture ideas to inspire your choices, and provide clear, step-by-step instructions on how to change them safely and effectively. Get ready to illuminate your home and your life!
Understanding Your Lighting Needs: How Much Illumination Is Ideal?
One of the most significant advantages of updating your light fixtures is the opportunity to optimize the brightness of your space. While there’s a scientific approach to determining the perfect amount of lighting for any given room, you don’t need to be an electrical engineer to recognize when a room feels poorly lit or, conversely, excessively bright. Proper lighting transforms a room; everything looks better, colors pop, and even the paint sheen appears as it was intended to.
So, how do you pinpoint the exact amount of lighting your room requires for optimal comfort and functionality? It begins with a simple calculation: determining the square footage of your room by multiplying its length by its width. Once you have the square footage, you’ll multiply it by the recommended footcandle requirement for that specific type of room. Footcandles measure the intensity of light, and different spaces have varying needs. For instance, bedrooms and living rooms typically require between 10 and 20 footcandles for a comfortable, general illumination. Kitchens and bathrooms, where task lighting is crucial, often demand 30-40 footcandles, while dining rooms might be somewhere in between, around 20-30 footcandles.
Multiplying your room’s square footage by the recommended footcandle number yields the total lumens needed for the space. Lumens indicate the total amount of visible light emitted by a light source. Modern light bulbs, especially LED bulbs, clearly specify their lumen output. This number allows you to strategically choose how many bulbs and what type of fixtures you’ll need to achieve the desired brightness.
For example, if your bedroom measures 180 square feet, and you aim for 10-20 footcandles, you’ll need between 1,800 and 3,600 lumens (180 sq ft * 10 fc = 1800 lumens; 180 sq ft * 20 fc = 3600 lumens). A standard 60-watt equivalent LED bulb typically emits around 760-800 lumens. Therefore, a single light fixture with three to four such bulbs would adequately illuminate your space, falling within or slightly exceeding that range and providing ample, comfortable light without being overwhelming.
Beyond Brightness: Layers of Light and Color Temperature
Achieving ideal lighting isn’t just about lumens; it’s also about layering and color temperature. Thoughtful lighting design incorporates three layers: ambient, task, and accent lighting. Ambient lighting provides general illumination, often from ceiling fixtures. Task lighting focuses on specific areas for activities like reading or cooking, usually from lamps or under-cabinet lights. Accent lighting highlights architectural features or artwork, typically using spotlights or track lighting.
Color temperature, measured in Kelvin (K), also plays a crucial role. Lower Kelvin numbers (e.g., 2700K-3000K) produce a warm, yellowish light similar to incandescent bulbs, ideal for cozy living rooms and bedrooms. Higher Kelvin numbers (e.g., 4000K-5000K) emit cooler, bluer light, better suited for task-oriented areas like kitchens, bathrooms, or home offices where alertness is desired. Understanding these aspects allows you to create a truly sophisticated and functional lighting scheme for every room.
The Multifaceted Benefits of Updating Ceiling Fans
Updating the ceiling fans in your home offers a multitude of benefits that extend far beyond simple aesthetics. Whether you’re replacing an existing, aging fan or installing a new one in place of a basic dome light fixture, this upgrade is guaranteed to enhance both the visual appeal and functional comfort of your space. For instance, many homeowners appreciate brands like Sofucor ceiling fans, known for their cost-effectiveness, diverse color options, and customization support, making it easier to find a fan that perfectly matches your home’s style.
Modernized Finish and Style
One of the most compelling reasons to replace an old ceiling fan is to refresh its finish and design. Homes built decades ago often featured white or polished brass fixtures, finishes that, to many contemporary eyes, now appear distinctly outdated. Today’s design trends lean towards more sophisticated and versatile options like brushed nickel, oil-rubbed bronze, matte black, or even clean chrome. Pairing these modern finishes with blades in a complementary wood tone or a sleek solid color can dramatically elevate the room’s aesthetic, making it feel current and stylish. The sheer variety of new design choices in the fan market is vast, so we highly recommend visiting local lighting providers. For example, if you reside in North Carolina and are considering a lighting upgrade, a trip to a lighting showroom in Charlotte, Winston-Salem, Cary, or any of the state’s larger metropolitan areas will likely offer a much broader selection of products compared to smaller town showrooms, allowing you to see and compare different styles in person.
Enhanced Illumination with More Bulbs
Sometimes, the problem isn’t just an outdated look, but insufficient lighting. An older fan or fixture might simply not accommodate enough bulbs to provide the proper amount of light needed for the room’s size and purpose. Choosing a new ceiling fan with a larger light kit that holds more bulbs will instantly brighten up your room, eliminating dark corners and creating a more inviting atmosphere.
Optimized Light Dispersion: Globe vs. Individual Shades
The design of the light housing significantly impacts how light is distributed. If a ceiling fan fixture is intended to be the primary light source in a room, opting for one with a large, enclosed globe over the light bulbs might not be the best choice. While aesthetically pleasing in some contexts, globes tend to block and diffuse a significant portion of the light emitted, effectively making your room feel darker than it should. Instead, consider fixtures with individual shades or exposed bulbs, allowing light to spread more freely and effectively illuminate your space.
Unparalleled Convenience with Remote Control and Smart Features
Modern ceiling fans come equipped with features that prioritize convenience and smart living. Many contemporary models can be controlled wirelessly via a remote, offering unparalleled ease of use, especially in bedrooms. Imagine being able to adjust fan speed, turn lights on or off, or even dim the lights without having to get out of bed! This level of comfort and control is a super convenient feature that greatly enhances daily living. Furthermore, some advanced ceiling fans can integrate with smart home systems, allowing voice control or scheduling, taking convenience to the next level.
Improved Air Circulation and Energy Efficiency
Beyond lighting, ceiling fans are excellent for improving air circulation. In warmer months, they create a downdraft that provides a cooling effect, allowing you to set your thermostat a few degrees higher and reduce air conditioning costs. In cooler months, reversing the fan’s direction to an updraft gently pushes warm air (which naturally rises) back down, distributing heat more evenly and potentially lowering heating expenses. Many modern ceiling fans also incorporate energy-efficient DC motors, which consume significantly less power than older AC motors, leading to further savings on your utility bills.
Step-by-Step Guide: How to Change a Ceiling Fan
So, you’ve decided to embark on this home improvement journey, selected a stunning new ceiling fan, and are ready for the transformation. Now comes the exciting part: installation. The process of replacing a ceiling fan is generally straightforward for most homes, though older properties might present unique challenges, such as dealing with aluminum wiring, which might warrant professional assistance.
Essential Tools You’ll Need:
Before you begin, gather the following tools to ensure a smooth installation process:
- Phillips and flathead screwdrivers
- Wire strippers/cutters
- Electrical tape
- Non-contact voltage tester
- Ladder or sturdy step stool
- Pliers
- Wire nuts (usually included with new fan)
- Safety glasses
Safety First: Preparing for Installation
The absolute first and most critical step is to prioritize safety. Locate your home’s electrical panel and switch off the circuit breaker that controls the power to the room where you’ll be working. It’s not enough to just flip the light switch; you must cut off the power at the source. To double-check, use a non-contact voltage tester on the existing fixture’s wires once you’ve opened it up. This ensures no residual power is flowing, preventing accidental shocks.
Removing the Old Fixture
Once power is safely off, you can begin dismantling the old fixture. It’s often easiest to remove the fan blades first, as this significantly reduces the weight and bulk of the entire assembly, making it much safer and simpler to handle. After the blades are off, carefully lower the motor housing. Before fully disconnecting the wires, pay close attention to how the previous fixture was wired. Take a mental note or, even better, snap a photo of the connections. Most new fans will follow a similar wiring scheme (usually black for hot, white for neutral, and green/bare copper for ground), and having a reference can be incredibly helpful.
Installing the New Ceiling Fan
With the old fixture safely removed, it’s time to bring in your new fan. The best advice we can offer here is paramount: carefully read and meticulously follow the manufacturer’s specific instructions provided with your new fan. Every model can have slight variations in assembly. However, here’s a general sequence of steps:
- Mounting Bracket Installation: The first step typically involves securing the new mounting bracket to the existing ceiling electrical box using the screws provided. Ensure this bracket is firmly attached and can support the fan’s weight.
- Hang the Motor Housing: Many modern fans feature a design that allows you to temporarily hang the motor housing onto the mounting bracket, freeing your hands to make the electrical connections.
- Wiring Connections: This is a crucial step. You’ll generally connect the wires from your new fan to the corresponding house wires.
- Connect the fan’s green or bare copper ground wire to the house’s bare copper or green ground wire.
- Connect the fan’s white (neutral) wire to the house’s white (neutral) wire.
- Connect the fan’s black (hot/live) wire to the house’s black (hot/live) wire. If your fan has separate wires for the fan motor (often black) and the light kit (often blue or red), and you have dual wall switches, you’ll connect them to the respective hot wires from the wall switches. If you only have one switch, you’ll connect both the fan’s hot wire and the light kit’s hot wire to the house’s single black hot wire. Secure all connections firmly with wire nuts and wrap them with electrical tape for added security.
Electrical wiring has specific nuances, and if you are ever unsure or uncomfortable with this step, do not hesitate to call a certified electrician. Safety should always come first.
- Secure the Housing: Once wiring is complete, carefully tuck the wires into the electrical box and secure the fan’s main body (motor housing) to the mounting bracket. A decorative canopy or shroud will likely go over this assembly, concealing the wiring and bracket.
- Attach Fan Blades: Install the fan blades according to the manufacturer’s instructions. This usually involves attaching them to blade holders, which then screw into the motor housing.
- Install Light Kit (if applicable): If your fan includes a light kit, connect its wires (typically matching colors like white to white, black to black) to the corresponding wires from the main fan body. Then, mount the light kit to the bottom of the fan motor housing.
- Final Touches: Attach any decorative shades or globes, screw in the light bulbs, and install pull chains if your fan operates with them.
Once everything is securely in place, head back to your electrical panel and turn the circuit breaker back on. Test your new fan and light to ensure everything works properly. Congratulations! You’ve successfully installed a new light fixture and enhanced your home.
Upgrading from a Dome Light to a Ceiling Fan: What You Need to Know
Home builders frequently install basic globed dome lights in bedrooms as a standard, cost-effective option, rather than including ceiling fans. These fixtures, often limited to one or two light bulbs enclosed within a globe, notoriously leave bedrooms feeling dim and poorly lit. Replacing such a dome light with a modern ceiling fan not only significantly brightens the room but also introduces the invaluable benefit of air circulation, enhancing comfort throughout the year.
The process of swapping a dome light for a ceiling fan is largely similar to replacing an existing fan, but there are a couple of critical nuances homeowners must be aware of to ensure a safe and successful installation.
Critical Electrical Box Support
The most important consideration is to verify that the existing electrical box in the ceiling is robust enough to safely support the weight and rotational forces of a ceiling fan. Dome lights are relatively lightweight fixtures, meaning their electrical boxes might only be secured directly to the ceiling drywall with simple clips or screws. This setup is entirely inadequate for a ceiling fan, which is considerably heavier and vibrates during operation. The weight and movement of a ceiling fan would almost certainly cause an improperly supported box to pull free from the drywall, creating a significant safety hazard. Before hanging any ceiling fan, you must ensure that the electrical box is securely attached to the adjacent ceiling joists with appropriate fan-rated hardware. If it’s not, you’ll need to install a fan-rated electrical box, which often involves using a specialized brace that extends between the joists for secure mounting.
Understanding Wiring Configurations
Another key difference lies in the wiring. When replacing an old ceiling fan, there were likely two separate hot wires (often red and black) controlled by individual wall switches – one for the fan and one for the light. With a simple dome light, you might only find a single black hot wire (in addition to a white neutral and a ground wire). This configuration is still perfectly acceptable for installing a new ceiling fan, but it means that the fan motor and the light kit will both be controlled by that single wall switch. If you desire separate control for the fan and lights (e.g., turning on the light without the fan, or vice-versa), you will need to utilize the pull chains on the new fan itself to operate them independently.
In this single-switch wiring setup, you would connect the house’s single black hot wire to both the black (fan motor) and blue (light kit) wires of your new ceiling fan. Ensure all connections are secure with wire nuts. If you absolutely require separate wall switch control and only have one hot wire, a professional electrician would need to run new wiring to create a dual-switch setup, which is a more involved and costly project.
Stylish Alternatives: Low-Profile and Integrated LED Lighting
While ceiling fans are excellent for many spaces, they aren’t always the ideal choice for every room in your home. Areas like hallways, kitchens, bathrooms, closets, or rooms with low ceilings often benefit from different types of fixtures. However, these spaces might still feature outdated lighting that detracts from your home’s overall aesthetic. This is where low-profile light fixtures come into their own.
An excellent and increasingly popular option is the low-profile light fixture. These modern alternatives serve a similar purpose to traditional dome lights – providing general ambient lighting – but do so with significantly more style and efficiency. Thanks to advancements in LED technology, most contemporary low-profile fixtures utilize integrated LED arrays instead of traditional light bulbs. This allows for incredibly slim, sleek designs that hug the ceiling, making them virtually disappear while still providing powerful illumination. Their minimalist aesthetic blends seamlessly with various interior design styles, from modern to transitional.
Replacing a current, outdated light fixture with a low-profile LED model is typically a very straightforward DIY project that can often be completed in under an hour. Beyond their stylish appearance, integrated LED fixtures offer substantial benefits. They are highly energy-efficient, consuming far less electricity than incandescent or even CFL bulbs, leading to noticeable savings on your utility bills. Furthermore, LEDs boast an exceptionally long lifespan, meaning you won’t need to replace bulbs for many years, sometimes even decades, making them a low-maintenance and environmentally friendly choice. They also provide instant-on full brightness and can often be dimmed, offering great flexibility in controlling your room’s ambiance.
Other Fixture Types to Consider:
- Recessed Lighting: Often called can lights, these are installed directly into the ceiling, offering a clean, unobtrusive look. Great for ambient or accent lighting in kitchens, living rooms, and hallways.
- Track Lighting: A flexible system where multiple light heads are mounted on a track, allowing you to direct light precisely where needed. Ideal for highlighting artwork, architectural features, or providing task lighting in kitchens.
- Pendant Lights: Suspended from the ceiling by a rod or chain, these decorative fixtures are perfect for task lighting over kitchen islands, dining tables, or as accent lighting in corners.
- Wall Sconces: Mounted on walls, sconces provide ambient or accent lighting, adding warmth and depth to hallways, bedrooms, or living rooms.
- Chandeliers: Grand and decorative, chandeliers serve as a focal point, typically in dining rooms, foyers, or large living spaces, providing both ambient light and an element of luxury.
Transform Your Home: The Impact of Updating Light Fixtures
In the realm of home renovation, changing your light fixtures stands out as one of the most cost-effective and easiest ways to profoundly modernize your home’s appeal. This seemingly small update offers a cascading array of benefits that will dramatically elevate your living experience. Not only will this renovation infuse your home with contemporary finishes and a fresh aesthetic, but by carefully selecting the right fixtures, you will also make your rooms significantly brighter, more inviting, and undeniably more lively.
Beyond the immediate visual improvements, updating your lighting can positively impact your mood, enhance productivity in task-oriented areas, and even contribute to energy savings, especially when opting for modern LED solutions. It’s an investment that pays dividends in comfort, style, and efficiency.
We sincerely hope this comprehensive article has inspired you to take this pivotal step toward updating your home. Once you’ve embarked on this journey and witnessed the remarkable transformation, you’ll likely wonder why you didn’t make these changes sooner. Moreover, you won’t just have a beautifully lit and modernized home; you’ll also gain newly acquired home renovation skills and the satisfaction of a successful DIY project. So, go ahead, illuminate your world, one fixture at a time!
Post contributed by Jordan Fulmer. Jordan is the owner ofMomentum Property Solutions, a house buying company in Huntsville, AL. They specialize in buying houses in tough situations and renovating them to either sell or rent.