
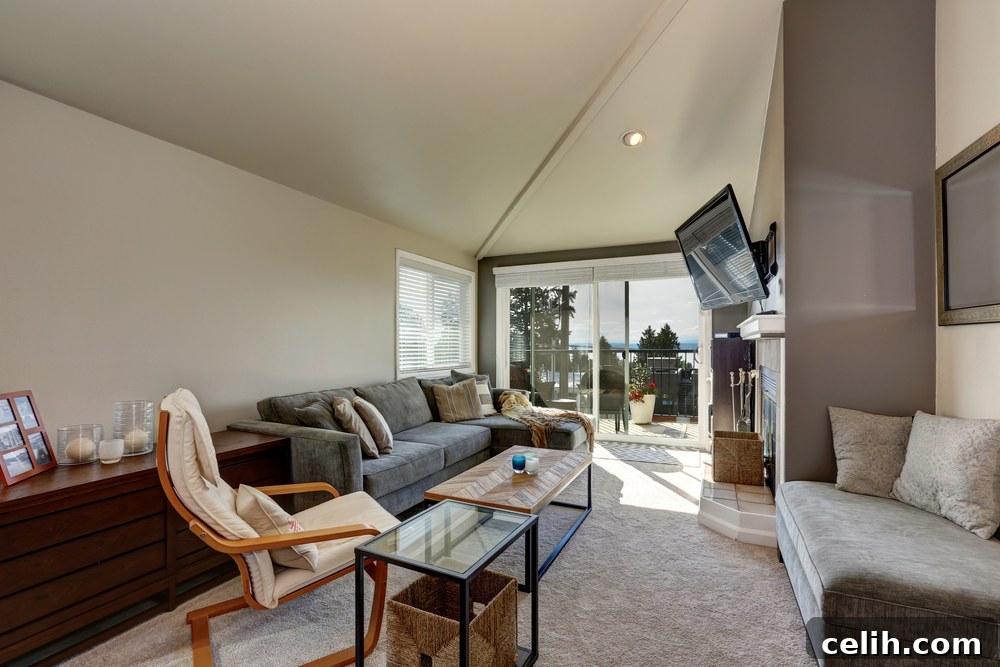
The Ultimate Guide to Wall Mounting Your TV: A Step-by-Step Installation
Transforming your living space often starts with a few simple changes, and wall-mounting your television is one of the most impactful. While the idea of drilling into your wall and hanging an expensive piece of electronics might seem intimidating, it’s a surprisingly straightforward DIY project that most homeowners can tackle. With the right tools, a clear plan, and a bit of patience, you can achieve that sleek, modern, and space-saving look you’ve always wanted. This comprehensive guide will walk you through every step of the process, from choosing the right mount to the final secure installation, ensuring your TV is perfectly positioned for optimal viewing.
Why Wall Mount Your TV? Discover the Benefits
Before diving into the installation, it’s worth understanding the numerous advantages of wall mounting:
- Space Saving: Free up valuable floor space that would otherwise be occupied by a TV stand or cabinet, making your room feel larger and less cluttered.
- Enhanced Aesthetics: Achieve a clean, minimalist look. Cables can be more easily hidden, contributing to a tidy and sophisticated environment.
- Optimal Viewing Angles: With tilting or articulating mounts, you can adjust your TV to the perfect viewing angle from anywhere in the room, reducing glare and neck strain.
- Improved Safety: Mounting your TV securely to the wall eliminates the risk of it being accidentally knocked over, a crucial safety benefit for homes with children or pets.
- Customization: Position your TV at the ideal height for your viewing habits, whether it’s eye-level for seating or higher for a bedroom.
Essential Tools and Materials You’ll Need
Having all your tools ready before you start will make the process much smoother. Here’s a detailed list:
- Stud Finder: Absolutely crucial for locating wooden studs behind your drywall, which provide the secure anchor points for your mount. Opt for an electronic stud finder for best results.
- Power Drill: Necessary for drilling pilot holes and securing the mounting bracket. Ensure it’s fully charged or has access to power.
- Drill Bit Set: You’ll need various sizes, particularly one that is slightly smaller than the lag screws provided with your wall mount kit.
- Spirit Level: An indispensable tool to ensure your TV mount is perfectly horizontal, preventing a crooked TV. A long level (24-48 inches) is ideal.
- Tape Measure: For accurate measurements of height, width, and stud spacing.
- Pencil: For marking stud locations, drill points, and the desired TV height on the wall.
- Phillips Head Screwdriver: For attaching the TV brackets to the back of your television.
- Socket Wrench/Spanner: Often required for tightening the larger lag bolts that secure the wall bracket to the studs.
- Wall Mount Kit: This is the core component, including the wall bracket, TV brackets, and all necessary mounting hardware (screws, washers, anchors). Ensure it’s compatible with your TV’s size and weight.
- Safety Glasses: Protect your eyes from dust and debris while drilling.
- Painter’s Tape (Optional but Recommended): Useful for marking lines or temporary placement of templates without damaging your wall paint.
- HDMI Cables and Power Strip (Optional): If you plan to run new cables or use a power strip behind the TV, have them ready.
- A Helper: While not a “tool,” having a second person is invaluable for safety and ease, especially when lifting the TV onto the mount.
Choosing the Right TV Wall Mount: Fixed, Tilting, or Full-Motion?
Selecting the correct type of wall mount is as important as the installation itself. Your choice depends on your viewing preferences and room layout:
- Fixed-Position Mount: The simplest and most discreet option. It holds the TV flat against the wall with no adjustability once installed. Ideal for situations where your viewing position is always directly in front of the TV at an optimal height.
- Tilting Mount: Allows you to tilt the TV vertically (up or down). This is excellent for reducing glare from windows or lights, or if you need to mount the TV higher than eye level (e.g., above a fireplace or in a bedroom).
- Full-Motion (Articulating) Mount: Offers the most flexibility, allowing the TV to extend, swivel, and tilt in multiple directions. Perfect for corner installations, reducing glare from various angles, or viewing the TV from different areas of a multi-purpose room. These mounts are generally more complex to install and require more careful consideration of stud placement due to their extended reach.
When purchasing, always check the mount’s VESA compatibility and weight capacity to ensure it can safely support your television. The VESA standard refers to the four-hole pattern on the back of your TV (e.g., 200x200mm, 400x400mm).
Pre-Installation Essentials: Planning for Success
A little planning goes a long way in ensuring a smooth and safe installation.
1. Review Your Wall Mount Manual
Each wall mount kit is unique. Before you start, thoroughly read the instructions provided with your specific mount. Familiarize yourself with all the components and the manufacturer’s recommended installation steps and safety warnings. This is paramount for a secure and correct setup.
2. Determine the Optimal TV Height and Position
This is arguably the most critical step for an enjoyable viewing experience. The general rule of thumb is to position the center of the TV at eye level when you’re seated. For most people, this means the bottom third of the TV screen should be around 42-48 inches from the floor. Consider:
- Seating Arrangement: Where will you typically be watching TV?
- Room Aesthetics: How will the TV look in relation to other furniture or architectural features?
- Glare Sources: Avoid mounting the TV where it will directly reflect windows or bright lights.
- Cable Access: Ensure the chosen location allows for easy routing of power and HDMI cables.
Use painter’s tape to mock up the TV’s dimensions on the wall at your desired height to visualize the placement before drilling.
3. Understand Your Wall Type
Most homes have drywall, which requires mounting into wooden studs for heavy objects like TVs. However, you might have plaster, brick, or concrete walls, each requiring different fastening methods and anchors:
- Drywall: Always aim for studs. If studs aren’t available exactly where needed, specialized heavy-duty toggle anchors can be used for lighter TVs, but stud mounting is always preferred for maximum safety.
- Plaster Walls: Similar to drywall, but often thicker. Use a stud finder designed for lath and plaster, and be prepared for more dust.
- Brick/Concrete Walls: These are robust but require a hammer drill and masonry drill bits, along with specific concrete anchors. Consult a professional if you’re unsure.
Step-by-Step TV Wall Mount Installation Guide
With your planning complete and tools ready, let’s get your TV on the wall!
-
Locate and Mark Wall Studs
Using your stud finder, scan the wall horizontally across the area where you intend to mount the TV. Most residential studs are spaced 16 or 24 inches apart, center to center. Mark both edges of each stud with your pencil to identify its exact width, then find the center point. It’s crucial that your wall mount bracket spans at least two studs for maximum stability, especially for larger or heavier TVs. Double-check your markings for accuracy.
-
Determine and Mark Mounting Height
Referencing the desired eye-level height you determined earlier, use your tape measure to find the exact spot on the wall where the top mounting holes of your bracket should align. Place the wall mount bracket or the provided template against the wall, lining it up with your stud marks and your desired height. Use your spirit level to ensure the bracket is perfectly level before tracing the pilot hole locations through the bracket onto the wall with your pencil. This step requires precision; a crooked mount will result in a crooked TV.
-
Drill Pilot Holes
Once all your mounting holes are accurately marked and leveled, select a drill bit that is slightly smaller than the diameter of the lag screws supplied with your wall mount kit. Drill pilot holes at each marked spot, ensuring the drill goes deep enough to penetrate the center of the stud. Be careful not to drill too deep, which could hit electrical wiring or plumbing. Drill slowly and steadily, applying consistent pressure. If drilling into brick or concrete, switch to a hammer drill and masonry bit, following the anchor instructions.
-
Secure the Wall Mount Bracket to the Wall
Align the wall mount bracket with the newly drilled pilot holes. Insert the lag screws through the bracket and into the wall, using a socket wrench or spanner to tighten them. Make sure to use any washers or spacers as indicated in your mount’s instructions. Tighten each screw securely, but avoid over-tightening, which can strip the wood or damage the stud. The bracket should be firmly flush against the wall and show no movement.
-
Attach the TV Brackets to Your Television
Carefully lay your TV screen-down on a clean, soft surface (like a blanket on a table) to protect the screen. Locate the VESA mounting holes on the back of your television. These are typically four threaded holes in a square or rectangular pattern. Attach the two vertical TV brackets (which connect to the main wall bracket) to the back of your TV using the screws and washers provided in your kit. Ensure you use the correct screw length—too long could damage internal components, too short might not hold securely. Tighten them firmly with a Phillips head screwdriver.
-
Mount the TV onto the Wall Bracket
This step is best done with a helper. Carefully lift your television, ensuring you have a firm grip. Align the TV brackets (attached to the back of your TV) with the main wall mount bracket that is now securely on the wall. Gently hook or slide the TV onto the wall mount, following your specific mount’s design. Many mounts have locking mechanisms (e.g., security screws, pull straps) to prevent the TV from accidentally lifting off. Engage these safety features immediately once the TV is in place.
-
Connect Cables and Manage Wires
Once the TV is securely mounted, connect all necessary cables (power, HDMI, optical audio, etc.). If your mount allows for cable management (e.g., built-in channels), route the wires through them for a clean look. For a truly professional finish, consider in-wall cable routing kits or decorative cable covers that run down the wall.
-
Make Final Adjustments and Test
With the TV mounted and cables connected, make any final adjustments to tilt, swivel, or extension as your mount allows. Power on the TV and test all inputs to ensure everything is working correctly. Give the TV a gentle nudge to confirm it’s stable and securely locked into place. Take a moment to admire your newly mounted TV!
Frequently Asked Questions About TV Wall Mounts
How Much Weight Can a Wall Mount Hold?
Most standard wall mounts are designed to safely hold televisions weighing between 50 to 100 pounds (23 to 45 kg). However, the exact weight capacity varies significantly by model and manufacturer. It is absolutely crucial to check the specific weight rating of your chosen wall mount kit and ensure it exceeds the weight of your television. For very large or heavy TVs (over 80-100 lbs), you might need a specialized heavy-duty mount, often designed to anchor into more studs or with reinforced materials. Always err on the side of caution and never exceed the manufacturer’s stated weight limit.
What is The VESA Standard?
The VESA (Video Electronics Standards Association) standard is a set of guidelines for the manufacturing of flat-panel display mounting interfaces. Essentially, it defines the four-hole pattern found on the back of your television and the corresponding holes on your wall mount. These measurements are typically expressed in millimeters (e.g., 100x100mm, 200x200mm, 400x400mm, 600x400mm). The VESA pattern ensures compatibility between your TV and the mounting bracket, making it easy to find a mount that fits. You can usually find your TV’s VESA size in its manual or by measuring the distance between the mounting holes yourself.
How Do I Know If My Television is Compatible With a Particular Wall Mount?
To ensure compatibility, you need to verify two main specifications: the VESA pattern and the weight capacity. First, identify your TV’s VESA measurement (e.g., 400x400mm). This information is usually in your TV’s user manual or product specifications online. Next, check the weight of your television. Then, compare these two figures to the specifications of the wall mount you are considering. The mount must explicitly state that it supports your TV’s VESA pattern and has a weight capacity greater than your TV’s weight. Some mounts are universal and can accommodate a range of VESA patterns, but always double-check these critical details before purchasing.
What is The Best Type of Wall Mount For My Television?
The “best” type of wall mount depends entirely on your specific needs, the room layout, and your viewing habits. As discussed earlier:
- Fixed mounts are best for a clean, low-profile look where the TV will be viewed straight on and doesn’t require adjustments.
- Tilting mounts are ideal for reducing glare or when mounting the TV slightly higher than eye level, like above a fireplace or in a bedroom.
- Full-motion (articulating) mounts offer maximum flexibility, perfect for awkward room layouts, corner installations, or when you need to view the TV from multiple angles. While these are the most versatile, they also tend to be more expensive and require more careful installation due to their moving parts and extended reach.
Consider your primary viewing position and potential glare issues when making your decision.
Can I Mount a TV on Drywall Without Studs?
While it is technically possible to mount a very small and light TV (typically under 20-30 lbs) directly into drywall using specialized heavy-duty toggle anchors (e.g., Snap Toggle, Toggler bolts), it is generally NOT recommended for larger or heavier televisions. For optimal safety and security, always mount your TV into at least two wooden studs. Drywall alone is not designed to support significant weight over time, and improper installation can lead to the TV falling, causing damage to the TV, wall, and potentially serious injury. If studs are unavailable in your desired location, consider alternative mounting solutions like a ceiling mount or a TV stand, or consult a professional for custom framing solutions within the wall.
How High Should I Mount My TV?
The ideal height for mounting a TV is typically at eye level when you are comfortably seated. For most living room setups, this means the center of the screen should be approximately 42 to 48 inches (107 to 122 cm) from the floor. However, this can vary based on your specific sofa height and personal preference. If you frequently recline, you might prefer it slightly higher. For bedroom TVs, mounting higher is common since you’re often viewing from a reclined position. Use the painter’s tape trick to test different heights before drilling to find what feels most comfortable for you.
Do I Need Professional Help to Mount My TV?
For most standard installations on drywall with visible studs, a DIY approach is perfectly feasible if you follow the instructions carefully and have the right tools. However, professional help is highly recommended in certain situations:
- If your TV is very large, heavy, or expensive.
- If you have complex wall types (e.g., plaster and lath, brick, concrete) and are unfamiliar with the appropriate anchoring methods.
- If you want to hide cables within the wall, which might involve cutting into drywall and potentially dealing with electrical work.
- If you simply lack the confidence, tools, or time to do it yourself.
A professional installer can ensure maximum safety, a clean finish, and efficient cable management.
Conclusion
Installing a wall mount for your television might seem like a complex endeavor, but as this guide demonstrates, it’s a manageable project for the enthusiastic DIYer. By meticulously planning, gathering the right tools, and carefully following each step, you can safely and effectively mount your TV, enhancing your home’s aesthetics and optimizing your viewing experience. Remember, precision and patience are key. Enjoy your beautifully mounted television and the refreshed look of your space!