
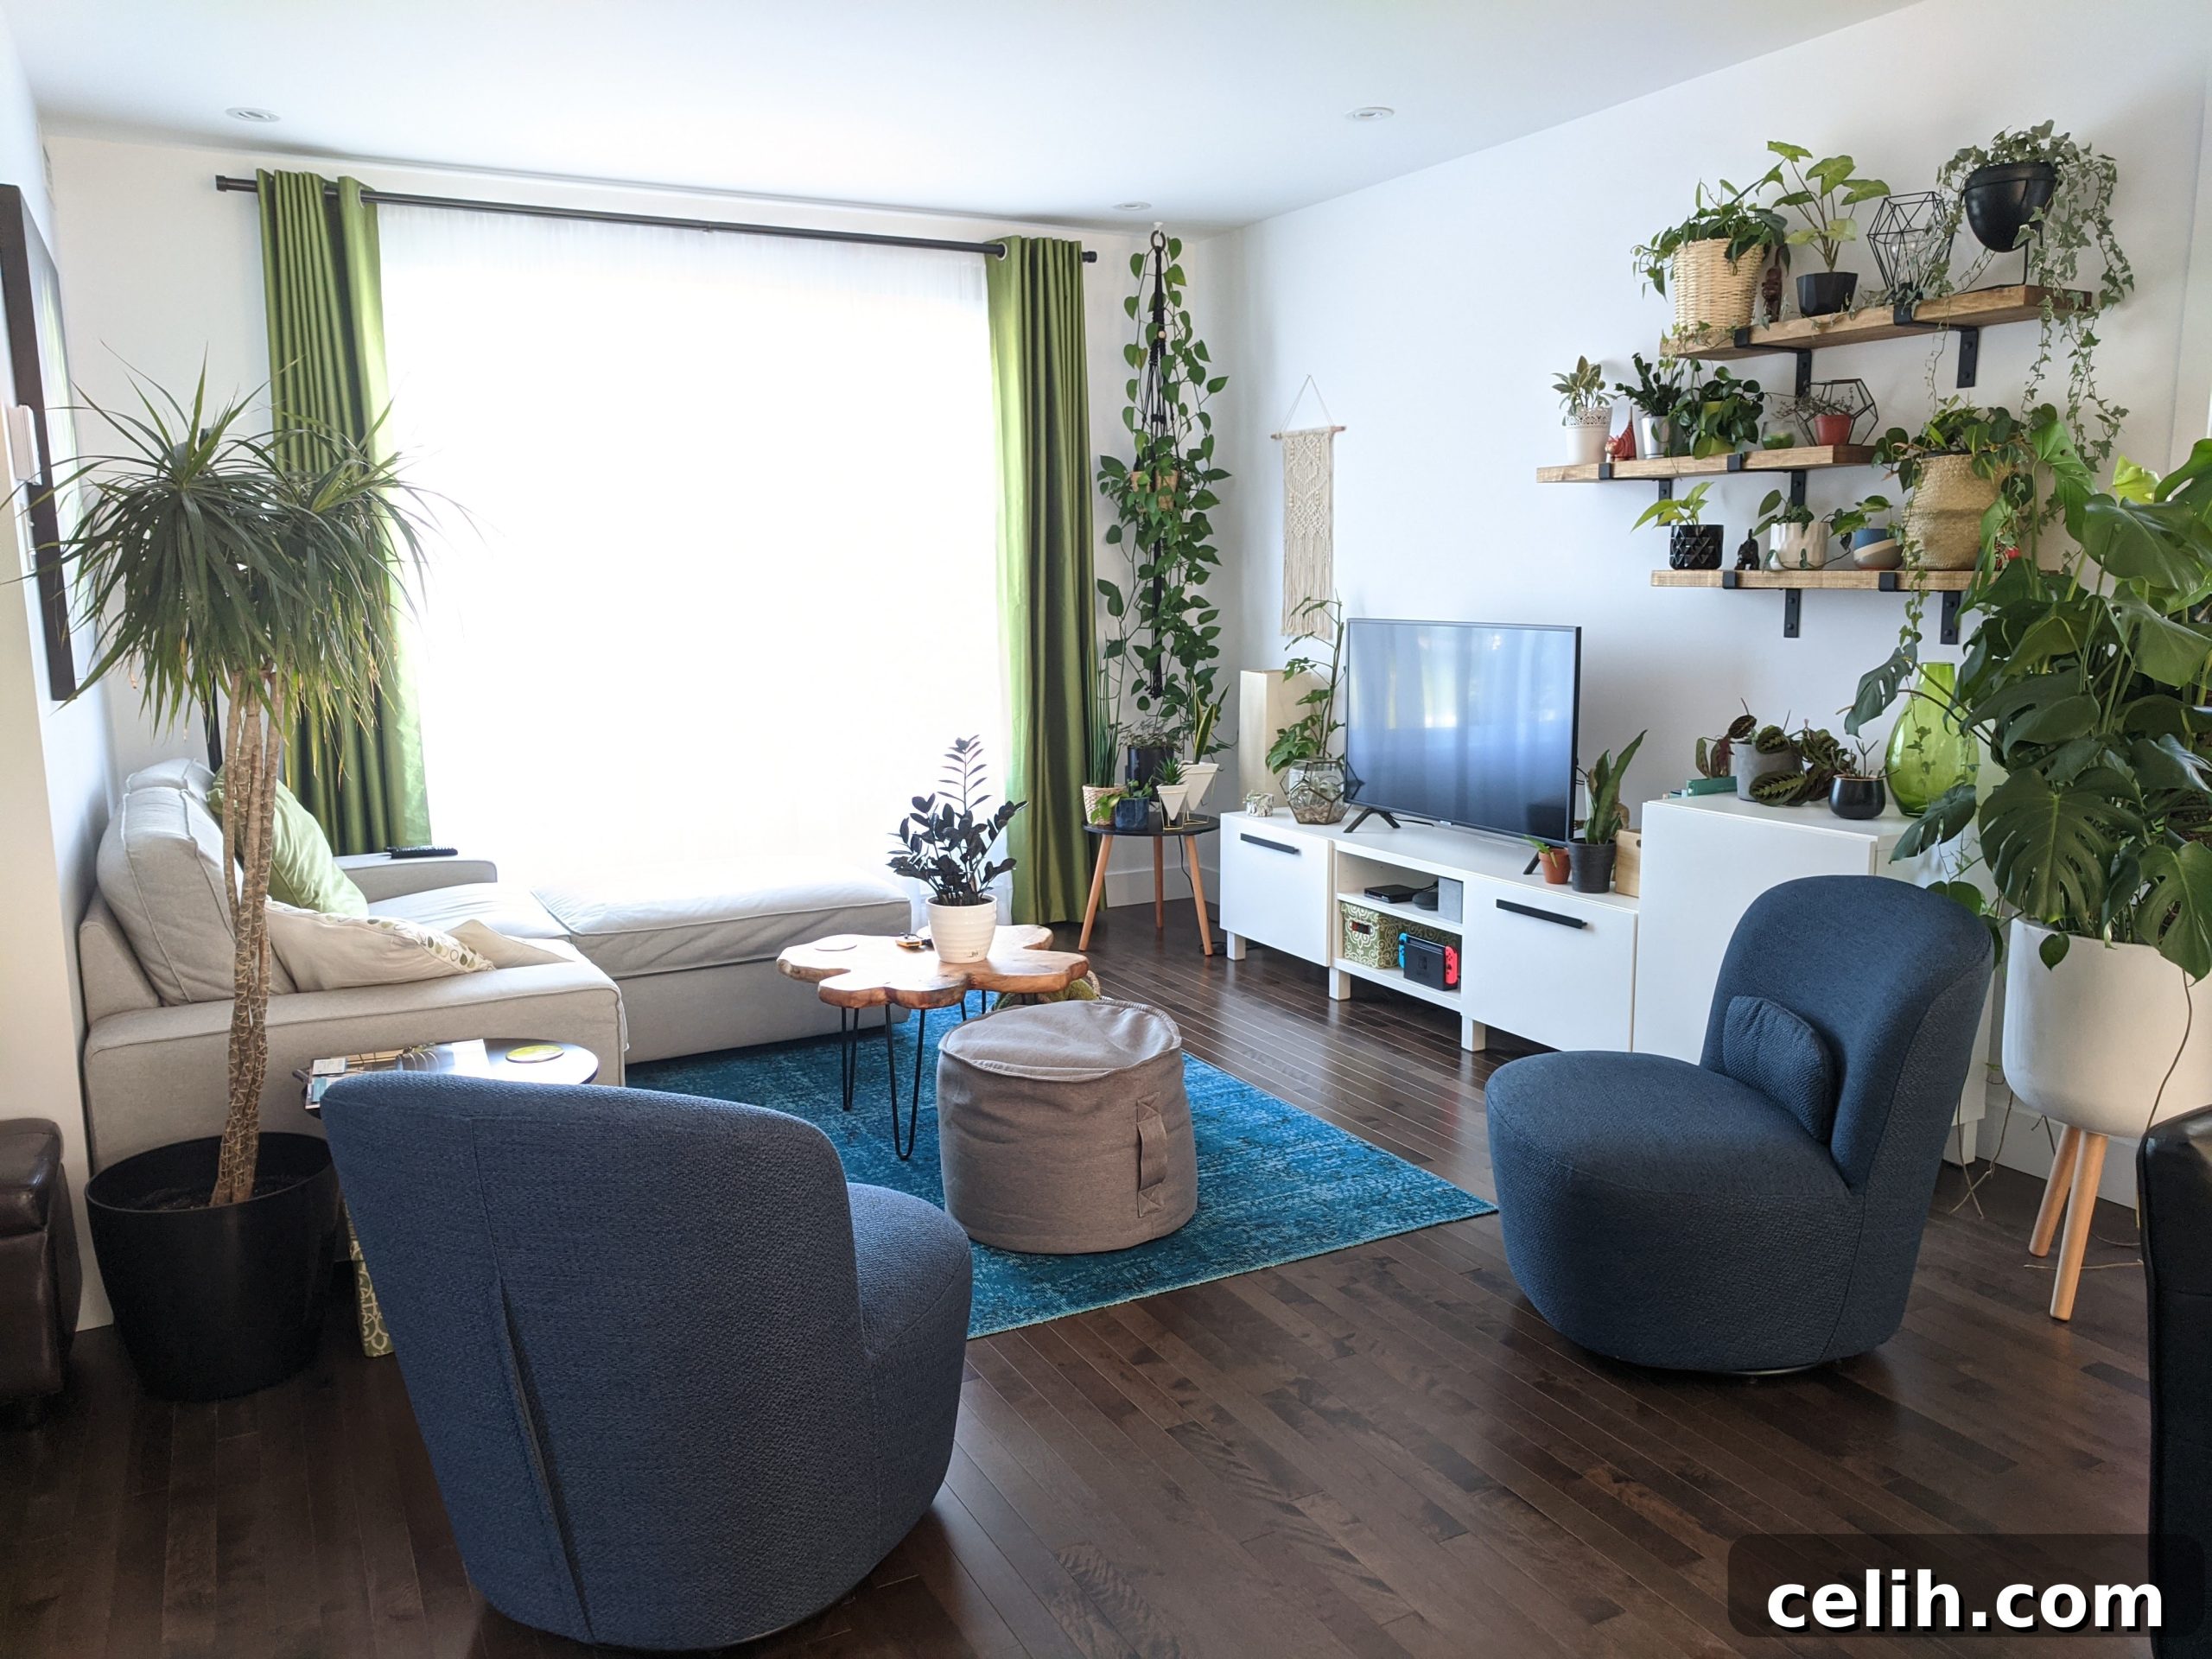
Are you dreaming of transforming your living space into a vibrant, green sanctuary? Indoor plants are an exquisite choice, offering not just aesthetic appeal but also profound benefits for your well-being. From purifying the air you breathe to significantly reducing stress levels, proximity to lush greenery can elevate your home environment and enrich your daily life. A well-placed plant instantly makes any room feel more inviting, cozy, and alive.
However, many aspiring plant parents face a common disheartening challenge: keeping their beloved indoor plants alive and thriving. The cycle of purchasing beautiful new plants, only for them to wither and fade after a few weeks, can be incredibly frustrating. But before you resign yourself to an endless rotation of replacements, consider this: plants are remarkably resilient. With the right care, understanding, and a bit of patience, many seemingly lost plants can be brought back from the brink, flourishing once again and bringing enduring beauty to your home.
If your indoor plants are looking a little worse for wear, displaying signs of distress, or simply failing to thrive, don’t despair. This comprehensive guide will walk you through proven strategies to revive your struggling green companions. We’ll delve into the most common reasons plants decline and provide actionable steps to diagnose their issues and nurse them back to vibrant health. Get ready to transform your approach to plant care and witness the remarkable comeback of your indoor garden.
Understanding Your Plant’s Unique Needs: The Foundation of Revival
One of the most significant pitfalls in indoor plant care is the tendency to treat all plants identically. This blanket approach often leads to widespread plant distress because, much like people, every plant species possesses unique requirements for optimal growth and health. From the amount of water they need to their preferred light conditions, soil composition, and even humidity levels, these individual needs are crucial for their survival. Ignoring them is often the root cause of a plant’s decline.
Before attempting any revival techniques, the absolute first step is to thoroughly research the specific care needs of each of your plants. This fundamental understanding will empower you to pinpoint where your current care routine might be falling short. For instance, a succulent like a Snake Plant thrives on infrequent watering and bright, indirect light, tolerating periods of drought. Conversely, a tropical fern, such as a Boston Fern, demands consistent moisture and high humidity, preferring dappled or low light conditions. Providing a succulent with daily watering would lead to root rot, while depriving a fern of regular moisture would cause its fronds to crisp up and die.
To begin your research, examine the plant tag that often comes with your purchase. If it’s missing or unhelpful, consider utilizing a plant identification app. There are many excellent plant identification apps available that can accurately identify your plant from a photo and then provide a wealth of information regarding its specific care requirements. Once identified, consult reliable online resources, botanical garden websites, or plant care books to learn about its native habitat, preferred growing conditions, and common problems. Create a simple “plant profile” for each of your green companions, noting down their ideal light, water, humidity, and feeding schedules. This personalized approach is the cornerstone of successful plant care and revival.
Optimizing Lighting Conditions for Plant Recovery
Light is a plant’s primary energy source, essential for photosynthesis. Therefore, inappropriate lighting—either too much or too little—is a leading cause of stress and death for indoor plants. Simply repositioning your plants to better suit their light preferences can dramatically improve their health and kickstart their recovery.
After researching your plant’s specific light requirements, assess your home’s natural light sources. South-facing windows typically offer the brightest, most direct light, ideal for sun-loving plants like cacti or certain succulents. East-facing windows provide gentle morning sun, suitable for many tropical foliage plants that prefer bright, indirect light. West-facing windows offer intense afternoon sun, which can be too harsh for some plants but perfect for others that enjoy a good dose of warmth. North-facing windows provide the least amount of direct light, making them ideal for low-light tolerant species such as the ZZ plant or peace lily.
Signs of Improper Lighting:
- Too Little Light: Plants may exhibit leggy growth (etiolation), pale yellow leaves, smaller new leaves, or a complete lack of new growth. Flowering plants may fail to bloom.
- Too Much Light: Leaves can appear scorched, bleached, or develop brown, crispy patches. The plant might look generally faded or stressed, with its leaves curling inward as if trying to protect themselves.
Once you’ve diagnosed the problem, experiment with different locations. Move sun-hungry plants closer to a brighter window or those sensitive to direct sun further away or behind a sheer curtain. Remember to rotate your plants every few weeks to ensure all sides receive adequate light, promoting even growth.
For plants that are severely light-deprived or for boosting growth during darker winter months, specialized grow lights can be a game-changer. These lights emit a spectrum specifically optimized for plant growth, mimicking natural sunlight. You can find various types, including LED, fluorescent, and HID (High-Intensity Discharge) lights. Look for hydroponics suppliers near you or online retailers, who often carry a wide range of lighting rigs suitable for indoor gardening. Using grow lights can provide a crucial energy boost, revitalizing struggling plants and even aiding in the successful germination of seedlings. Position them at the recommended distance from your plant to avoid scorching and ensure they receive consistent supplemental light for 12-16 hours a day.
Mastering Watering Habits for Plant Health
When a plant shows signs of distress, the first instinct for many is to reach for the watering can. However, a common misconception is that plants always die from a lack of water. In reality, for indoor plants, the opposite is frequently true: overwatering is a far more common killer than underwatering. Understanding the delicate balance of moisture is crucial for plant revival.
Dealing with Overwatering and Root Rot:
Excessive watering saturates the soil, displacing oxygen and suffocating the roots. Without oxygen, roots cannot absorb water or nutrients effectively, leading to decay. This condition, known as root rot, can quickly prove fatal.
Signs of Overwatering:
- Yellowing leaves, often starting from the bottom.
- Wilting, even though the soil feels wet.
- Mushy stems or leaves.
- Foul, musty odor coming from the soil.
- Small gnats flying around the plant (fungus gnats, attracted to moist soil).
Reviving an Overwatered Plant:
- Assess the Soil: Feel the soil. If it’s consistently soggy and heavy, overwatering is likely the culprit.
- Inspect Roots: Carefully remove the plant from its pot. Gently shake off excess soil to expose the roots. Healthy roots are typically firm and white or light tan. Roots affected by rot will appear brown or black, feel soft and mushy, and may smell putrid.
- Trim Rotted Roots: Using sterile scissors or pruners, carefully cut away all affected roots. Make clean cuts into healthy tissue.
- Repot with Fresh Soil: If a significant portion of roots was removed, consider repotting into a slightly smaller pot or the same pot (after cleaning and sterilizing) with fresh, well-draining potting mix. This removes excess moisture and provides a fresh start. Ensure the pot has drainage holes.
- Adjust Watering: After repotting, water sparingly and only when the top 1-2 inches of soil feel dry to the touch. For many plants, allowing the soil to dry out almost completely between waterings is ideal. A moisture meter can be a helpful tool.
Addressing Underwatering and Dehydration:
While less common than overwatering for plant death, persistent underwatering can also lead to severe dehydration and plant decline.
Signs of Underwatering:
- Drooping, limp leaves that may feel dry and crispy.
- Stunted growth.
- Dry, compacted soil that pulls away from the edges of the pot.
- Leaves turning brown and crispy, often starting at the tips.
Reviving an Underwatered Plant:
- Deep Soak Method: If your plant is severely dehydrated, place the entire pot (with drainage holes) into a bucket or sink filled with room-temperature water. Allow it to soak for about 15-30 minutes, or until the soil is thoroughly saturated and air bubbles stop rising. This allows the soil to rehydrate evenly.
- Drain Thoroughly: After soaking, remove the plant from the water and let it drain completely. Do not let it sit in standing water.
- Establish a Regular Schedule: Moving forward, commit to watering more regularly, but always check the soil moisture first. Develop a consistent watering routine based on your plant’s specific needs, the season, and your home’s environmental conditions.
Consistency is key. Instead of watering on a strict calendar schedule, get into the habit of feeling the soil. Lift the pot to gauge its weight (a dry pot is much lighter than a wet one), or use a soil moisture meter. Using filtered or rainwater instead of tap water can also be beneficial for sensitive plants, as tap water often contains chlorine and other chemicals that can accumulate in the soil over time.
The Importance of Repotting and Proper Soil
Just as children outgrow their shoes, plants eventually outgrow their pots. As a plant matures, its root system expands, requiring more space and fresh nutrients to continue flourishing. If a plant becomes “root-bound,” its roots will circle tightly within the pot, becoming compacted and making it difficult for the plant to absorb water and nutrients effectively. This leads to stunted growth, reduced vigor, and overall plant distress.
Signs Your Plant Needs a Bigger Pot:
- Roots are growing out of the drainage holes at the bottom of the pot.
- Roots are visible on the soil surface.
- The plant’s growth has significantly slowed or stopped altogether.
- The soil dries out very quickly after watering, requiring more frequent watering.
- The plant looks disproportionately large for its current container.
How to Repot a Struggling Plant:
- Choose the Right Pot: Select a new pot that is only one or two inches larger in diameter than the current one. Going too big can lead to excess soil holding too much moisture, increasing the risk of overwatering. Ensure the new pot has adequate drainage holes.
- Gather Supplies: You’ll need fresh potting mix appropriate for your specific plant type (e.g., a fast-draining mix for succulents, a moisture-retentive mix for ferns, or an all-purpose indoor potting mix). Have gloves, a small trowel, and sterile pruning shears ready.
- Prepare the Plant: Gently remove the plant from its current pot. If it’s stubborn, you might need to tap the sides of the pot or gently squeeze a plastic pot.
- Inspect and Loosen Roots: Examine the root ball. If it’s heavily compacted and circling, gently tease apart the outer roots with your fingers. Be careful not to break too many, but don’t be afraid to untangle them. If there are any dead, mushy, or discolored roots (signs of root rot), trim them away with sterile shears.
- Repot: Add a layer of fresh potting mix to the bottom of the new pot. Place your plant in the center, ensuring the base of the plant is at the same level as it was in the old pot. Fill around the root ball with more fresh soil, gently patting it down to remove large air pockets, but avoid compacting it too tightly.
- Water Thoroughly: After repotting, water the plant well until water drains from the bottom. This helps settle the soil and hydrates the roots.
The importance of good quality potting mix cannot be overstated. High-quality soil provides essential nutrients, proper aeration, and the right moisture retention for roots to thrive. Avoid using garden soil for indoor plants, as it’s too dense, can compact easily, and may harbor pests or diseases. For more detailed instructions on repotting, check out resources like The Sill’s guide to repotting. You should notice a significant improvement in your plant’s health and vitality within a few days to weeks after a successful repotting.
Addressing Pests, Diseases, and Environmental Factors
Even with perfect watering and lighting, plants can fall victim to pests or environmental stressors like low humidity and improper temperature. A comprehensive revival strategy must include vigilance against these often-overlooked culprits.
Pest Management:
Pests like spider mites, mealybugs, aphids, and fungus gnats can quickly weaken a plant by sucking out its sap or damaging its foliage.
Signs of Pests:
- Tiny insects visible on leaves, stems, or in the soil.
- Sticky residue (honeydew) on leaves or surrounding surfaces.
- Webbing (spider mites), white cottony masses (mealybugs), or distorted new growth.
- Yellowing, drooping, or mottled leaves without clear cause.
Treatment:
- Quarantine: Immediately isolate any infested plant to prevent spread to other plants.
- Manual Removal: For larger pests, physically wipe them off with a damp cloth or cotton swab dipped in rubbing alcohol.
- Insecticidal Soap/Neem Oil: For more widespread infestations, spray the entire plant (top and bottom of leaves, stems) with an insecticidal soap solution or neem oil, following product instructions. Repeat every 5-7 days until the pests are gone.
- Shower: A gentle shower with lukewarm water can dislodge many pests from leaves.
Humidity and Temperature:
Many popular indoor plants, especially tropical varieties, thrive in higher humidity than typical household environments provide. Low humidity can lead to crispy leaf edges, browning tips, and overall plant stress. Similarly, sudden temperature fluctuations or drafts can harm sensitive plants.
Improving Environmental Conditions:
-
Increase Humidity:
- Use a pebble tray filled with water beneath the plant pot (ensure the pot sits on pebbles, not in water).
- Group plants together to create a microclimate of higher humidity.
- Mist leaves regularly (though this is a temporary solution).
- Invest in a room humidifier, especially beneficial for larger collections or very dry climates.
- Stable Temperature: Keep plants away from drafts from open windows, air conditioning vents, or heat sources. Most indoor plants prefer consistent temperatures between 65-75°F (18-24°C).
Pruning and Fertilization: Boosting Recovery and Future Growth
Once your plant shows initial signs of recovery, a few additional steps can help solidify its health and encourage robust future growth.
Strategic Pruning:
Removing dead or dying foliage might seem counterintuitive when trying to save a plant, but it’s essential. Dead leaves and stems consume energy that the plant could otherwise use for new, healthy growth.
- Remove Dead/Damaged Parts: Use clean, sharp scissors or pruning shears to snip off any yellow, brown, crispy, or mushy leaves and stems. Cut back to healthy tissue.
- Encourage Bushiness: For leggy plants, pinching back growing tips can encourage the plant to branch out, leading to a fuller, bushier appearance.
Careful Fertilization:
While nutrients are vital, a struggling plant should generally not be fertilized immediately. Fertilizing a stressed plant can add to its burden. Wait until the plant has shown clear signs of recovery and has started to produce new, healthy growth.
- Choose Wisely: Use a balanced liquid fertilizer specifically formulated for indoor plants, at half strength, to avoid nutrient burn.
- Timing: Fertilize only during the plant’s active growing season (typically spring and summer), and stop during dormancy (fall and winter).
- Follow Instructions: Always adhere to the fertilizer product’s dilution and application instructions. Less is often more.
The Rewarding Journey of Plant Revival
Bringing a struggling plant back to life is an incredibly rewarding experience that deepens your connection with nature and hones your plant care skills. While some plants may indeed be too far gone to rescue, the vast majority possess an inherent resilience and desire to thrive. By patiently diagnosing their specific issues—be it incorrect watering, inadequate light, nutrient deficiencies, or pest infestations—and implementing the steps outlined above, you significantly increase your chances of witnessing a remarkable transformation.
Embrace the learning process, observe your plants closely, and understand that every plant is a living entity with its own unique language of needs. With attention and consistent, appropriate care, your indoor garden can flourish, becoming a testament to your green thumb and a source of continuous joy and tranquility in your home. Don’t give up on your green friends; empower them to thrive!
Main image credit: Photo by Véronique Trudel on Unsplash