
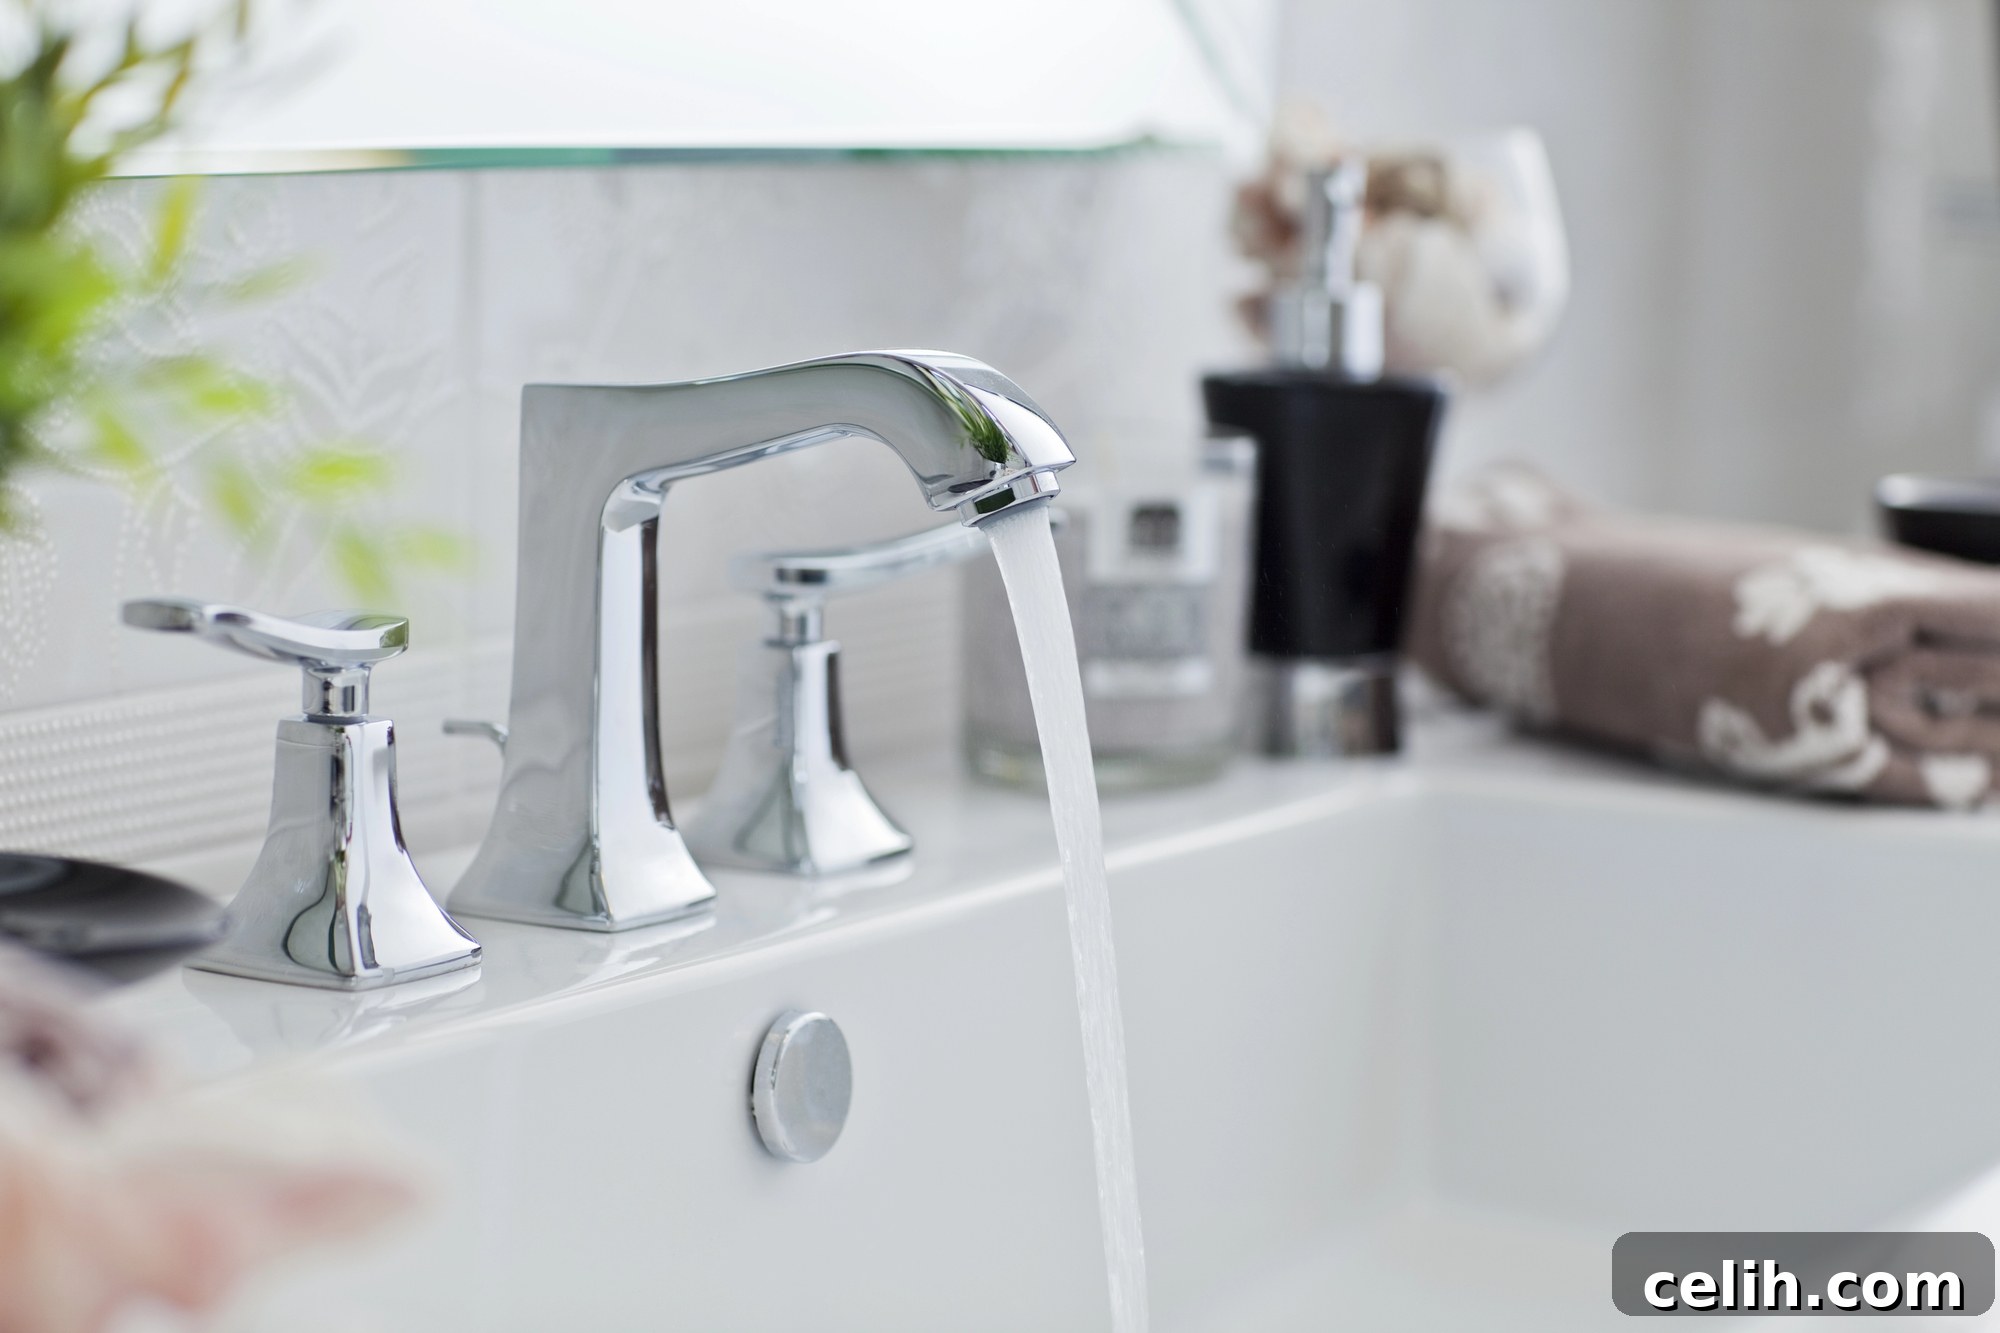
Imagine your home’s intricate plumbing system as its lifeblood, a complex network of pipes, fixtures, and appliances essential for daily comfort and hygiene. Much like the circulatory system in our bodies, for everything to function smoothly, these vital components must operate without hindrance, ensuring your home remains in top condition and preventing costly, inconvenient emergencies. Proactive plumbing maintenance isn’t just about fixing problems; it’s about anticipating them, safeguarding your investment, and ensuring a healthy living environment for your family.
Regular preventative steps can make a profound difference in the longevity and efficiency of your plumbing. These range from simple habits, such as being mindful of what goes down your drains and properly maintaining your garbage disposal, to adopting more comprehensive measures that actively protect your entire plumbing infrastructure. By understanding the common signs of impending issues and knowing how to conduct basic inspections, you can often catch minor problems before they escalate into major disasters. This guide will walk you through essential steps, empowering you to test your plumbing like a seasoned professional.
Thoroughly Inspect All Faucets and Showerheads for Performance Issues
One of the most immediate indicators of a healthy plumbing system is the performance of your faucets and showerheads. Begin your inspection by systematically checking every tap and shower in your home. Turn each one on for a few seconds, paying close attention to the water flow, pressure, and the water’s appearance and smell.
Assessing Water Flow and Pressure
Observe the strength and consistency of the water flow. Are there any signs of reduced flow, irregular spurts, or sputtering? These could be indicative of a partial blockage in the faucet’s aerator, a pipe, or even an issue with your main water supply line. A simple clogged aerator can often be cleaned by unscrewing it, rinsing out debris, and reattaching it. However, if the problem persists across multiple fixtures, it might signal a more widespread issue.
Water pressure is equally crucial. Excessively high water pressure, while seemingly powerful, can exert undue stress on your pipes, connections, and appliances, potentially leading to premature wear, leaks, and even burst pipes. Conversely, consistently low water pressure can be a significant inconvenience for daily tasks and may point to serious underlying problems such as mineral buildup within pipes, a faulty pressure regulator, or a larger blockage within your plumbing system. Consider installing a water pressure gauge to regularly monitor your home’s pressure, ideally keeping it between 40-60 PSI.
Examining Water Color and Smell
As the water runs, take note of its color and any discernible odor. Clear, odorless water is the standard. However, if you observe rusty, cloudy, or discolored water, or detect any unpleasant smells, these are red flags. Rusty water, often reddish-brown, can indicate corroding pipes, especially if it appears when a faucet hasn’t been used for a while. While sometimes harmless and fleeting, persistent rusty water warrants inspection to rule out widespread pipe deterioration, which can impact water quality and structural integrity.
Unusual odors are also critical to investigate. A rotten egg smell (hydrogen sulfide) typically suggests the presence of sulfur bacteria in your water heater or well water. A sewage-like odor can indicate a dry P-trap (allowing sewer gases to escape) or a more serious issue with your sewer line. Metallic smells might point to pipe corrosion, especially if coupled with a metallic taste. Any persistent unusual odor or discoloration poses a potential health risk and should prompt a thorough investigation by a qualified plumber to identify the source and rectify the problem.
Steer Clear of Commercial Drain Cleaners for Clogged Drains
When faced with a slow or clogged drain, the immediate temptation for many homeowners is to reach for a store-bought liquid drain cleaner. However, this seemingly quick fix can be a costly mistake in the long run. Many commercial drain cleaners rely on highly corrosive chemicals, such as lye or sulfuric acid, which generate heat and chemically dissolve clogs.
Why Commercial Cleaners Are Harmful
Over time, the harsh chemicals in these products can corrode metal pipe joints, weaken PVC and PEX pipes, and damage the seals in your plumbing system. This degradation can lead to leaks, burst pipes, and expensive repairs that far outweigh the cost of calling a professional. Furthermore, if the cleaner doesn’t fully clear the clog, it sits in the pipe, creating a toxic pool that is hazardous for anyone attempting to clear the drain manually afterward, including professional plumbers.
Safer Alternatives and Professional Solutions
For minor clogs, consider safer DIY methods first. A simple plunger can often dislodge superficial blockages. A mixture of baking soda and vinegar can be effective for some clogs – pour half a cup of baking soda down the drain, followed by half a cup of white vinegar, let it sit for 30 minutes, then flush with hot water. A drain snake or auger can also physically remove deeper clogs without chemicals.
However, for persistent clogs, multiple slow drains, or any suspected deep blockage, it is always best to call a professional plumber for clogged drain cleaning. Professionals possess specialized tools, such as drain cameras and hydro-jetters, to safely and effectively diagnose the exact location and nature of the clog, removing it without damaging your pipes. They can also address any underlying problems, such as tree root intrusion or collapsed pipes, ensuring a long-term solution rather than a temporary fix.
Perform a Comprehensive Check of Your Hot Water System
Evaluating the hot water system is an absolutely critical step during any plumbing inspection. A functioning water heater is essential for comfort, hygiene, and countless daily tasks. Given that water heaters are significant investments and costly to replace, thorough inspection and proactive maintenance can extend their lifespan and ensure efficiency.
Testing Hot Water Performance
Start by testing hot water from all taps and showers throughout your home. Note how long it takes for hot water to arrive and whether the temperature is consistent and sufficient. If hot water takes an unusually long time to reach a fixture, or if the temperature fluctuates wildly, it could indicate issues with the water heater’s thermostat, heating elements, or a buildup of sediment in the tank.
Inspecting the Water Heater Unit
Carefully inspect the water heater unit itself for any visible signs of damage or wear. Look for rust on the tank’s exterior, around the base, or on the connections. Even small rust spots can be an early indicator of internal corrosion, which could eventually lead to leaks. Check for any leaks or puddles around the base of the unit, which suggest a breach in the tank or connections. Examine the pressure relief valve (T&P valve) and its discharge pipe; this valve is a critical safety component designed to release pressure if it builds up too high.
Listen for any unusual noises coming from the water heater. Rumbling, popping, or hissing sounds often indicate a significant buildup of sediment at the bottom of the tank. This sediment not only reduces the heater’s efficiency, forcing it to work harder and consume more energy, but it can also accelerate corrosion and shorten the unit’s lifespan. Regular flushing of the water heater can help remove this sediment.
Understanding Your Water Heater’s Lifespan
Most water heating systems, especially traditional tank models, tend to show significant wear and tear after about ten to twelve years. Tankless water heaters generally have a longer lifespan, often up to 20 years, but also require maintenance. Locating the heater’s installation date, usually found on a sticker on the side of the unit, can provide invaluable insight into its age and help you anticipate when a replacement might be necessary. Planning for replacement in advance can help you avoid an unexpected and urgent expense.
Safeguard Your Pipes with Effective Insulation Strategies
Many homeowners mistakenly believe that frozen pipes are a concern exclusive to homes in historically cold climates. However, this is a dangerous misconception. Properties in warmer regions can often be at even greater risk because their plumbing systems may lack the proper insulation necessary to withstand even short periods of freezing temperatures. When water freezes, it expands, exerting immense pressure on pipes. This pressure can cause pipes to crack or burst, leading to extensive water damage, mold growth, and incredibly costly repairs.
Areas Most Vulnerable to Freezing
Specific areas within your home are particularly susceptible to freezing. These include pipes located in unheated spaces such as basements, attics, crawlspaces, garages, and exterior walls. Any pipe exposed to the elements or located in an area lacking adequate climate control needs additional protection, regardless of your geographical location.
Effective Pipe Insulation Solutions
The good news is that preventing frozen pipes can be achieved through relatively simple and affordable solutions. Readily available pipe insulation sleeves, typically made of foam or rubber, can be easily cut to size and wrapped around exposed pipes. These sleeves create a barrier that helps maintain the water temperature within the pipe, significantly reducing the risk of freezing. For pipes in very cold or hard-to-reach areas, electric heat tape or cables can provide additional protection, though these should be installed according to manufacturer instructions and local codes.
Beyond interior pipes, outdoor plumbing systems also demand attention. Features like in-ground sprinkler systems, swimming pool lines, and hot tub plumbing must be correctly winterized and insulated before the first hard freeze. This typically involves draining water from lines, using blow-out techniques, and ensuring all exposed components are protected. Failing to do so can result in severe damage to equipment and pipes, leading to expensive repairs or replacements come spring.
During extreme cold snaps, even well-insulated pipes can be at risk. As an additional measure, consider leaving a faucet dripping slightly (especially those on exterior walls) to maintain water movement, which prevents freezing. Opening cabinet doors under sinks can also allow warmer indoor air to circulate around pipes. These small steps can make a big difference in preventing a plumbing catastrophe.
Consistently Inspect All Visible Pipes for Signs of Wear
Plumbing leaks rarely appear out of nowhere. More often, they are the culmination of gradual issues, such as slow corrosion, minor deterioration, or subtle stress on pipes that worsen over time. Consistent use, varying water pressure, and even the natural aging process contribute to the wear and tear on your home’s piping system. By routinely checking visible pipes, you can identify these developing issues before they manifest as catastrophic failures.
Common Mistakes and Hidden Dangers
A frequent but often overlooked mistake homeowners make is hanging clothes, storage boxes, or other items on exposed pipes in basements, laundry rooms, or utility rooms. While pipes appear sturdy, they are designed to transport water, not to bear significant external weight. Even a few pieces of clothing, over time, can exert enough stress to bend, weaken joints, or even cause pipes to detach from their fittings, leading to leaks or bursts. Always ensure pipes are clear of any hanging or leaning items.
What to Look For During Your Inspection
Dedicate time to regularly inspect any accessible pipes in your home. This includes pipes under sinks, behind toilets, in utility closets, and in unfinished basements or crawlspaces. Look carefully for a range of indicators:
- Rust and Corrosion: Reddish or greenish discoloration on metal pipes is a clear sign of corrosion. If left unaddressed, corrosion can lead to weakened pipe walls and eventual leaks or pinhole failures.
- Dampness or Water Droplets: Any moisture on the exterior of a pipe, or around joints and connections, is a definite red flag. Even a tiny drip can indicate a slow leak that can lead to significant water damage, mold growth, and structural issues over time. Check surrounding areas for water stains on walls, ceilings, or floors.
- Pitting or Bending: Noticeable pitting on metal pipes suggests advanced corrosion. Any visible bending or warping of pipes can indicate external stress or improper support.
- Discoloration or Mold: Black, green, or brown spots on adjacent walls or ceilings often point to hidden leaks that have been slowly saturating building materials, creating an ideal environment for mold and mildew.
- Loose Fittings or Connections: Gently check that all pipe fittings and connections are snug. A loose connection is a prime candidate for future leaks.
Prompt attention to any of these signs by a qualified plumber can save you from far more extensive and costly repairs down the line. Early detection is key to effective plumbing maintenance.
Beyond Visible Pipes: Additional Critical Plumbing Checks
While inspecting faucets, water heaters, and exposed pipes covers many common issues, a comprehensive plumbing check requires attention to other vital components of your home’s system.
Toilets: The Silent Water Wasters
Toilets are often culprits for hidden water waste. Check for leaks by adding a few drops of food coloring to the toilet tank (without flushing). If color appears in the bowl after 15-20 minutes, you have a leaking flapper valve, which wastes gallons of water daily. Also, ensure the toilet doesn’t run constantly or frequently “ghost flush.” Test the stability of the toilet by gently rocking it; any movement could indicate a loose floor bolt or a wax ring seal issue, potentially leading to leaks at the base.
Drains (Sinks & Showers): Beyond the Faucet
Even if water pressure at the faucet seems fine, inspect the drainage speed in all sinks, showers, and tubs. Slow drains are a common sign of developing clogs. Listen for gurgling sounds from drains or toilets when water is running elsewhere, which can indicate issues with venting or a deeper blockage in the main drain line. Foul odors emanating from drains, even after the faucet check, might point to dry P-traps or problems with the vent system.
Main Water Shut-off Valve
Locate your home’s main water shut-off valve and ensure it is easily accessible and fully functional. In an emergency, such as a burst pipe, knowing how to quickly turn off the main water supply can prevent catastrophic water damage. Test it periodically by turning it off and on to ensure it isn’t seized.
Sump Pump (If Applicable)
If your home has a basement or crawlspace prone to flooding, a sump pump is a critical defense. Test your sump pump regularly by pouring a bucket of water into the sump pit to ensure it activates, pumps the water out, and then shuts off correctly. Check that the discharge pipe is clear of obstructions and points away from your foundation. Consider a battery backup system for power outages.
Water Meter for Hidden Leaks
For an overall leak check, turn off all water-using appliances and fixtures in your home. Then, locate your water meter and note the reading. Wait for 15-30 minutes, ensuring no water is used anywhere, and then recheck the meter. If the meter reading has changed, or if a leak indicator on the meter (often a small triangle or gear) is spinning, you likely have a hidden leak somewhere in your plumbing system.
Conclusion: The Importance of Professional Expertise
While these comprehensive suggestions can significantly help reduce common plumbing issues and empower you to be proactive in your home maintenance, it’s an undeniable truth that most homeowners will eventually encounter a plumbing problem that extends beyond DIY capabilities. Plumbing systems are complex, and certain issues demand the specialized knowledge, advanced tools, and proven experience of a licensed professional plumber.
If you come across a significant leak, a burst or severely damaged pipe, persistent drainage problems, a complete lack of hot water, sewage backup, or any issue that makes you uncomfortable, prompt professional repairs are the most effective way to avoid expensive water damage, potential health hazards, and further system failures. Professional plumbers can accurately diagnose complex problems, perform repairs in compliance with local codes, and offer solutions that ensure the long-term health and efficiency of your home’s plumbing system. Regular professional inspections, even when no obvious problems exist, can also catch latent issues, providing peace of mind and extending the life of your entire plumbing infrastructure.