
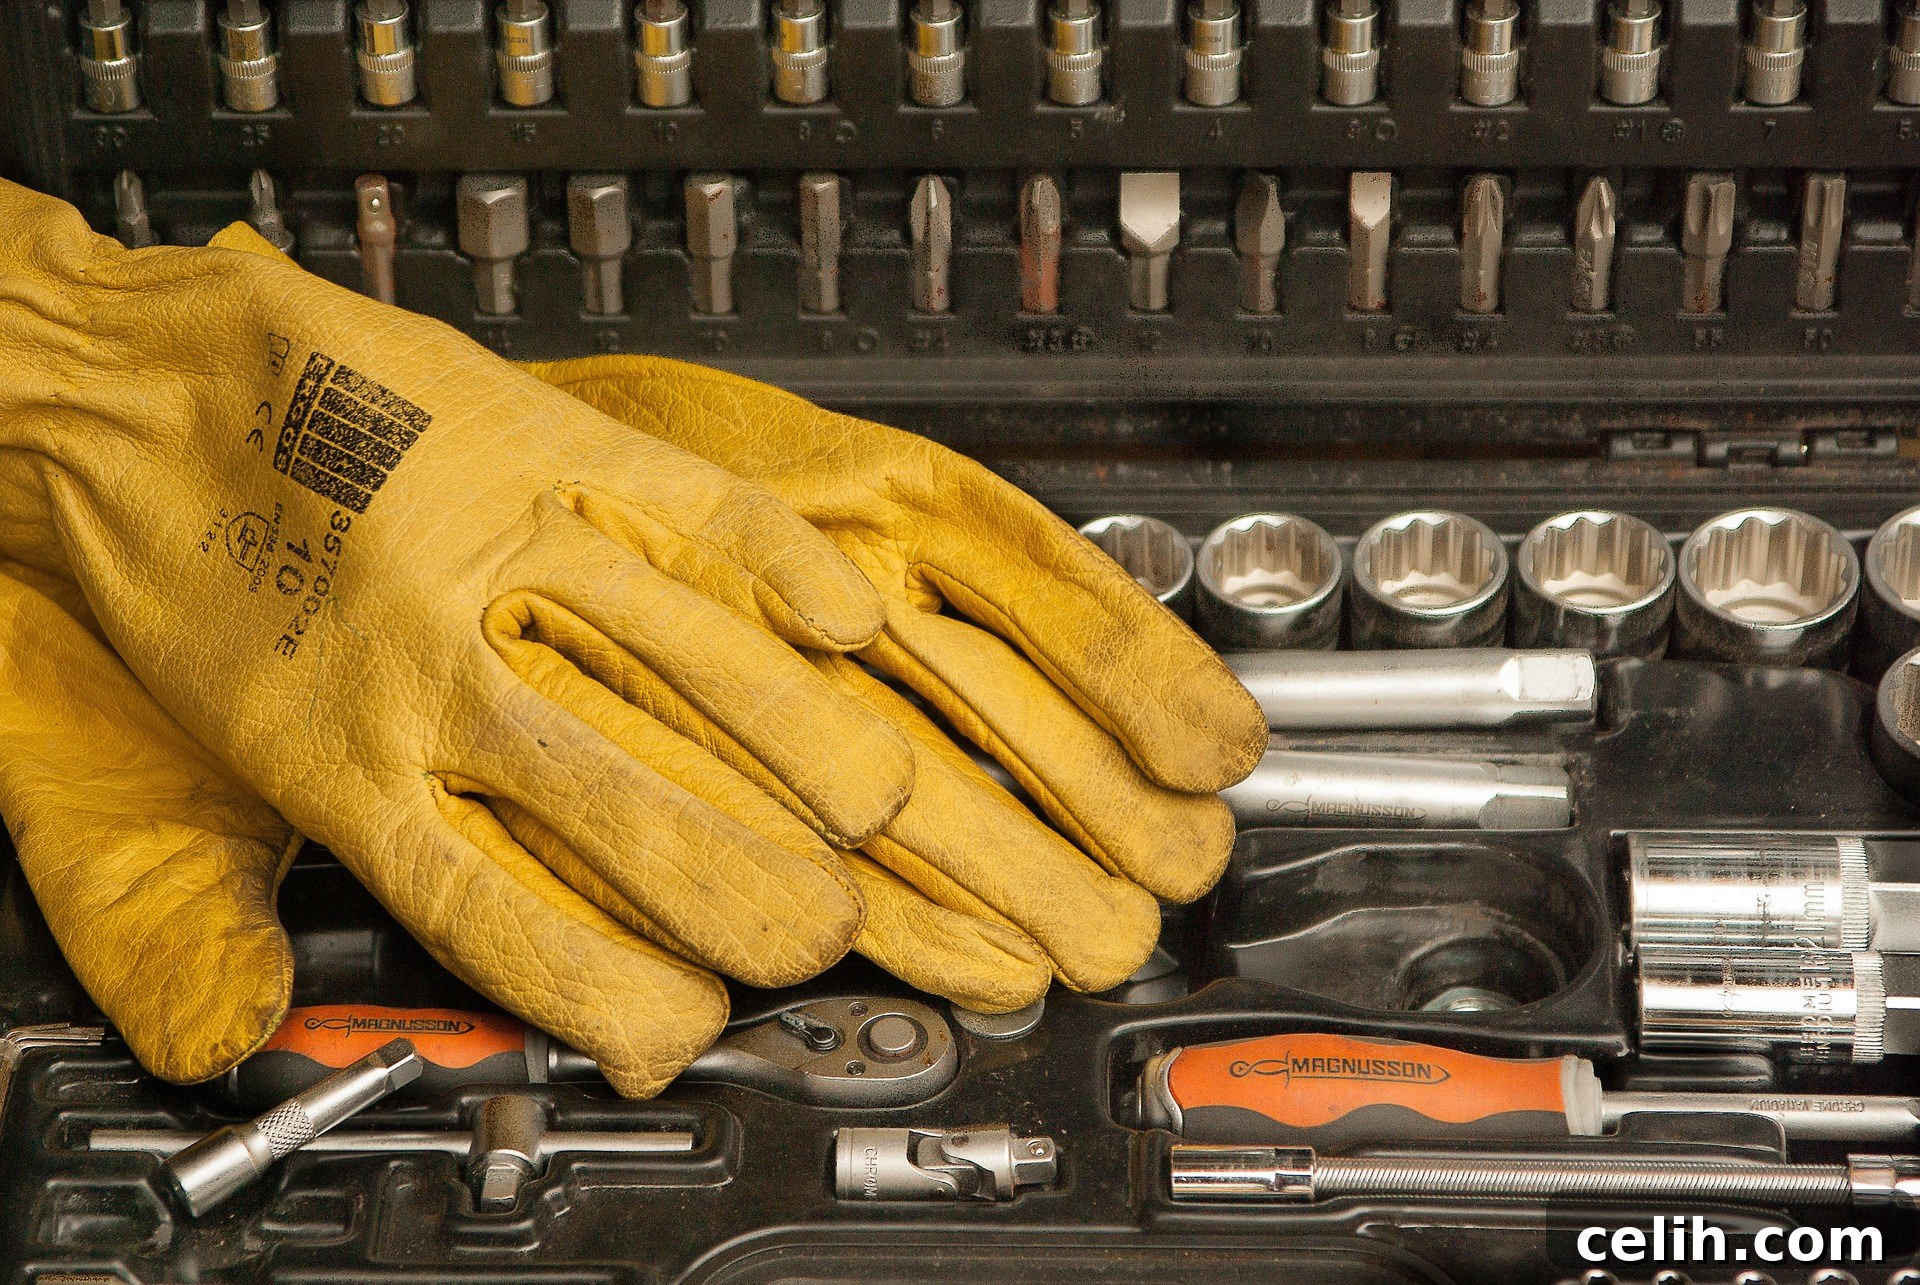
Embarking on a home renovation journey can be an exhilarating, yet potentially expensive endeavor. Between the costs of labor, materials, and finishing touches, expenses can quickly accumulate. This is precisely why a growing number of homeowners are opting to tackle home improvement projects themselves, rather than enlisting professional help. In fact, statistics from 2020 revealed that a significant 37% of homeowners embraced DIY home renovation projects, a trend that continues to gain momentum.
However, successful DIY renovation goes far beyond simply possessing a keen desire to transform your living space. It demands the right arsenal of tools – equipment that extends well beyond a basic paintbrush or a utility knife. To assist aspiring DIY enthusiasts, we’ve collaborated with experts from Highest Cash Offer to compile an indispensable list of eight essential tools that every individual contemplating a DIY home renovation should own. Prepared to equip yourself for success? Let’s delve into the must-have items that will empower your next project.
The Indispensable Cordless Drill: Your Renovation Workhorse
A cordless drill is arguably the most versatile and frequently used tool in any DIY enthusiast’s kit. Its utility spans a vast array of tasks, making it indispensable for almost any home renovation project. Whether you’re hanging a new shelf, assembling flat-pack furniture, tackling a comprehensive kitchen remodel, or even constructing an entire wooden deck, this tool will prove invaluable. Its ability to drill holes and drive screws with ease significantly reduces manual effort and speeds up project completion.
When selecting a cordless drill, the market offers various types, but investing in a lithium-ion (Li-ion) model is highly recommended. Li-ion drills are notably lighter, making them ideal for extended use and for individuals who may prefer less strenuous handling. Beyond their ergonomic advantages, Li-ion batteries boast superior energy density, meaning they last significantly longer on a single charge and offer consistent power output throughout their use. Furthermore, they are generally considered less toxic and more environmentally friendly compared to older nickel-cadmium (NiCd) batteries, which also suffer from memory effect, reducing their lifespan.
Key features to prioritize when choosing your cordless drill include:
- Easily Reachable Reverse Switch: A well-designed reverse switch, ideally positioned within easy reach of your forefinger and thumb, allows for quick changes in direction. This is crucial for both removing screws and backing out drill bits that may get stuck, enhancing efficiency and reducing frustration during tasks.
- A Clutch or Torque Selector: This critical feature prevents you from overdriving screws and stripping their heads or damaging the material you’re working with. A clutch mechanism allows the drill to “slip” or disengage when the set torque level is reached, providing precise control over fastening applications. Different settings accommodate various materials and fastener sizes.
- Integrated LED Light: Renovation often involves working in dimly lit areas, such as inside cabinets, under sinks, or in corners. A built-in LED light automatically illuminates your workspace, ensuring better visibility and accuracy, reducing the risk of mistakes and improving safety.
- Excellent Trigger Control (Variable Speed): Superior trigger control allows for seamless transitions between slow and fast speeds, even while drilling or driving. This variable speed capability is essential for starting holes slowly and precisely, preventing bits from wandering, and for adjusting power output as needed for different materials and tasks. It offers greater control and helps prevent damage to fasteners or surfaces.
- Ergonomic Design and Grip: Look for a drill with a comfortable, non-slip grip that fits well in your hand. This is vital for reducing fatigue during long projects and for maintaining a secure hold, especially when applying force.
- Battery Life and Charging Speed: While Li-ion batteries offer great life, consider models that come with two batteries and a fast charger. Having a backup battery ready to go means less downtime waiting for a charge, allowing you to work continuously.
The Unsung Hero: Measuring Tape for Precision and Accuracy
In the realm of home renovation, precision is paramount, and the measuring tape stands as its fundamental guardian. Trust us when we say this humble tool will be pulled out countless times during any project. From ensuring a new appliance fits its designated space to calculating material quantities for flooring or paint, accurate measurements are the bedrock of successful outcomes. The adage “measure twice, cut once” exists for a reason – it saves time, materials, and prevents costly mistakes.
When selecting a measuring tape, durability should be a top consideration. Construction sites, even DIY ones, are unpredictable environments. Accidental drops from heights are not uncommon, so opt for a tape measure designed to withstand impacts. A robust casing, often made from high-impact plastic or metal, will protect the internal mechanism and the tape itself, saving you the hassle and expense of frequent replacements. Look for features like a strong, wide blade (1-inch or wider) that resists kinking, especially when extended over longer distances, and a nylon or polymer coating that protects the blade from abrasion and rust.
Furthermore, an essential feature is a reliable locking mechanism or switch that securely holds the tape at a specific extension. This prevents the tape from retracting unexpectedly, allowing you to mark measurements with both hands free and ensuring accuracy without constant re-measurement. Other beneficial features include a magnetic hook for single-person measurements on metallic surfaces, clear fractional markings for quick reading, and a dual-sided blade for versatility. Investing in a high-quality, durable measuring tape is a small upfront cost that yields immense benefits in accuracy and peace of mind.
The Mighty Sledgehammer: Your Demolition Ally
While renovation often conjures images of delicate finishing touches, the reality for most projects involves at least some degree of demolition. Whether it’s knocking down a non-load-bearing wall to open up a living space, hacking off old, stubborn tiles, or breaking up concrete for a new patio, a sledgehammer is an indispensable tool for these heavy-duty tasks. It provides the raw power needed to dismantle and remove old structures, clearing the way for your new vision.
Choosing the right sledgehammer is crucial for both efficiency and safety. The most important factor is its weight; you must be able to lift and swing it comfortably and safely. A sledgehammer that is too heavy will quickly lead to fatigue, reducing your effectiveness after just a few swings and increasing the risk of injury. Conversely, one that is too light might lack the necessary impact force for significant demolition. Experiment with different weights – typically ranging from 6 to 16 pounds – to find one that feels balanced and manageable for your strength and endurance. Beginners might start with a lighter model (6-8 lbs) and gradually move up if needed.
Consider the handle material as well. Fiberglass handles are durable and absorb shock better than wood, reducing vibration transferred to your hands. Rubberized grips enhance control and comfort. Always wear appropriate personal protective equipment (PPE) when using a sledgehammer, including safety glasses, work gloves, and steel-toed boots, and ensure your work area is clear of obstructions and bystanders.
The Precise Japanese Cat’s Paw: A Nail Pulling Master
Often overlooked, the Japanese Cat’s Paw, also commonly referred to as a nail puller, is a remarkably effective tool that offers a superior alternative to a traditional hammer for nail removal. What sets it apart? It’s essentially a specialized pry bar designed with a distinct claw end that excels at extracting nails with minimal damage to the surrounding material. Unlike a hammer’s claw, which often requires significant leverage and can mar surfaces, the Cat’s Paw is engineered for precision and leverage in tight spaces.
Once you integrate this tool into your renovation arsenal, you’ll likely wonder how you managed without it. Its chisel-like end allows you to get underneath even deeply embedded or headless nails, providing excellent grip and leverage. The design facilitates pulling nails straight out, reducing the likelihood of bending the nail or splintering the wood. This makes it invaluable for tasks like removing old trim, baseboards, door casings, or floorboards where you might want to salvage the material or simply achieve a cleaner finish. It’s particularly useful when dealing with stubborn, rusted, or partially broken nails that defy conventional removal methods. The Japanese Cat’s Paw is a testament to how specialized tools can significantly improve the efficiency and quality of your DIY renovation work, offering a level of finesse that general-purpose tools often cannot match.
The Powerful Circular Saw: For Fast and Accurate Cuts
When your renovation project calls for making straight, precise, and rapid cuts through various materials, the circular saw becomes an indispensable ally. This robust power tool is designed to cut through wood, plywood, particleboard, and with the right blade, even ceramic tiles or sheet metal, with far greater speed and accuracy than manual saws. Its effectiveness stems from a rapidly rotating, toothed, or abrasive blade that effortlessly slices through material, allowing for both angled (bevel) and perfectly straight cuts.
The portability of a circular saw further enhances its utility, making it suitable for both indoor and outdoor renovation projects. Imagine building your own custom deck, framing a new shed, or cutting lumber for a patio; a circular saw makes these tasks manageable and efficient. When selecting a circular saw, consider factors like power (corded vs. cordless, motor amperage), blade size (7-1/4 inches is common for general use), and key features. Look for models with an adjustable bevel for angled cuts, a depth adjustment for varying material thicknesses, and a safety guard that automatically retracts during cutting. Blade choice is also critical: a multi-purpose blade is fine for general wood, but specialized blades exist for fine cuts, plywood, metal, and masonry. Always prioritize safety when using a circular saw by wearing eye and ear protection, ensuring the workpiece is securely clamped, and maintaining a firm grip on the tool.
The Essential Spirit Level: Achieving Perfect Alignment
Achieving a professional and polished finish in your home renovation relies heavily on ensuring everything is perfectly level and plumb. This is where the spirit level, often simply called a level, becomes an absolutely indispensable tool. Its primary function is to indicate whether a surface or object is horizontal (level) or vertical (plumb) relative to the earth’s surface. In simple terms, it tells you if something is perfectly straight or square.
A standard spirit level typically features one or more vials filled with a slightly colored liquid and containing an air bubble. For a surface to be considered level or plumb, the air bubble must rest precisely in the center, directly between two marked lines on the vial. If the bubble drifts to one side, it indicates that the surface is sloped in that direction. Modern levels often include three vials: one for horizontal (level), one for vertical (plumb), and sometimes a third set at a 45-degree angle for specific tasks.
The applications for a spirit level are vast and varied in home renovation. One of the most common scenarios is hanging shelves. By simply placing the level on top of the shelf before securing it, you can instantly tell if it’s mounted correctly. This prevents your books from sliding off and ensures a visually appealing result. Beyond shelves, a spirit level is crucial for installing cabinets evenly, framing walls straight, ensuring windows and doors are perfectly plumb, laying tiles with consistent slopes, and even accurately hanging artwork. Different sizes of levels are available, from small torpedo levels for confined spaces to long box-beam levels for checking large surfaces. Investing in a quality spirit level guarantees accuracy and contributes significantly to the overall professional appearance of your DIY projects.
The Sturdy Ladder: Reaching New Heights Safely
A significant portion of home renovation work involves tasks that are beyond arm’s reach. Painting ceilings, installing light fixtures, accessing attics, or working on exterior trim all necessitate a means to safely reach elevated areas. Attempting these tasks by balancing precariously on chairs or unstable furniture is a serious safety hazard and should always be avoided. This is why a sturdy and reliable ladder is an absolute non-negotiable tool for any DIY homeowner.
However, the sheer variety of ladders available can make choosing the right one a daunting task. There are step ladders, extension ladders, multi-position ladders, and even specialized scaffolding units, each designed for different types of work and heights. When making your selection, consider the maximum height you’ll need to reach safely and the type of work you’ll be doing. For general interior tasks, a 6-foot or 8-foot step ladder might suffice, while exterior painting or roof access could demand a much taller extension ladder. Material also plays a role: aluminum ladders are lightweight, while fiberglass ladders are non-conductive, making them safer for electrical work.
Look for features that enhance both comfort and safety. An integrated tool attachment or tray at the top of a step ladder is incredibly convenient, allowing you to keep small tools, screws, or paint cans within easy reach, eliminating the need for constant trips up and down. Manufactured rungs that are wide and flat contribute to comfort during prolonged standing, reducing foot fatigue. Always check the ladder’s weight capacity (duty rating) to ensure it can safely support you and your tools. Crucially, always follow safety guidelines: ensure the ladder is placed on a firm, level surface, maintain three points of contact when climbing, never overreach, and inspect the ladder for any damage before each use. A safe ladder is not just a tool; it’s an investment in your well-being.
The Versatile Jigsaw: Mastering Intricate Cuts
While a circular saw excels at straight lines, many renovation projects call for more intricate and curved cuts. This is where the jigsaw shines as a specialized power tool. Designed to make non-linear cuts, it’s the perfect choice for carving out specific shapes, creating curved edges, or cutting internal holes in a variety of materials, most commonly wood, but also plastics, laminates, and even thin metals with the appropriate blade.
A jigsaw uses a reciprocating blade that moves rapidly up and down, allowing it to navigate complex patterns that would be impossible with a circular saw. It’s ideal for tasks like cutting out a sink opening in a countertop, creating custom designs for shelving, trimming floorboards around doorframes, or crafting decorative elements. When choosing a jigsaw, consider features like variable speed control, which allows you to adjust the blade’s speed to match the material, preventing splintering or burning. Orbital action, where the blade moves slightly forward on the upstroke, can significantly speed up cutting in wood but might result in a rougher finish. A bevel adjustment feature enables angled cuts, adding to its versatility.
Different blade types are available for various materials and finishes – fine-toothed blades for clean cuts in wood, metal-cutting blades, and even specialized blades for ceramic. Always ensure your workpiece is securely clamped to prevent movement and splintering. As with all power tools, wear safety glasses and maintain a firm, controlled grip. The jigsaw is an invaluable asset for adding custom touches and precise, intricate detailing to your DIY home renovation projects.
The Bottom Line: Empowering Your DIY Renovation Journey
Home renovations, particularly extensive ones, have a reputation for being incredibly expensive. This cost isn’t solely attributed to materials, which can often be sourced affordably or even reclaimed for free; a significant portion of the expense comes from professional labor. This financial reality has empowered a growing number of homeowners to take matters into their own hands, embarking on DIY renovation projects to save money and gain the satisfaction of transforming their own spaces.
However, the ambition to renovate independently can only go so far without the proper tools and equipment. Just as a chef needs their knives or an artist their brushes, a DIY renovator requires a comprehensive set of reliable tools to execute their vision safely and effectively. The eight tools highlighted in this article—the versatile cordless drill, the indispensable measuring tape, the powerful sledgehammer, the precise Japanese cat’s paw, the efficient circular saw, the accurate spirit level, the safe ladder, and the intricate jigsaw—represent the foundational kit for almost any major home improvement endeavor.
We sincerely hope this article has provided you with a clear understanding of the essential tools you should equip yourself with to confidently undertake a DIY renovation. Remember, this list is just the beginning – the tip of the iceberg. As you gain experience and precisely define the scope of your future projects, you’ll naturally refine and expand your tool collection to suit specific needs. Armed with the right equipment and a healthy dose of determination, you are well on your way to successfully transforming your home. Good luck, and enjoy the rewarding process of bringing your renovation dreams to life!