
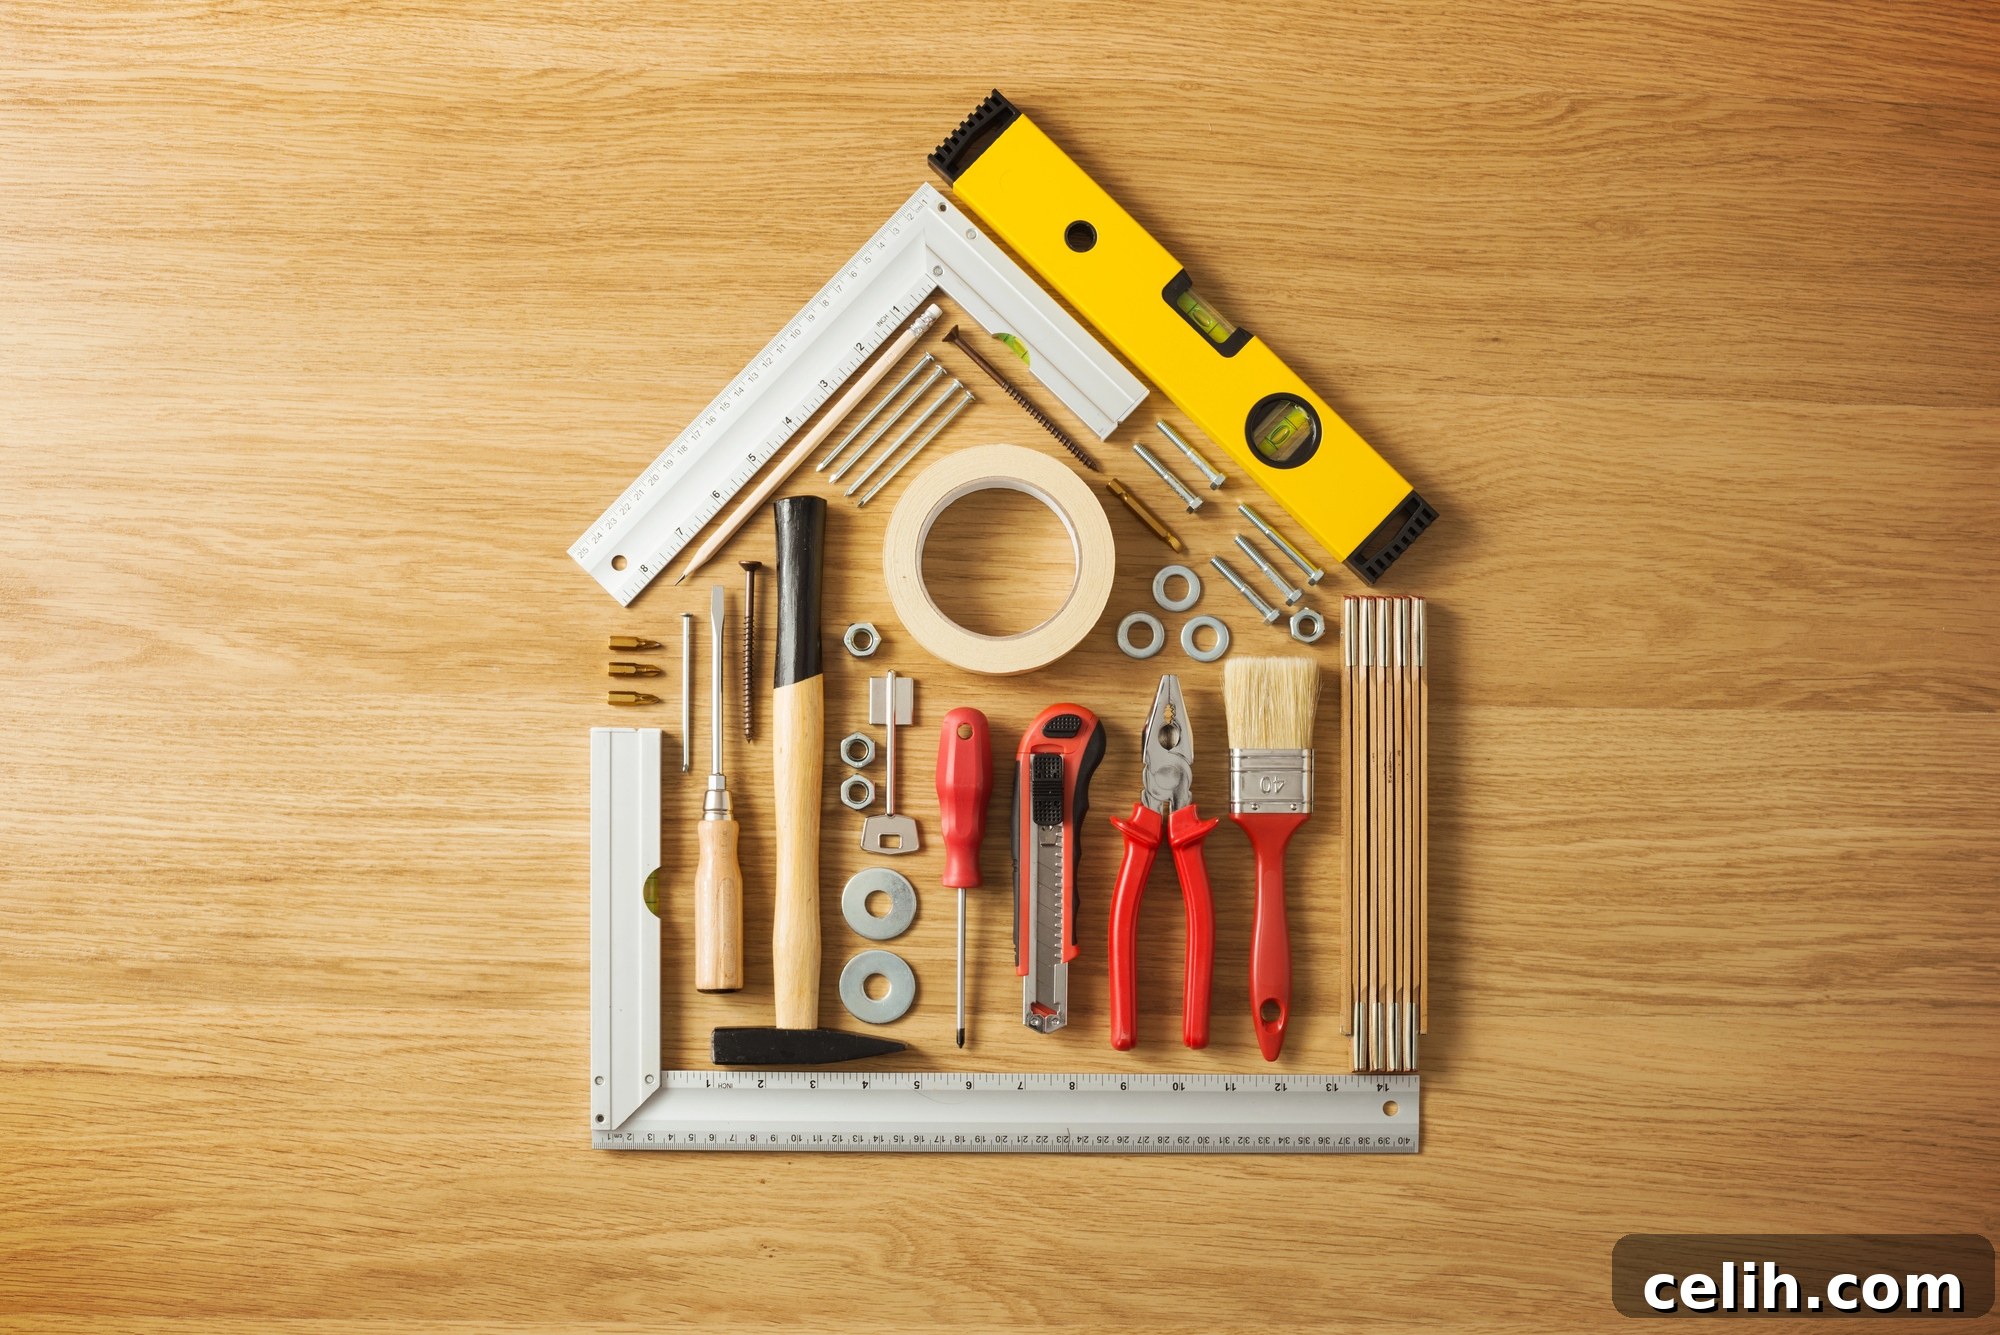
In today’s fast-paced world, the idea of tackling home repairs and improvements can often feel daunting, leading many homeowners to immediately reach for their phones to call a professional. While some complex jobs undoubtedly require expert hands, a surprising number of common household tasks are well within the grasp of the average individual. Embracing the spirit of Do-It-Yourself (DIY) not only offers substantial cost savings but also provides immense satisfaction and a valuable sense of empowerment. With the wealth of clear, step-by-step tutorials available online, learning to perform these tasks has never been easier. This comprehensive guide is designed to demystify some of the most frequent household challenges, transforming them from intimidating chores into rewarding personal achievements. Dive into these accessible projects and discover the joy and practicality of becoming your own home maintenance hero, equipped with the knowledge to maintain and improve your living space with confidence.
Effortlessly Installing Shelves for Added Storage and Style
Adding shelving to your home is one of the most rewarding and visually impactful DIY projects you can undertake, instantly boosting storage and enhancing the aesthetic appeal of any room. For those new to home improvement, starting with a simple shelving system is advisable. Begin by selecting the right type of shelf for your needs – whether it’s floating shelves, bracketed shelves, or simple wall-mounted units – and gather your essential tools: a reliable spirit level, a sturdy pencil, a measuring tape, a drill, and appropriate wall plugs and screws. The key to a professional finish lies in meticulous preparation. First, carefully decide on the shelf’s exact position and height, marking it lightly on the wall. Crucially, use a stud finder to locate any hidden electrical wires or water pipes within the wall before you even think about drilling. This critical safety step prevents potential hazards and costly damage. Once you’ve marked your drill points, ensure they are perfectly level using your spirit level. Drill pilot holes, insert the correct wall plugs for your wall type (e.g., plasterboard, brick, concrete), and then securely attach your brackets or shelf. Double-check for levelness one last time before tightening everything. With plenty of high-quality online tutorials available, following specific instructions for your chosen shelving type will guarantee success, providing you with beautiful, functional storage that you installed yourself, contributing significantly to your home’s organization and style.
Clearing a Clogged U-Bend: A Simple Plumbing Fix
A slow-draining or completely blocked sink can be a major inconvenience, but often the culprit is a buildup of hair, grease, and debris in the U-bend (also known as the P-trap) located directly beneath your sink. Instead of reaching for harsh chemical drain cleaners that can damage your pipes, clearing the U-bend yourself is a straightforward, eco-friendly, and highly effective solution to restore proper drainage. Before you begin, safety is paramount: switch off the water supply to the sink, typically found via isolation valves under the basin, or the main stopcock if no specific isolation valve is present. Lay down old towels and position a sturdy bucket directly underneath the U-bend to catch any residual water and debris. Using a spanner or by hand if the fittings are finger-tight, carefully unscrew the nuts on both ends of the U-bend pipe. Gently detach the pipe, being mindful not to lose the rubber washers, which are crucial for a watertight seal upon reassembly. Take the U-bend to a utility sink or outside and thoroughly clean its interior with hot soapy water and a bottle brush or old toothbrush, removing all accumulated gunk. Inspect the washers for any damage; if they appear worn, replace them to ensure a secure seal. Once sparkling clean, carefully reattach the U-bend, ensuring the washers are correctly seated and the fittings are tightened firmly but not overtightened to prevent stripping threads. Turn the water supply back on and run the tap to check for any leaks. This simple task can quickly restore your sink’s drainage and prevent future blockages with regular, proactive cleaning, saving you from costly plumber call-outs.
Flawless Window Blinds Installation for Privacy and Style
Installing new window blinds is an excellent way to update your home’s aesthetic, enhance privacy, and control natural light, all while being a very manageable DIY project. The key to a successful installation lies in precise measurement and careful execution. First, decide whether you will be fitting the blinds inside or outside the window recess. For an ‘outside recess’ fitting, where the blinds overlap the window frame, it’s essential to ensure the mounting brackets are positioned at an equal distance from the top corner of the window on both sides. This creates a balanced and visually appealing look and often helps block more light. If you opt for an ‘inside recess’ fitting, where the blinds fit snugly within the window frame, you must carefully measure the width and drop to ensure there is ample space for the blind mechanism to operate freely once the brackets are secured, avoiding any rubbing or jamming. Always consult the specific fitting instructions provided with your blinds, as designs can vary significantly between roller, Venetian, vertical, or Roman blinds. Use a spirit level to ensure your marked bracket positions are perfectly horizontal before drilling. Once the brackets are securely mounted, carefully click or slide the blind headrail into place, securing it according to the manufacturer’s guide. Take your time during each step, double-checking your measurements and alignment. The final reward will be a perfectly fitted blind that not only functions flawlessly but also significantly elevates the style and comfort of your living space. Stand back and admire your handiwork – a perfectly installed window treatment adds significant value and appeal to your home.
Revitalizing Your Home: Replacing Worn Silicone Sealant
Over time, the silicone sealant around your baths, showers, sinks, and countertops can degrade, becoming discolored, cracked, or prone to mold growth. Not only does this look unsightly and diminish the cleanliness of your bathroom or kitchen, but it can also compromise the waterproof seal, leading to potential water damage, mildew issues, and structural problems. Replacing old sealant is a highly effective DIY task that significantly improves hygiene, aesthetics, and the integrity of your wet areas, and it’s surprisingly straightforward. You’ll need a few specialized tools for this job: a combined sealant remover and smoother tool, a dedicated silicone remover solution, a new tube of high-quality sanitary silicone sealant (ideally anti-mold), and a reliable cartridge gun. The first step is crucial: meticulously remove all traces of the old sealant. Apply the silicone remover solution as per its instructions, allowing it to penetrate and soften the old caulk. Then, use your sealant remover tool to scrape away every last bit. A sharp utility knife can assist with stubborn areas, but always exercise caution and cut away from yourself. Once the old sealant is gone, thoroughly clean the area with a degreasing cleaner (like sugar soap) and ensure it is completely dry before proceeding; any moisture will prevent proper adhesion of the new sealant and lead to premature failure. Load your new silicone tube into the cartridge gun, cut the nozzle at a 45-degree angle to create a bead size appropriate for your gap. Apply a continuous, even bead of sealant along the joint, maintaining steady pressure. Immediately after application, use your smoother tool or a wet, gloved finger to create a smooth, professional-looking finish. Allow the sealant to cure completely, as specified on the packaging, before exposing it to water. This simple upgrade will leave your bathroom or kitchen looking fresh, clean, and watertight, protecting your home from water-related damage.
Solving Sticking Doors: A Practical Home Repair
A sticking door is a common household nuisance, making entry and exit awkward, and sometimes even causing damage to door frames or the door itself through repeated force. Fortunately, resolving this issue is often a straightforward DIY fix that requires minimal tools. The first step is to accurately identify where the door is sticking. Close the door slowly and gently a few times, paying close attention to which edges are catching against the frame. Listen for scraping sounds and visually inspect all sides, especially the top, bottom, and hinge side. Often, a door will stick due to minor swelling caused by humidity, or simply because the hinges have come loose over time, causing the door to sag. Begin by checking and tightening all screws on the door hinges – both on the door frame and the door itself. Sometimes, merely tightening these screws will pull the door back into alignment, resolving the issue. If the door continues to stick, or if the sticking is more significant, it may require a small amount of material removal. Depending on the severity, this could involve sanding down a high spot or carefully planing a thin strip off the offending edge. Always mark the sticking area clearly with a pencil. When sanding or planing, adopt a cautious approach: it’s far better to remove a small amount of wood at a time and re-test the door’s operation, rather than taking off too much at once, which can create a gap or further issues that are harder to fix. Use fine-grit sandpaper for minor adjustments or a hand plane for more substantial material removal, always working with the grain. This methodical approach ensures a smooth, non-sticking door that opens and closes effortlessly, restoring functionality and peace to your home while preventing further wear and tear.
Essential Home Maintenance: Safely Cleaning Out Gutters
Clogged gutters are more than just an eyesore; they can lead to serious problems like fascia and soffit damage, foundation issues, and even basement flooding if water isn’t properly diverted away from your home. Regular gutter cleaning is a crucial home maintenance task that can save you significant repair costs and protect your property from water damage in the long run. Given the involvement of ladders and working at height, this is unequivocally a two-person job for safety: one person to ascend the ladder and clean, and another to hold the ladder steady and assist from the ground. Prioritize safety with appropriate personal protective equipment, including sturdy waterproof gloves to protect your hands from debris and sharp edges, and safety glasses to shield your eyes from falling muck. Secure a sturdy bucket to your ladder with a hook or rope, providing a convenient place to deposit the removed debris. For scooping out leaves, twigs, and muck, a specialized gutter scoop is ideal, but a makeshift scoop made from a plastic milk container with the bottom cut off works remarkably well. As you work, reposition the ladder frequently along the guttering, always ensuring it’s on stable, level ground. Never overreach or lean too far; maintain three points of contact with the ladder at all times. While cleaning, take the opportunity to inspect the condition of your gutters, checking for cracks, loose brackets, and blockages in the downpipes. Flushing the downpipes with a hose after clearing the main gutter can ensure a clear flow. This proactive maintenance will keep your drainage system functioning optimally and protect your home from costly water damage, ensuring its structural integrity for years to come.
Achieving Smooth Walls: Expert Tips for Filling Cracks and Holes
Unsightly cracks, nail holes, and other imperfections can detract from the beauty of your interior walls, making them look tired and neglected. Fortunately, filling these blemishes is a simple and satisfying DIY task that prepares your walls for a fresh coat of paint or wallpaper, restoring their pristine appearance and smooth finish. The key to a durable repair lies in proper preparation. Begin by thoroughly cleaning the area around the crack or hole with sugar soap or a mild degreaser. This removes any dust, grease, or loose debris, ensuring excellent adhesion for the filler. For small internal cracks and holes, a quick-drying spackling paste or all-purpose filler is usually sufficient. Deeper holes or larger cracks may benefit from a two-part epoxy filler or multiple applications of standard filler to ensure stability and prevent future cracking. Using a flexible filling knife or putty knife, apply a generous amount of filler to the crack or hole. Work the filler into the imperfection with firm pressure, ensuring it completely fills the void and creates a strong bond with the surrounding surface. Scrape off any excess filler immediately, aiming for a flush surface with the surrounding wall, as this minimizes sanding later. For deeper repairs, you might need to apply the filler in thin layers, allowing each layer to dry completely before adding the next, to prevent cracking and shrinking. Once the filler is completely dry – which can take anywhere from an hour to several hours depending on thickness and product type – gently sand down the repaired area with fine-grit sandpaper (e.g., 180-220 grit) until it is perfectly smooth and level with the wall. Finally, wipe the surface with a damp cloth to remove any lingering dust before painting or decorating. This meticulous approach ensures an invisible repair that will stand the test of time and give your walls a professional finish.
Stress-Free Flat Pack Furniture Assembly: Your Comprehensive Guide
Flat pack furniture, with its intimidating boxes, countless fixings, and often pictographic instructions, can strike fear into the hearts of even seasoned DIY enthusiasts. However, with a methodical approach, patience, and a few clever tips, assembling flat pack furniture can become a rewarding and stress-free experience. The first golden rule is to prepare your workspace and your mind. Clear a spacious area on your floor, preferably carpeted or protected with a sheet, to lay out all components without scratching them or your floor. Before you touch a single screw, carefully read through the entire instruction manual from start to finish. Familiarize yourself with all the diagrams and symbols, and identify each part. Next, meticulously unpack and organize all the different screws, dowels, cam nuts, bolts, and other hardware. Group similar items together in small bowls or labeled bags to prevent confusion and loss, and confirm you have all the listed components. Then, lay out all the larger furniture pieces, referring to the diagrams to ensure their correct orientation – it’s incredibly easy to assemble a side panel upside down! Work slowly and methodically, taking your time at each step. Don’t rush or force components; if something doesn’t fit easily, re-check the instructions and diagrams; often a slight rotation is all that’s needed. Hand-tighten fasteners initially, only fully tightening them once the entire structure is properly aligned and stable, to avoid warping or misalignment. Essential tools usually include a screwdriver (Philips and flathead), an Allen key (often provided with the furniture), and sometimes a rubber mallet for gently tapping dowels into place. By embracing this patient and organized approach, you’ll not only avoid common assembly errors but also end up with a sturdy, well-built piece of furniture that you can proudly say you assembled yourself, saving on costly professional assembly services and gaining valuable DIY confidence.
Upgrading Your Entryways: Easily Changing Door Handles
Changing door handles is a surprisingly simple and effective way to refresh the look of your interiors, improve functionality, or replace a broken mechanism. Whether you’re upgrading from old brass knobs to sleek modern levers, or simply replacing a faulty lock, this DIY task requires minimal tools and skill and can dramatically update a room’s aesthetic. Most door handles, whether they feature back plates, roses, keyholes, or thumb locks, are secured by just a few screws. Your primary tools will be a Phillips head screwdriver and possibly a flathead screwdriver for prying off decorative covers. Before purchasing new handles, carefully measure the existing ones, paying close attention to the backset (the distance from the door’s edge to the center of the handle bore hole) and the spacing of any screw holes. Ideally, choose a new handle that matches the size and shape of the old one to avoid the need for filling existing screw holes or modifying the door itself, which simplifies the process considerably and ensures a clean finish. To begin, use your screwdriver to remove the visible screws holding the old handle in place. Once the screws are out, the handle components (inside and outside) and the latch mechanism should come away easily. Install the new handle by first inserting the new latch mechanism into the door’s edge, ensuring the correct orientation (the bevel usually faces the door frame). Then, attach the inside and outside handle components, aligning them with the latch and securing them with the provided screws. Follow the specific instructions for your new handles, as designs can vary slightly. Test the new handle’s operation thoroughly before fully tightening all screws. If your new handle is slightly different and exposes small areas of unfinished door or previous screw holes, a quick touch-up with paint or wood filler can make the installation look seamless and professional, instantly enhancing your home’s appeal and functionality.
Conquering the Drip: Easily Fixing Leaky Taps
The incessant drip of a leaky tap is not only annoying but also wasteful, contributing to higher water bills and potential staining of your sink or basin over time. The good news is that most dripping taps are caused by a worn-out washer, and replacing it is a straightforward DIY plumbing repair accessible to anyone with basic tools. Before you start, the absolute first step is to turn off the water supply to the tap. This can typically be done in two ways: either by locating the small isolation valve directly underneath the sink, usually a small lever or screw that turns off only that specific tap’s water, or by turning off the main stopcock for your entire home if isolation valves are absent or faulty. Once the water is off, run the tap to drain any residual water from the pipes and release pressure. Next, you’ll need to remove the tap head. This often involves prying off a decorative cap (usually marked ‘hot’ or ‘cold’) to reveal a screw, which you then undo with a screwdriver. Carefully lift off the tap handle. Beneath the handle, you’ll expose the headgear nut. Using an adjustable spanner, carefully loosen and undo this nut. The washer, typically a small rubber or ceramic disc, will be located within this headgear assembly or at the base of the spindle. Carefully remove the old, worn washer – it will likely appear flattened, cracked, or hardened, indicating its failure. Replace it with a new washer of the identical size and type. It’s often a good idea to have a set of various washer sizes on hand, or take the old one with you to the hardware store for an exact match. Before reassembling, you might want to apply a small amount of PTFE (Teflon) tape clockwise around the threads of the spindle for an extra watertight seal. Reassemble the tap components in reverse order, tightening the headgear nut firmly but gently to avoid stripping threads, and then replacing the handle and decorative cap. Finally, turn the water supply back on slowly and test the tap for drips. This simple, inexpensive fix will restore your tap to perfect working order, saving water and eliminating that irritating drip, contributing to a more efficient and peaceful home.
By empowering yourself with these fundamental DIY skills, you’re not just saving money on professional services; you’re also gaining confidence, understanding your home better, and creating a more comfortable and functional living space. These projects demonstrate that many home maintenance tasks are less complicated than they seem, requiring primarily patience, the right tools, and a willingness to learn. Investing your time in these common household repairs will not only enhance your home’s longevity and appearance but also cultivate a valuable sense of self-reliance. So, next time a household problem arises, consider it an opportunity to sharpen your skills. With readily available online resources and a bit of determination, you’ll be amazed at what you can achieve. Embrace the world of DIY, one successful project at a time, and transform your house into a truly personalized and well-maintained home.