
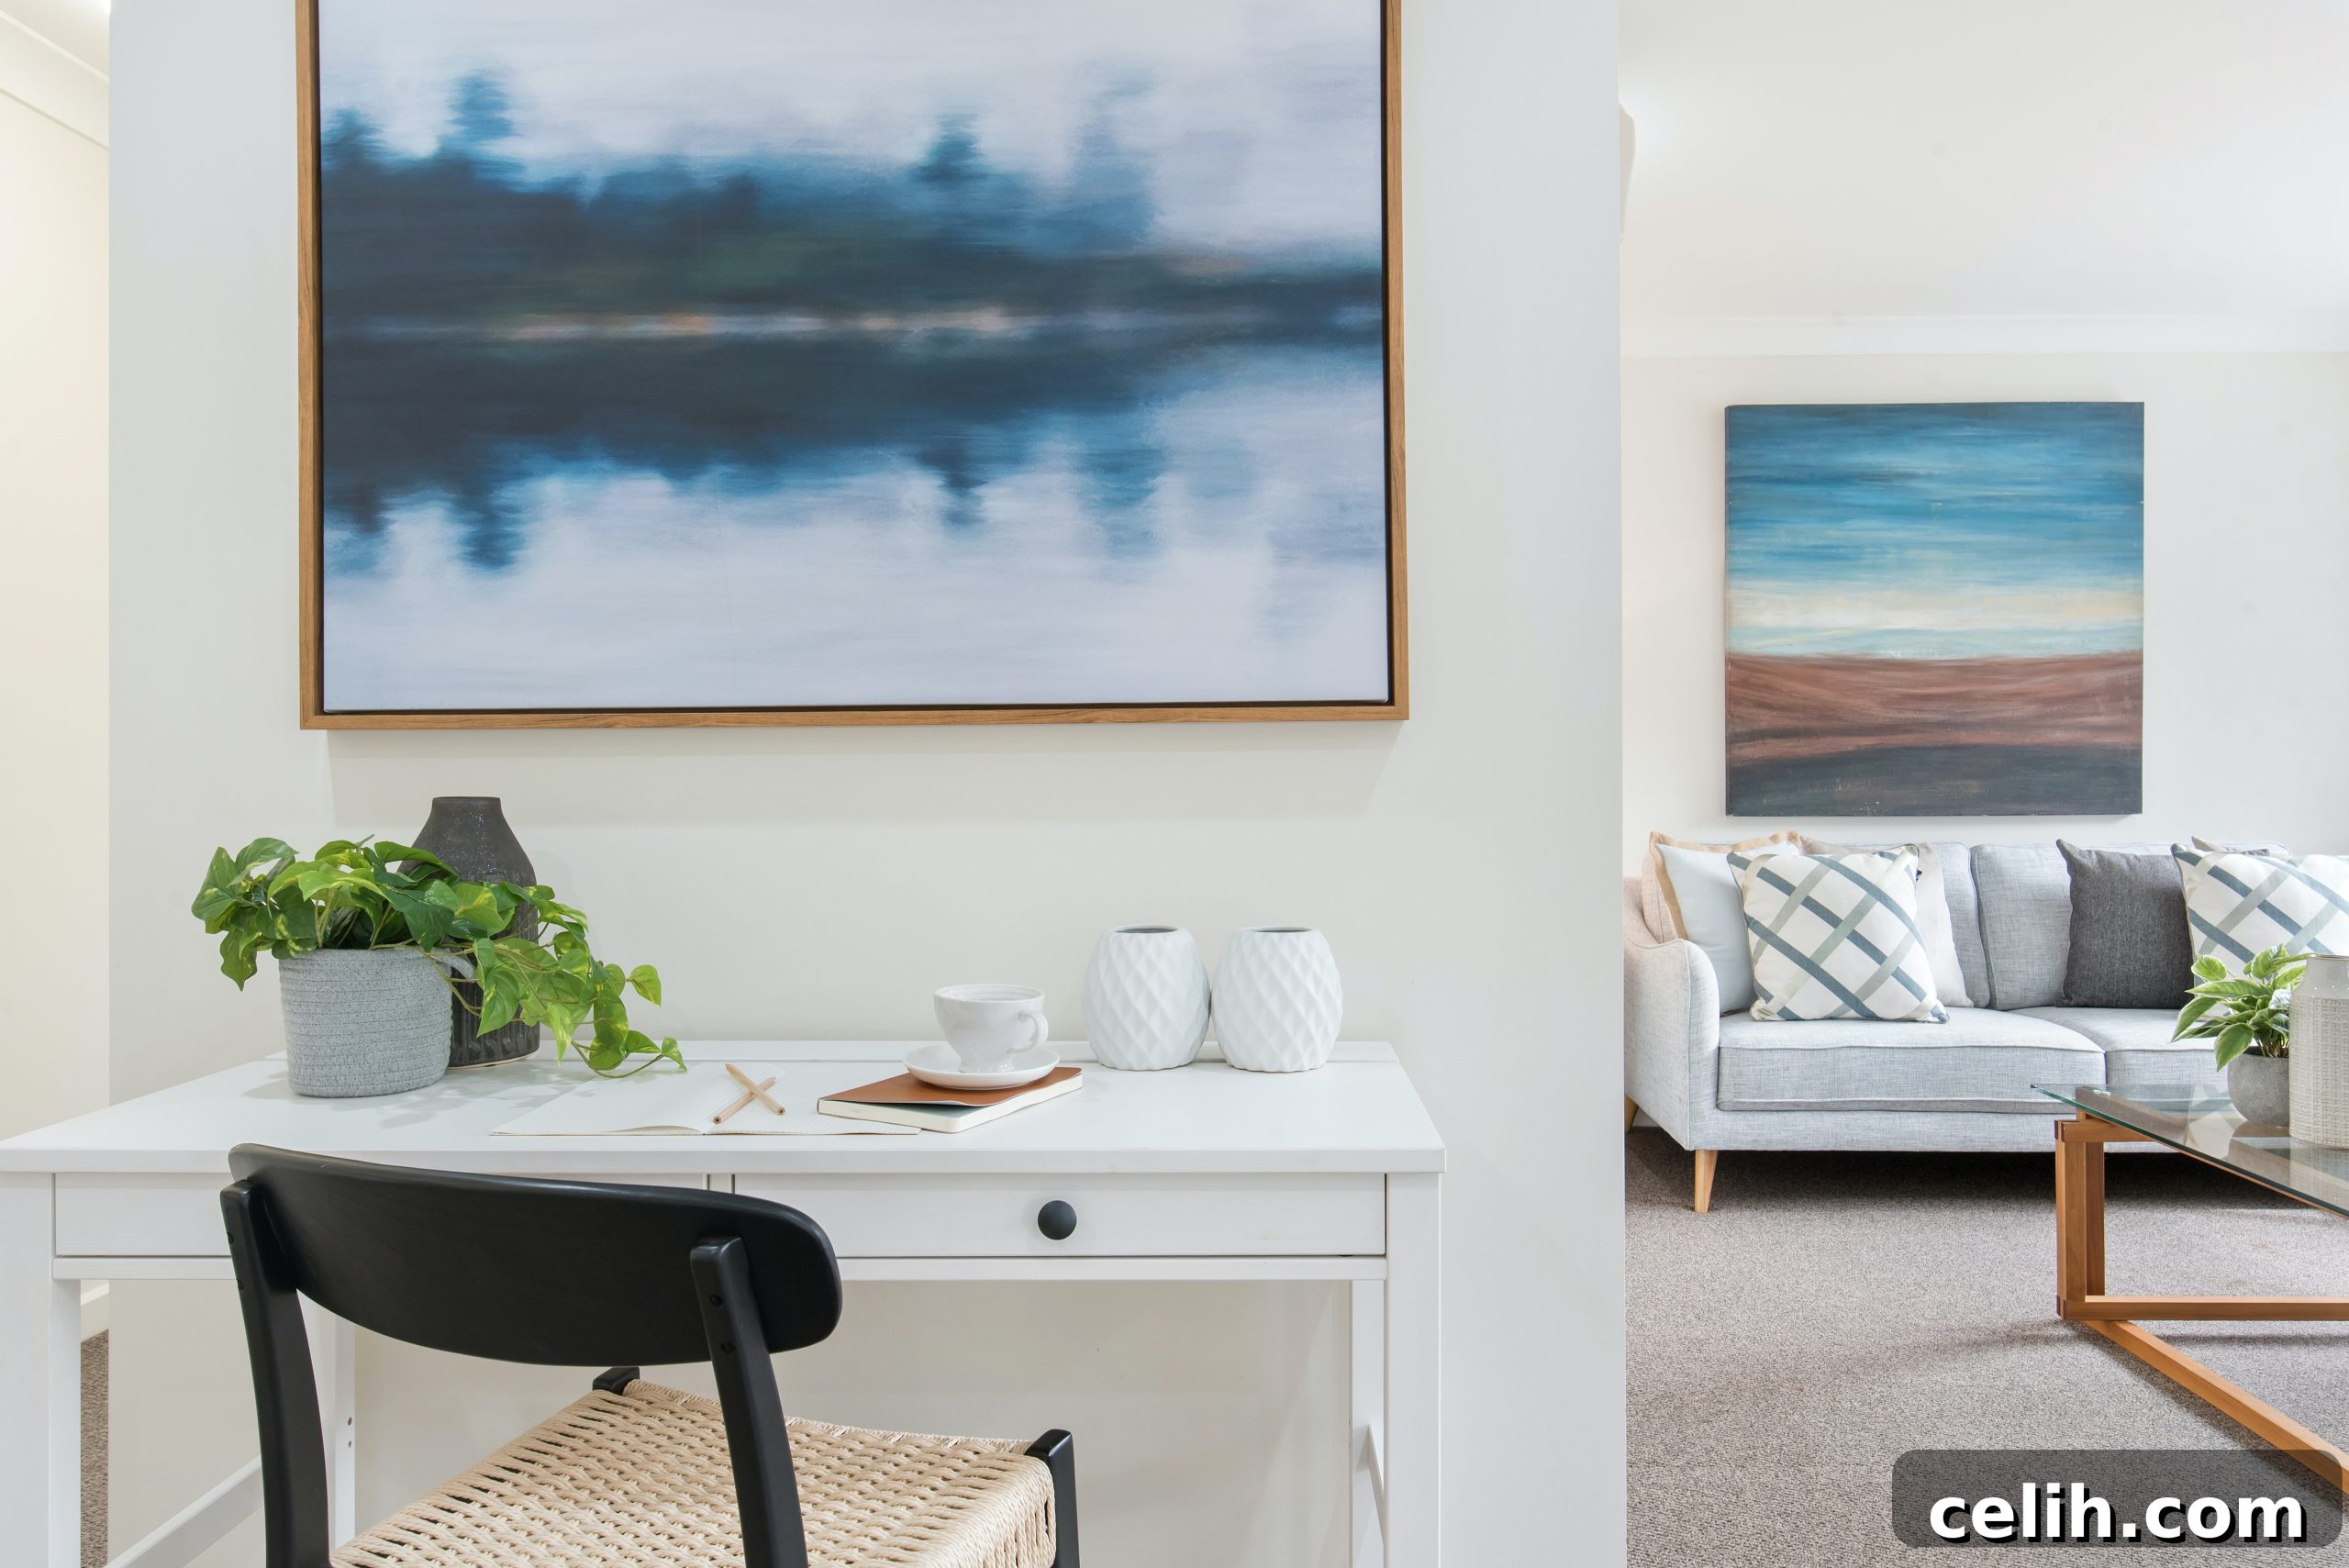
Have you ever dreamt of having a dedicated space within your home that perfectly serves your lifestyle and passions? Imagine a vibrant home gym to kickstart your mornings, a tranquil home office for focused remote work, or a creative studio where you can paint, compose music, or pursue any artistic endeavor. Converting a spare room in your house into a highly functional area isn’t just a home improvement project; it’s a transformative journey that can significantly enhance your daily life and overall well-being.
Transforming an underutilized room allows you to unlock the full potential of your existing living space, creating an environment tailor-made for productivity, relaxation, or personal growth. Perhaps you have a dusty basement or an attic filled with forgotten items, or a guest bedroom that now stands empty after your adult children have embarked on their own adventures. These aren’t just empty rooms; they are valuable real estate waiting to be reimagined. Instead of letting these spaces become missed opportunities, it’s a smart decision to convert them into areas that add tangible value and joy to your home life.
While the idea of a complete room transformation might conjure images of hefty expenses and the complexities of hiring professional contractors, paying for their labor, time, and all the raw materials, there’s excellent news. The path to a personalized, functional space doesn’t have to break the bank. Many people are discovering the satisfaction and cost-effectiveness of DIY room conversion.
Indeed, you absolutely can take on this challenge yourself. You don’t need to be a seasoned contractor to learn the fundamental skills and techniques required to renovate a room and redefine your living environment. This comprehensive guide will walk you through the essential steps, offering practical tips and insights to help you convert any room in your home into a brand-new, inspiring space.
Mastering the Art of Room Conversion: A Step-by-Step DIY Guide
Embarking on a room conversion project is an exciting venture. With careful planning and a willingness to learn, you can turn your vision into reality. Here’s how to navigate your DIY journey, ensuring a smooth and successful transformation.
Step 1: Envision and Plan Your Dream Space
Before lifting a single tool, the most crucial step is to meticulously plan what you want the finished room to embody. This initial phase involves a clear articulation of the room’s new purpose and aesthetic. Are you creating a vibrant home gym, a serene reading nook, a productive home office, an inspiring art studio, or perhaps an additional bedroom? Your choice will dictate every subsequent decision.
Begin by visualizing the desired look and feel. Consider the type of furniture and equipment you’ll need, the overall ambiance, and how the space will integrate into your daily routine. This detailed vision will inform choices regarding flooring, wall coverings, lighting, and crucially, the placement of electrical outlets and any potential cladding or structural modifications. Sketch out your ideas, gather inspiration from design blogs or magazines, and even create a mood board to consolidate your aesthetic goals. A well-defined plan not only saves time and money but also ensures the final outcome perfectly aligns with your expectations.
Budgeting and Timeline
Once your vision is clear, establish a realistic budget. Research the cost of materials, tools, and any professional help you might need for specialized tasks. Break down your budget into categories: demolition, structural work, flooring, painting, lighting, furniture, and décor. Simultaneously, set a timeline for each phase of the project. Be flexible, as DIY projects often encounter unforeseen challenges, but a timeline provides a valuable framework to keep you on track.
Considering Permits and Regulations
For more extensive conversions, particularly those involving structural changes, plumbing, or significant electrical work, you might need to obtain local building permits. Research your local regulations to ensure compliance. Neglecting permits can lead to fines or necessitate costly rework, so always prioritize legal requirements.
Step 2: Declutter and Clear Your Space
If your target room currently serves as a storage catch-all, the first physical step is to completely clear it out. View this as more than just emptying a room; it’s an ideal opportunity for a thorough home spring clean and decluttering exercise. Rather than merely relocating clutter from one room to another, adopt a systematic approach. Go through every item, asking yourself if it truly serves a purpose or brings you joy. Embrace the “four-box method”: Keep, Donate/Sell, Recycle, or Trash.
Be mindful of environmental impact; unnecessary waste can often be avoided. Items in good condition can find new homes through charity shops, online marketplaces, or community donation centers. Once you’ve purged the unnecessary and relocated what you wish to keep, you’ll be left with a completely blank slate – a clean, empty canvas ready for its incredible transformation. This preparatory step is vital, as it allows for unimpeded work and a clear mind as you move forward.
Step 3: Address Structural Integrity and Essential Upgrades
Before you begin the exciting work of adding aesthetics, it’s crucial to assess the room’s underlying structure and make any necessary functional upgrades. This step is particularly important for basements, attics, or older rooms that may have hidden issues.
Inspect for Damage
Carefully inspect walls, ceilings, and floors for any signs of cracks, water damage, dampness, or pest issues. Address these problems comprehensively before proceeding, as cosmetic fixes over structural flaws are temporary and costly in the long run. Repairing drywall, patching holes, and treating mold are fundamental steps.
Electrical and Lighting Upgrades
Consider the electrical needs of your new space. A home office might require more outlets for computers and peripherals, while a home gym could benefit from dedicated circuits for heavy equipment. Decide on the placement of new outlets, light switches, and light fixtures. Adequate lighting is paramount: think about ambient lighting for general illumination, task lighting for specific activities (like reading or working), and accent lighting to highlight features. If you’re unsure about electrical work, always consult or hire a certified electrician for safety.
Insulation and Soundproofing
For comfort and energy efficiency, especially in attics or basements, consider adding or upgrading insulation. This will help maintain a comfortable temperature year-round and reduce energy bills. If your new space is a music studio, a quiet office, or a bedroom, soundproofing walls and doors can significantly enhance its functionality and privacy. This might involve adding extra layers of drywall, using sound-absorbing panels, or installing solid-core doors.
Step 4: Lay the Foundation with New Flooring
Installing new flooring is a significant step in your room conversion and is absolutely achievable for a DIY enthusiast. Your choice of flooring should align with the room’s function, durability needs, and aesthetic vision. Start by meticulously removing any existing carpet, wood, or tiles. Ensure the subfloor is clean, level, and dry before proceeding. You may need to add a new subfloor or underlayment to create a smooth, stable base for your chosen material.
If you’re opting for DIY flooring installation, consider these options:
- Carpet Tiles: These are among the easiest to install. Simply measure the space, purchase the appropriate quantity, and lay them down, often with self-adhesive backing or simple adhesive. Ideal for home gyms for comfort and sound absorption, or for cozy bedrooms.
- Ceramic or Porcelain Tiles: Require more precision but offer excellent durability and moisture resistance. You’ll need to apply adhesive to the subfloor, carefully lay each tile, ensuring even spacing with spacers, and then grout the spaces between them once the adhesive cures. Perfect for bathrooms, utility rooms, or areas requiring a robust, easy-to-clean surface.
- Laminate Flooring: A popular choice for its affordability and aesthetic versatility. Installation is slightly more laborious as you need to click interlocking planks together, ensuring each is correctly spaced and sized, often requiring cuts to fit edges. Provides a wood-like finish without the cost or maintenance of real hardwood.
- Vinyl Plank or Tile: Similar to laminate in ease of installation, often featuring peel-and-stick or click-lock systems. Highly water-resistant and durable, making it suitable for high-traffic areas or spaces prone to spills.
Regardless of your choice, numerous online tutorials and guides can provide step-by-step instructions and visual demonstrations, empowering you to complete this task with confidence.
Step 5: Adorn Your Walls and Ceilings
With the flooring in place, it’s time to bring personality to your room through its walls and ceilings. This decorative phase is where your vision truly begins to materialize.
Wall Preparation and Painting
Start by preparing the walls: patch any remaining holes or cracks, sand rough spots, and clean the surfaces thoroughly. Apply a primer, especially if you’re changing a dark color to a light one, or painting over patched areas. When choosing a color scheme, think about the mood you want to evoke. For a relaxation zone like a bedroom or a quiet study, opt for cool pastel hues such as soft blues, calming greens, or gentle pinks. These colors promote tranquility and focus. In contrast, if you’re creating a home gym or a vibrant creative studio, bold, energetic colors like bright oranges, vivid yellows, or deep reds can be incredibly motivating and invigorating.
Beyond Paint: Wallpaper and Accent Walls
Consider techniques beyond a single coat of paint. Wallpaper can add texture, pattern, and depth to a room, offering a sophisticated or whimsical touch. An accent wall, painted in a contrasting color or adorned with unique wallpaper, can become a focal point, adding visual interest without overwhelming the space. You might also explore decorative paneling or wainscoting for a classic or modern touch.
Ceiling Aesthetics and Lighting
Don’t neglect the ceiling. A fresh coat of paint can brighten the room significantly. For added character, consider installing crown molding or decorative ceiling tiles. These elements can tie the room together and elevate its aesthetic appeal. Revisit your lighting plan here, ensuring fixtures are installed correctly and provide the right balance of ambient, task, and accent lighting to highlight your chosen wall décor and overall design.
Step 6: Furnish, Organize, and Personalize Your Space
The final, exciting stage is filling your newly renovated room with the elements that bring its function to life. This involves selecting furniture, organizing items, and adding personal touches that make the space uniquely yours.
Strategic Furniture Selection
Carefully choose furniture that supports the room’s purpose and fits its dimensions. For a home workout room, this means selecting appropriate gym equipment, along with smart storage solutions for smaller accessories like resistance bands, yoga mats, and towels. Don’t forget an entertainment system – speakers or a TV screen can significantly enhance your workout experience. For a home office, invest in a sturdy desk, an ergonomic office chair for comfort during long hours, and ample storage for documents and supplies. Prioritize functionality and comfort without overcrowding the space.
Optimizing Layout and Flow
Experiment with different layouts to find the most efficient and aesthetically pleasing configuration. Consider traffic flow, natural light sources, and how different furniture pieces will interact. Think about built-in shelves or modular storage units to maximize vertical space, especially in smaller rooms. Clever storage is key to keeping any functional room tidy and organized.
Adding Personal Touches and Décor
Once the essential items are in place, infuse your personality into the room with decorative elements. Add artwork, photographs, plants, mirrors, and rugs to create warmth and character. Mirrors can also make a room feel larger and brighter. Window treatments like blinds or curtains are essential for privacy, light control, and adding a finished look. If you’re incorporating smart home technology, this is the time to set up smart lighting, thermostats, or voice assistants to enhance convenience.
It might take a bit of trial and error to achieve the perfect layout and configuration, but the satisfaction of seeing your vision come to life, knowing you converted the room all by yourself, is immensely rewarding.
Conclusion: Your Transformed Home Awaits
Converting a spare room is a rewarding endeavor that not only improves the functionality of your home but also adds significant value to your property and quality of life. By following these comprehensive steps – from meticulous planning and thorough decluttering to structural considerations, flooring, decorating, and furnishing – you can successfully transform any underutilized space into a cherished part of your home.
Remember, the journey of DIY home improvement is a learning experience. Don’t hesitate to explore additional information and visual guides on resources like Fresh Design Blog for specific tasks such as wallpapering, advanced decorating techniques, or specific installation guides. Always prioritize safety: if any part of your project involves complex or potentially dangerous elements, such as dealing with gas lines, significant electrical work, or structural modifications, it is imperative to call in qualified professionals. Their expertise ensures the job is done safely and correctly, protecting both you and your home.
Embrace the challenge, enjoy the process, and soon you’ll be enjoying a beautifully transformed room, a testament to your creativity and effort. Your personalized, functional living space is just a project away!
Featured image credit: Photo by HausPhotoMedia.com on Unsplash