
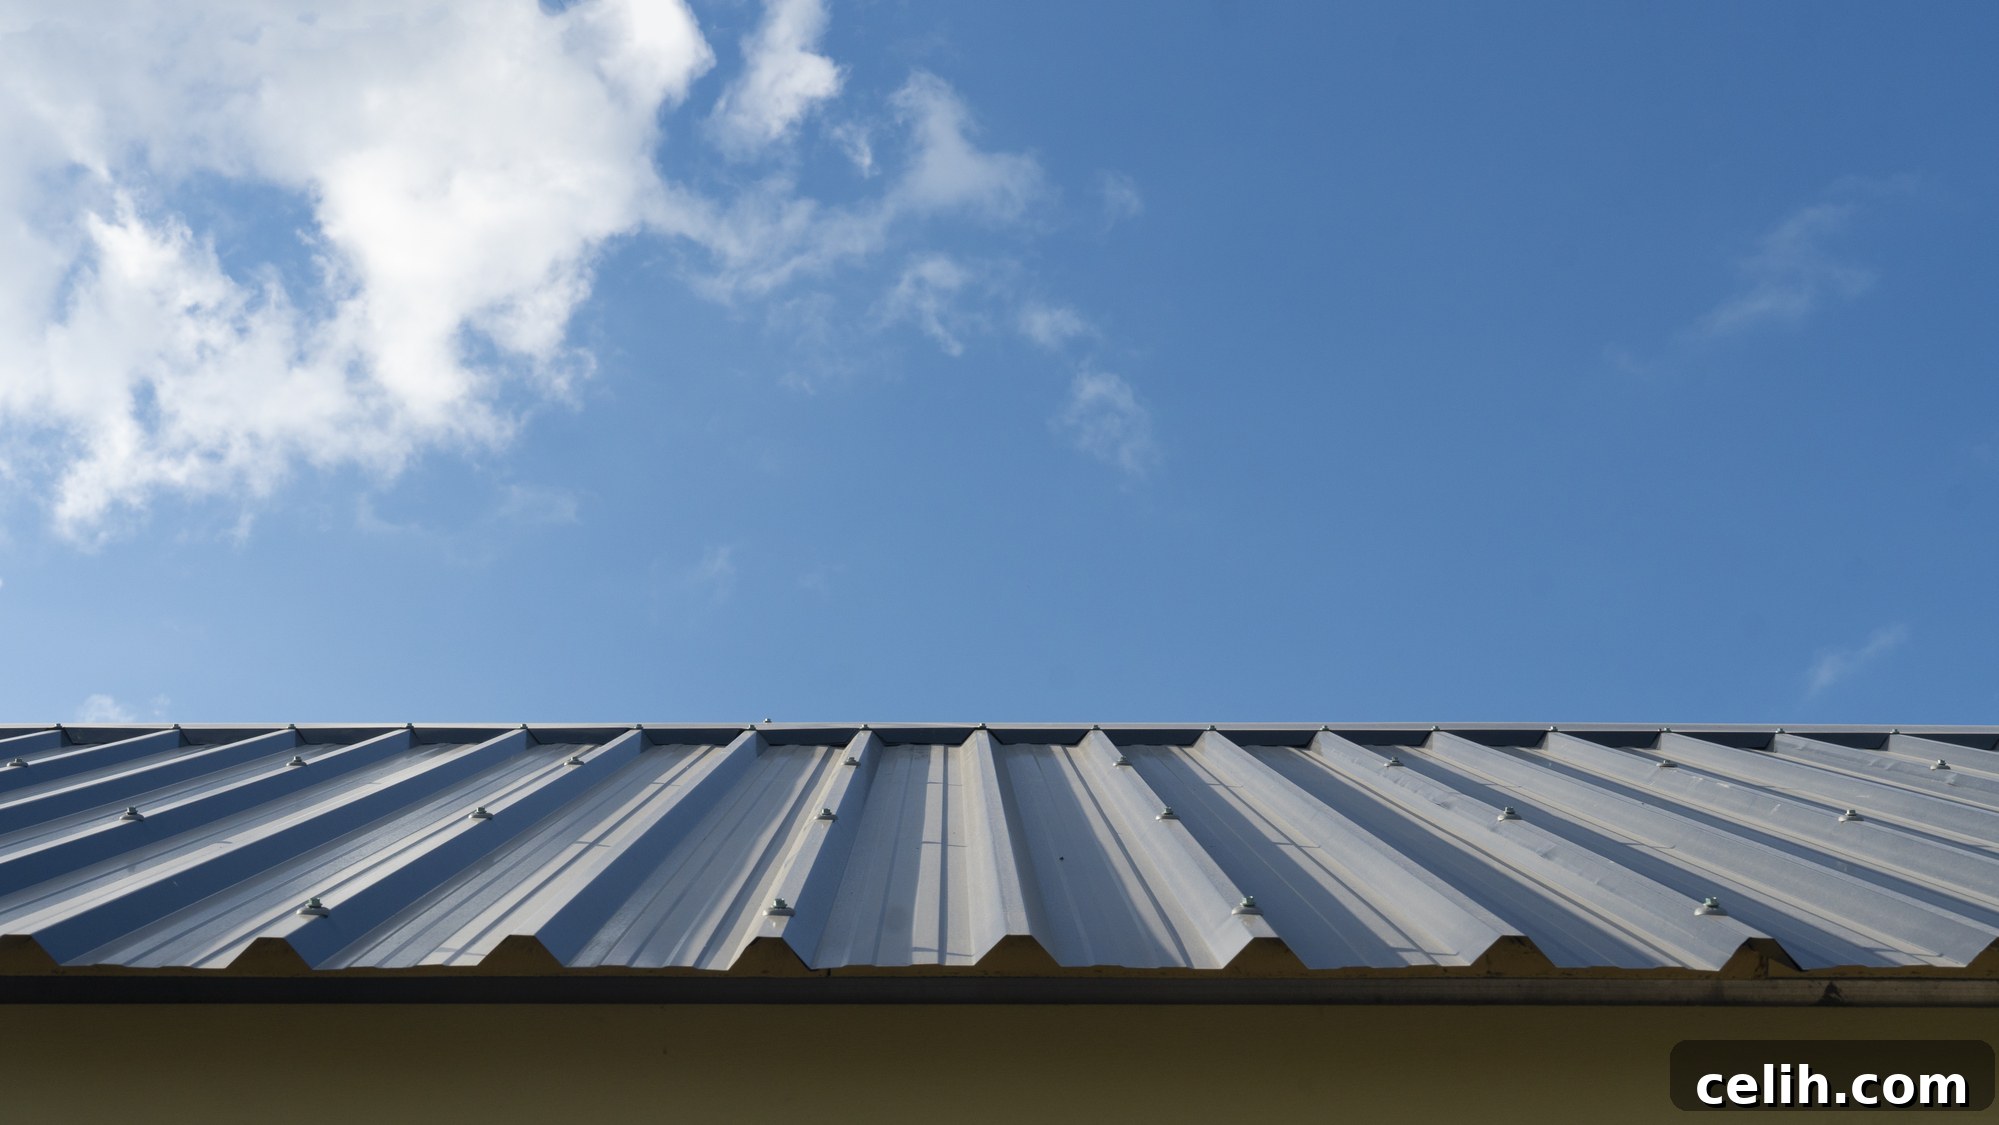
In the world of roofing, where aesthetics meet engineering, the intricate details often hold the greatest significance. While the robust, sleek profile of a metal roof undeniably captures attention, there’s an unsung hero working tirelessly behind the scenes: the drip edge. Far from being a mere accessory, this modest strip of metal is a cornerstone of your roof’s integrity and your home’s long-term protection. It’s the silent guardian against the relentless forces of nature, meticulously directing water, deterring pests, and preserving the very foundation of your dwelling. Join us as we delve into the crucial role of the drip edge for metal roofs, exploring its multifaceted benefits, understanding why it’s an indispensable component of modern roofing systems, and demystifying the essential steps for its successful installation.
Understanding the Drip Edge for Metal Roofs
A drip edge for a metal roof is much more than just a piece of flashing; it’s a strategically designed metal component installed along the perimeter of your roof. Its primary purpose is ingeniously simple yet profoundly effective: to create a clean, controlled path for water runoff. Instead of allowing rainwater to cling to the roof’s edge, seep underneath the roofing materials, or splash back onto the fascia boards, the drip edge gently guides it off the roof and directly into the gutters. This seemingly minor detail is, in reality, a powerful deterrent against a cascade of potential issues that could compromise your home’s structure and value.
Drip edge flashing is engineered for durability and longevity, typically manufactured from robust materials such as aluminum, galvanized steel, or copper. Each material offers distinct advantages in terms of corrosion resistance, cost, and aesthetic appeal, allowing homeowners and contractors to choose the best fit for their specific climate and design preferences. The flashing itself is shaped into various profiles—most commonly L-shaped or T-shaped—each designed to facilitate efficient water shedding. This precise shaping prevents water from being drawn back under the roofing system by capillary action, a common cause of moisture intrusion and damage in homes lacking this vital protection.
For metal roofs, the importance of a drip edge is amplified. Metal roofing systems are lauded for their exceptional durability, energy efficiency, and extended lifespan, often lasting 50 years or more. However, their smooth, non-porous surface means water runs off quickly and efficiently. Without a proper drip edge, this rapid runoff can easily bypass the gutters, leading to an array of problems. Water might pool at the roof’s edge, causing corrosion of the metal panels over time, or splash back onto the siding and fascia, accelerating their deterioration. In colder climates, uncontrolled water flow can contribute to the formation of destructive ice dams, which can lift shingles, force water into the attic, and cause extensive damage. A correctly installed drip edge mitigates these risks, preserving the integrity and performance of your premium metal roof.
Beyond water management, drip edges serve as an effective barrier against unwelcome visitors. The small, often overlooked gaps between the roof deck and the fascia board can become convenient entry points for a variety of pests, including insects, birds, and rodents. These creatures can cause significant damage to insulation, wiring, and even create health hazards within your attic and walls. A meticulously installed drip edge seals off these potential entryways, transforming your roofline into an impenetrable defense system and ensuring your home remains a sanctuary, free from invasive pests.
Moreover, the synergistic relationship between a drip edge and your gutter system cannot be overstated. By precisely directing water into the gutters, a drip edge optimizes their functionality, preventing overflow and ensuring they can effectively channel rainwater away from your home’s foundation. This vital function protects against soil erosion around the perimeter of your house, which can undermine foundations, and significantly reduces the risk of basement flooding. Furthermore, by minimizing the amount of water cascading down your exterior walls, drip edges help keep your siding cleaner, reduce splash-back onto windows, and even cut down on the accumulation of debris within your gutters, thereby reducing the frequency of maintenance tasks for you.
When embarking on a new metal roof installation or considering an upgrade to an existing one, prioritizing the inclusion of a drip edge is paramount. While many modern building codes now mandate drip edges for new construction, it’s always prudent to confirm compliance with your local regulations. Despite being a relatively small and inexpensive component, overlooking this crucial detail can lead to substantial and costly repairs down the line, far exceeding the initial investment in its installation. It’s a testament to the adage that an ounce of prevention is worth a pound of cure, particularly when it comes to safeguarding your home’s most critical protective layer.
From an aesthetic perspective, drip edges offer more than just utilitarian benefits. They contribute to a clean, crisp, and polished finish along your roofline, enhancing the overall curb appeal of your home. Available in a spectrum of colors and finishes, drip edges can be selected to perfectly complement your metal roof panels and seamlessly integrate with your home’s architectural style. Some homeowners even opt for custom profiles or unique designs, transforming a functional component into an elegant architectural detail that elevates the visual allure of their property.
The Comprehensive Drip Edge Metal Roof Installation Process
Installing a drip edge for a metal roof is a precision-oriented task that, while achievable for a competent DIY enthusiast, often benefits significantly from professional expertise. The following step-by-step guide outlines the critical stages involved in a successful drip edge installation. For those who prioritize peace of mind and professional results, contacting experienced metal roofing specialists like Ottawa Metal Roofs is highly recommended for expert metal roof installation and optimal performance.
1. Gather Necessary Materials and Tools for Success
Before any work begins, a thorough preparation of all required materials and tools is essential. This not only streamlines the installation process but also ensures safety and efficiency. Your checklist should include:
- Drip edge flashing: Select a material (aluminum, galvanized steel, copper) and profile (e.g., Type C, Type D, Type F) that is fully compatible with your specific metal roofing system and local climate.
- Roofing nails or screws: Opt for fasteners that are galvanized or rust-resistant to prevent corrosion and staining, ensuring long-term adhesion and structural integrity.
- Hammer or screw gun: Choose the appropriate tool for fastening, ensuring it’s in good working order.
- Measuring tape: Accurate measurements are crucial for precise cuts and a neat finish.
- Tin snips or metal shears: High-quality snips are necessary for clean, straight cuts through the metal flashing.
- Ladder and comprehensive safety gear: This is non-negotiable. Always use a stable ladder, a safety harness, non-slip gloves, and eye protection when working on a roof.
2. Precision Measurement and Cutting of the Drip Edge
Begin by meticulously measuring the entire perimeter of your roof where the drip edge will be installed, paying particular attention to the eaves (bottom edges) and rake (side edges). Once measurements are confirmed, carefully cut the drip edge pieces to the required lengths using your tin snips. For sections longer than a single piece of drip edge, plan for an overlap of approximately 2 inches. This overlap is crucial for maintaining a continuous water barrier and preventing leaks at the seams. Remember to make clean, straight cuts to ensure a professional finish and proper fit.
3. Initiating Installation at the Bottom Edge (Eaves) of the Roof
The installation sequence typically begins at the bottom edge, or eaves, of the roof. Position the drip edge so that its lower flange extends slightly beyond the edge of the roof deck. The standard overhang is generally between ½ inch to ¾ inch. This precise protrusion is vital, as it ensures that water dripping off the roof clears the fascia board entirely and flows directly into the gutters below, rather than running down the fascia or collecting at the roofline. Improper overhang can negate many of the drip edge’s benefits.
4. Securely Fastening the Drip Edge in Place
Once the drip edge is correctly positioned, it must be securely fastened to the roofing deck. Utilize roofing nails or screws, placing them at consistent intervals, typically every 12 to 16 inches, along the top flange of the drip edge. Ensure that the drip edge lies perfectly flat against the roof decking; any gaps or unevenness can lead to buckling, improper water flow, or vulnerability to wind uplift. Proper fastening not only secures the drip edge but also contributes to the overall structural integrity of the roof edge.
5. Expert Overlapping of Drip Edge Sections
Where two pieces of drip edge meet along a straight run, they must be overlapped by approximately 2 inches. This overlap is a critical detail in creating a seamless and watertight barrier. The upper piece should always overlap the lower piece in the direction of water flow to ensure that any water that might penetrate the joint will simply flow over the lower section and continue its journey into the gutters. This continuous layering is key to preventing any potential water leakage between sections and maintaining an uninterrupted path for water.
6. Installing Drip Edge on the Side Edges (Rakes)
After completing the installation along the eaves, proceed to the side edges, also known as the rake ends, of the roof. On these sections, the side drip edge should be installed to overlap the already installed bottom (eave) piece. This specific layering technique ensures a continuous flow of water from the entire roof surface, across the rake drip edge, and then over the eave drip edge, preventing any water from seeping into the vulnerable layers of the roof system underneath. It’s a fundamental principle of shingle-style layering applied to metal flashing.
7. Mastering Corner Installation Techniques
Corners represent critical points in drip edge installation, requiring careful attention to detail for optimal water flow and aesthetic appeal. At external corners, the drip edges should be precisely cut at a 45-degree angle (mitering) to create a snug, clean fit when joined. The lower piece (from the eave) should always be installed first, followed by the side pieces (from the rake), ensuring they overlap the eave drip edge. This layering maintains the water shedding principle. For internal corners, careful trimming and folding might be necessary to ensure a tight seal and continuous water diversion, often sealed with a high-quality roofing sealant.
8. Attaching the Drip Edge Under Existing Roofing Material (Retrofitting)
In scenarios involving retrofitting or repair of an existing roof, the drip edge may need to be installed underneath the current roofing material, such as shingles or metal sheets. This delicate operation involves gently lifting the existing material – ensuring not to damage it – and carefully sliding the new drip edge underneath. This particular method is crucial for ensuring that any water that penetrates the primary roofing layer is still guided off the roof and into the gutters, preventing it from seeping into the underlying roof deck and causing extensive water damage.
9. Securing the Drip Edge Along the Gable Ends
On the gable ends (the triangular portions of the roof where two slopes meet), the drip edge needs to extend all the way up to the peak. It must be securely fastened, overlapping any previously installed drip edge sections, and terminating cleanly at the ridge. Gable ends are particularly susceptible to wind uplift due to their exposed nature. Therefore, meticulous fastening and ensuring no loose edges or gaps are present are crucial to prevent wind damage and maintain the integrity of the roof system during severe weather.
10. Final Sealing and Comprehensive Inspection
Once all sections of the drip edge are installed, the final step involves applying a high-quality, weatherproof sealant. This is particularly important at all overlaps, corners, and where the drip edge meets other roofing components, to create an impenetrable barrier against water infiltration. After the sealant has cured, conduct a thorough, comprehensive inspection of the entire drip edge installation. Look for any unsecured sections, gaps, or areas where water could potentially seep in or where wind could catch and uplift the flashing. Addressing these issues immediately will ensure the long-term effectiveness and durability of your drip edge system.
Multifaceted Benefits of Installing a Drip Edge Roof
The installation of a drip edge on your metal roof yields a multitude of profound benefits, extending far beyond simple water diversion. This seemingly minor addition plays a critical role in enhancing the overall performance, longevity, and aesthetic appeal of your entire roofing system and home.
- Superior Water Damage Prevention: The paramount advantage of a drip edge lies in its unparalleled ability to prevent water damage. By creating a definitive path that directs rainwater away from the vulnerable fascia and directly into the gutters, it dramatically reduces the risk of water infiltrating the roof deck. Without this protection, water can seep into the underlying wooden structures, leading to insidious rot, damaging mold growth, and eventual structural compromise that can be incredibly expensive and complex to repair.
- Significantly Improved Roof Longevity and Durability: By actively preventing potential damage from moisture intrusion and runoff, a drip edge effectively extends the functional lifespan of your entire roofing system. It acts as an indispensable, sacrificial layer of protection against the incessant assault of harsh weather conditions, including heavy rain, strong winds, and freezing temperatures. This continuous safeguard minimizes wear and tear on your primary roofing materials, ensuring that your metal roof delivers its expected decades of performance. Pairing these drip edges with routine metal roof inspections will not only maximize your roof’s lifespan but also preemptively identify and address minor issues, thereby avoiding costly and unexpected home repairs caused by unnoticed roof damages.
- Effective Pest and Critter Deterrence: A meticulously installed drip edge serves as an invaluable physical barrier against unwanted pests and small animals. It effectively seals off the small, often imperceptible gaps that naturally occur between the roof deck and the fascia board. These tiny openings are frequently exploited by insects, birds, and rodents seeking shelter or nesting sites within your attic or wall cavities. By eliminating these convenient entry points, the drip edge helps maintain a clean, secure, and pest-free environment within your home.
- Enhanced Aesthetics and Curb Appeal: Beyond its functional prowess, a drip edge adds a refined, finished look to the edge of your roof. It provides a clean, straight line that frames the entire roofing structure, significantly enhancing its overall aesthetic appeal. Available in various colors and finishes, drip edges can be chosen to perfectly match or elegantly contrast with your metal roofing, thereby elevating the visual harmony and increasing the curb appeal and perceived value of your property.
- Robust Eave and Fascia Protection: The unique profile of a drip edge specifically shields the eaves and fascia boards from the damaging effects of wind-driven rain. During severe storms, strong winds can force rainwater upwards and underneath the roofing material, leading to saturation and deterioration of these critical components. In regions prone to intense winds and heavy precipitation, or during extreme weather events, this added layer of protection is not just valuable; it’s indispensable for preserving the structural integrity and appearance of your home’s exterior.
- Essential Support for Roofing Materials: Drip edges provide crucial underlying support to the roofing material itself at the perimeter. This prevents the edges of shingles or metal panels from sagging, curling, or lifting over time, which can compromise the roof’s seal and aesthetic. By maintaining a consistently smooth and straight roofline, the drip edge contributes to the uniform performance and longevity of the entire roofing system.
Key Tips for a Successful Drip Edge Metal Roof Installation
Ensuring a successful drip edge installation on your metal roof involves more than just following steps; it requires foresight, quality materials, and often, professional expertise. Here are some essential tips to guide you:
- Prioritize Professional Expertise for Roofing Projects: While the concept of DIY installation might seem appealing, roofing work, especially with metal, can be complex and dangerous. A professional metal roofing contractor possesses the specialized knowledge, tools, and experience to ensure your drip edge is installed correctly, safely, and in full compliance with industry standards, guaranteeing optimal performance and longevity for your roof.
- Strictly Adhere to Local Building Codes: Many local building codes and municipal regulations now explicitly require the installation of drip edges for all new roof constructions and significant re-roofing projects. Before commencing any work, always consult with your local authorities or a qualified contractor to ensure your project fully complies with all pertinent building codes and obtains any necessary permits.
- Invest in High-Quality, Durable Materials: The effectiveness and longevity of your drip edge are directly proportional to the quality of the materials used. Opt for drip edge flashing made from robust, corrosion-resistant materials such as heavy-gauge aluminum, galvanized steel, or copper. These high-quality materials are designed to withstand harsh weather conditions, resist rust and degradation, and provide dependable protection for many years.
- Implement a Schedule for Regular Maintenance and Inspection: Even the most perfectly installed drip edge benefits from periodic attention. Integrate routine inspections into your home maintenance schedule, especially after severe storms. Look for any signs of damage, such as bends, cracks, loose fasteners, or excessive debris accumulation. Promptly addressing minor issues can prevent them from escalating into major, costly repairs, thereby preserving the integrity of your roofline protection.
Conclusion
In the grand tapestry of roofing components, the drip edge might appear to be a minor detail, yet it stands as an unequivocally essential element that underpins the health, durability, and aesthetic appeal of your entire home. For metal roofs, renowned for their exceptional lifespan and energy efficiency, the installation of a drip edge transcends mere recommendation—it becomes a non-negotiable imperative. It is the crucial link in preventing devastating water damage, safeguarding structural integrity, and ensuring that your metal roof not only performs optimally but also maintains its stunning visual appeal for decades to come.
Therefore, whether you are meticulously planning the installation of a brand-new metal roof or contemplating a significant upgrade to an existing one, never underestimate the profound importance of the drip edge. It represents a straightforward, highly cost-effective addition that delivers disproportionately large and long-lasting benefits, acting as a tireless guardian for your most significant investment. In the intricate art of safeguarding your home, it is abundantly clear that every single detail, no matter how small, plays a critical and invaluable role in achieving comprehensive and enduring protection. While a skilled DIY enthusiast might undertake the installation, consulting with or engaging a professional roofer is invariably the most advisable course of action for ensuring impeccable results, maximum safety, and absolute peace of mind, particularly if you are unaccustomed to the nuances of roofing craftsmanship.