
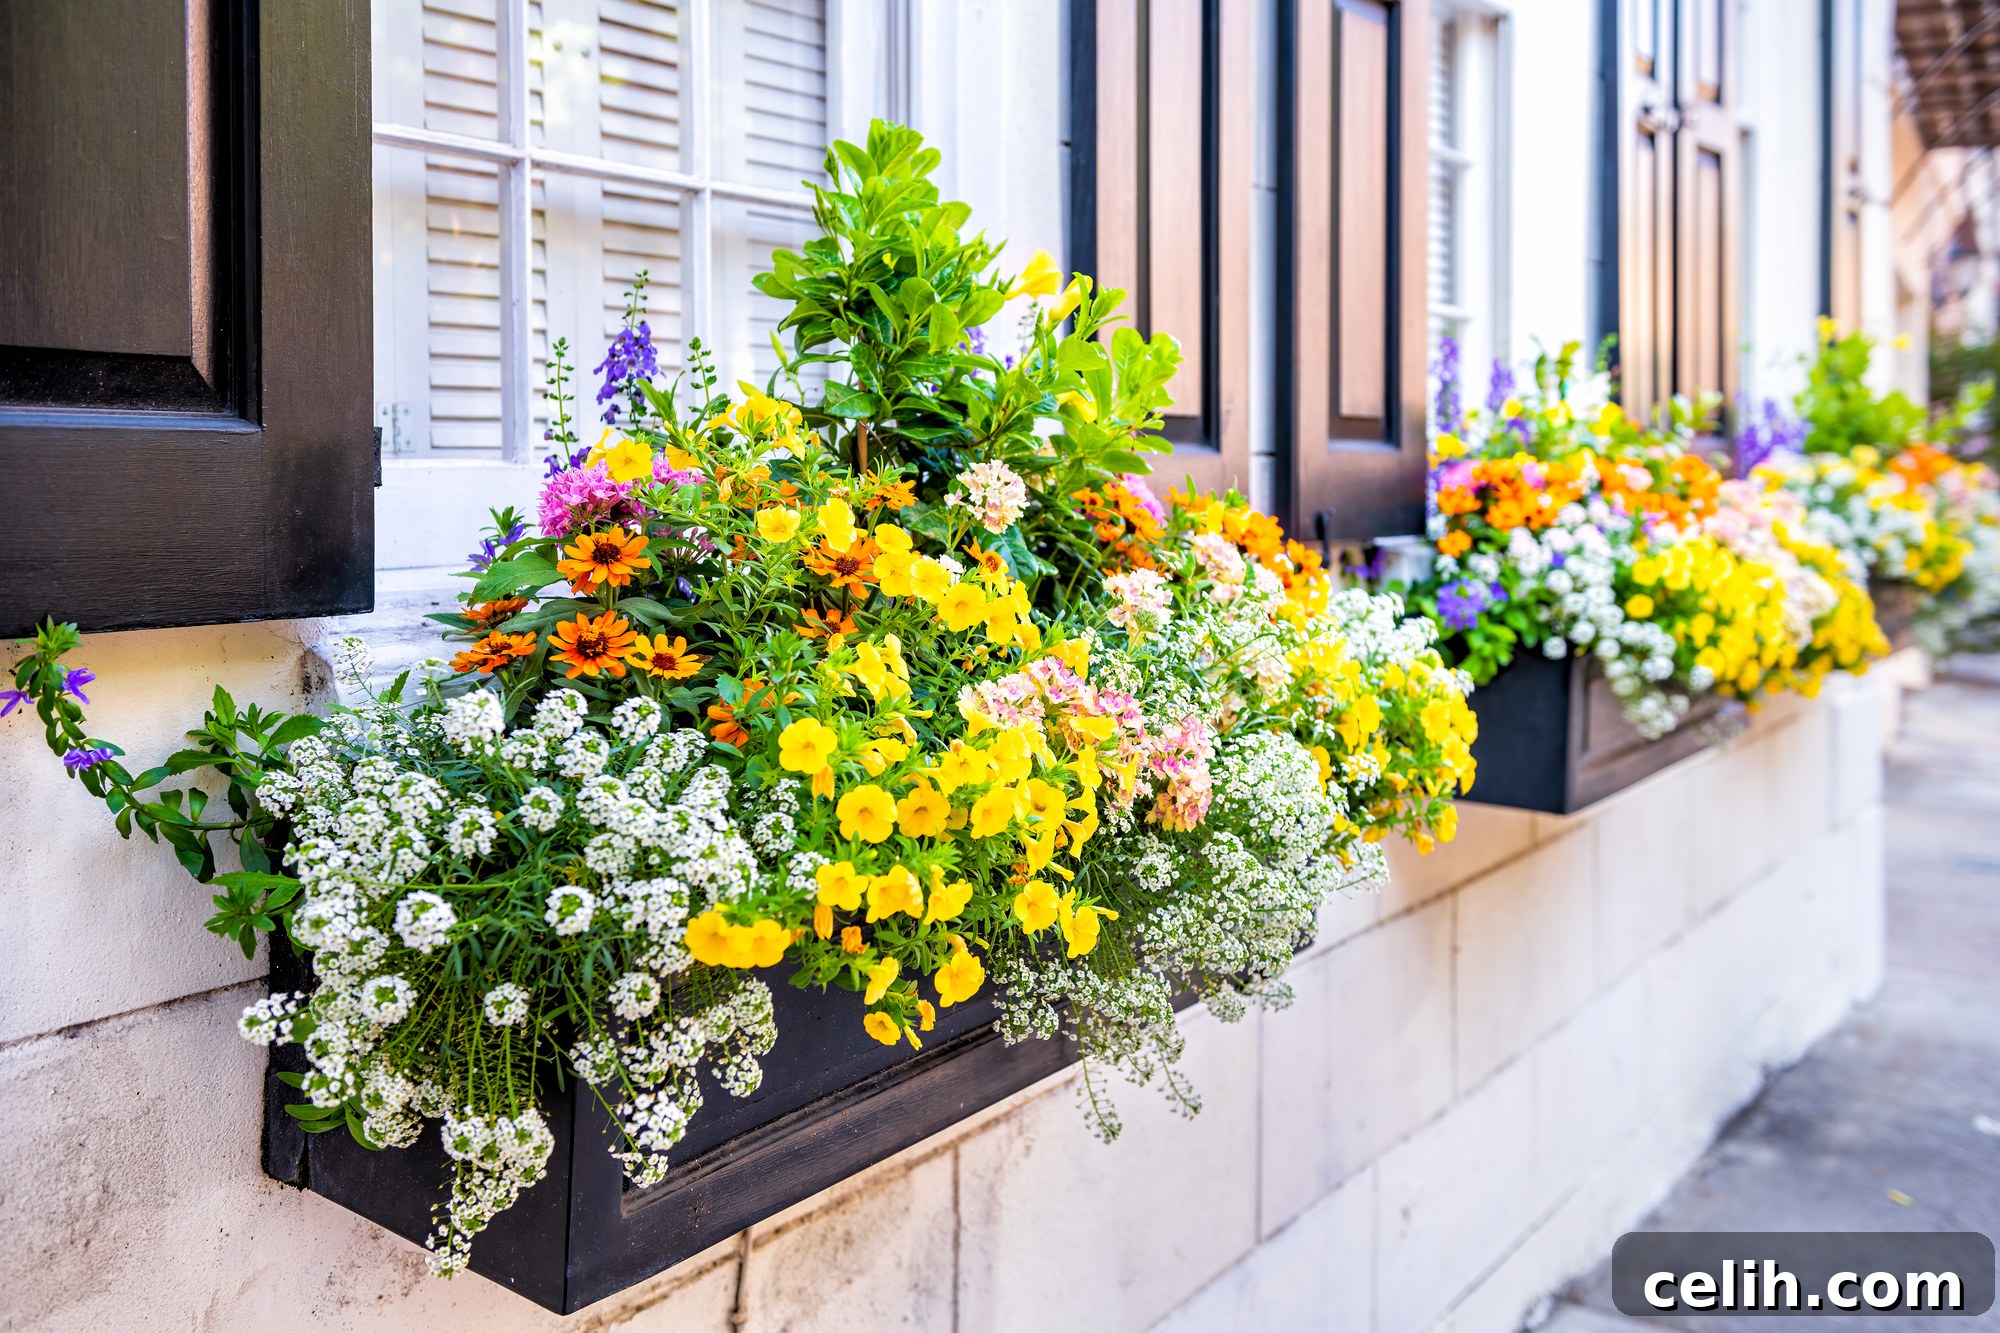
Transforming your outdoor space into a vibrant sanctuary is an aspiration shared by many homeowners and garden enthusiasts. Whether you envision a lush balcony garden, a charming patio oasis, or a dynamic landscape feature, planters offer an incredibly versatile and effective solution. Beyond their undeniable aesthetic appeal, planters introduce functionality, flexibility, and a world of possibilities for cultivating your favorite plants and flowers. They allow you to bring greenery to paved areas, manage soil conditions for specific plant types, and even move your garden with the seasons or as your design preferences evolve. Instead of being limited by existing soil conditions or permanent landscape features, container gardening empowers you to create stunning, dynamic displays that enhance any area, making it more inviting and personal.
While the concept of adding planters to your outdoor environment might seem straightforward, the success of your portable garden hinges on a methodical approach. Many aspiring gardeners may overlook crucial steps necessary to ensure their planters are installed correctly and that their botanical inhabitants thrive in their new homes. From selecting the ideal location to choosing the perfect vessel and providing optimal growing conditions, each stage plays a vital role. This comprehensive guide will walk you through the essential steps for successfully installing planters in your outdoor space, ensuring your green additions flourish for years to come. Let’s delve into the details of creating your perfect container garden.
1. Choosing The Right Location for Your Outdoor Planters
The foundation of any successful container garden lies in selecting the optimal location for your planters. This decision is paramount, influencing not only the visual harmony of your outdoor area but, more importantly, the health and vitality of your plants. A spot that looks appealing might not always provide the necessary environmental conditions for your chosen flora to thrive.
Understanding Sunlight Requirements: Plants are incredibly diverse in their light needs, and understanding these requirements is critical. Before placing any planter, take time to observe the sun patterns in your outdoor space throughout the day and across different seasons.
- Full Sun: Requires at least six hours of direct sunlight per day. Ideal for sun-loving plants like most vegetables (tomatoes, peppers), herbs, succulents, and flowering annuals (petunias, marigolds). If you’d love to plant strawberries, a favorite for many container gardeners, you can read an easy guide to growing strawberries in planters to maximize your harvest.
- Partial Sun/Partial Shade: Needs four to six hours of direct sun, often in the morning, with protection from intense afternoon sun. Many common perennials, impatiens, and some herbs fall into this category.
- Full Shade: Requires less than four hours of direct sun, often preferring bright, indirect light. Ferns, hostas, and some types of begonias thrive in these conditions.
Consider using a compass or a sun-tracking app to accurately determine the sun exposure throughout your day.
Accessibility for Maintenance and Care: A well-chosen location should also prioritize ease of access for routine plant care. Imagine having to haul water across a large yard or struggle to reach plants for pruning. Select an area that is easily accessible for all necessary maintenance tasks, including watering, fertilizing, deadheading, pruning, and harvesting your plants. This ensures that caring for your container garden remains a pleasant activity rather than a chore, encouraging consistent attention to your plants’ needs.
Proximity to Water Sources: This often-overlooked factor can significantly impact your gardening experience. Hauling heavy watering cans long distances can quickly become tedious. Placing planters close to a water spigot or where a hose can easily reach will make daily watering routines much more manageable, especially during hot summer months when plants in containers dry out quickly.
Complementing Outdoor Aesthetics: Beyond practicalities, your planters should integrate seamlessly with the overall design and style of your outdoor living area. Planters are not just plant holders; they are integral elements of your exterior decor. For example, if your outdoor space boasts a modern, minimalist design, sleek, contemporary planters in neutral tones will create a cohesive look. Conversely, a rustic, cottage-style garden might benefit from weathered terracotta or natural wooden planters. Consider the material, color, and scale of your planters in relation to your existing furniture, hardscaping, and architectural elements to create a harmonious and visually appealing display.
Protection from Elements: Lastly, consider protection from harsh weather conditions. Strong winds can dehydrate plants quickly, damage delicate foliage, or even knock over tall planters. Placing planters in somewhat sheltered spots, or utilizing heavier, more stable planters for wind-prone areas, is advisable. Similarly, in regions with intense summer heat, some plants might benefit from afternoon shade provided by structures or larger plants.
2. Choosing The Right Planters for Your Container Garden
Selecting the appropriate planter is as crucial as finding the perfect location. The material, size, and design of your container directly impact plant health, maintenance requirements, and the overall aesthetic of your outdoor space. Here’s a detailed look at various types of planters and key considerations:
- Plastic Planters: These are among the most popular due to their lightweight nature, durability, and vast array of colors, shapes, and sizes.
- Pros: Affordable, easy to move, excellent moisture retention (reducing watering frequency), resistant to cracking in cold temperatures (if made from frost-proof plastic). Many modern designs mimic more expensive materials.
- Cons: Can become brittle and fade over time due to UV exposure, especially cheaper varieties. Less breathable than porous materials, which can lead to root rot if overwatered. Some can look less “natural” or premium.
- Ceramic Planters: Often glazed, these planters are renowned for their elegant and decorative appeal, available in countless artistic designs.
- Pros: Visually stunning, provide excellent insulation for plant roots (keeping them cooler in summer and warmer in winter), heavy and stable, less prone to tipping in wind.
- Cons: Can be very heavy, making them challenging to move. Fragile and prone to breaking or chipping, especially if dropped or subjected to freezing temperatures (unless specifically labeled “frost-proof”). Often more expensive.
- Terracotta Planters: Made from unglazed clay, terracotta pots offer a timeless, rustic, and earthy aesthetic.
- Pros: Highly breathable due to their porous nature, which is excellent for plants that prefer drier soil or are susceptible to root rot (e.g., succulents, herbs). Affordable and widely available.
- Cons: Absorbent nature means soil dries out quickly, requiring more frequent watering. Prone to cracking in cold temperatures if water freezes within the clay pores. Can develop white mineral deposits over time, though some find this adds to their charm.
- Wooden Planters: Offering a natural, warm, and stylish appearance, wooden planters are perfect for creating a classic garden look.
- Pros: Blends beautifully with natural outdoor settings, provides good insulation for roots, can be custom-built to various sizes and shapes. Materials like cedar or redwood are naturally rot-resistant.
- Cons: Can be expensive, especially for quality woods. Requires regular maintenance (sealing, staining) to prevent rotting, warping, or pest infestations. Treated wood should be lined to prevent chemicals from leaching into the soil.
- Metal Planters: Often made from galvanized steel, aluminum, or wrought iron, these offer a contemporary or industrial look.
- Pros: Extremely durable, weather-resistant, can be very stylish and modern. Lighter than ceramic or concrete but heavier than plastic.
- Cons: Can heat up significantly in direct sunlight, potentially damaging roots. Prone to rust if not properly treated or maintained. Higher cost.
- Concrete/Stone Planters: These substantial planters offer a robust and sophisticated presence.
- Pros: Incredibly durable and long-lasting, highly stable against wind, excellent insulation properties. Offers a refined, architectural aesthetic.
- Cons: Very heavy, making them difficult or impossible to move once filled. Can be quite expensive.
When making your selection, consider the following critical factors:
- Plant Variety: Match the planter type to your plants’ specific needs. Moisture-loving plants might do better in plastic, while drought-tolerant ones prefer terracotta.
- Size and Depth: This is paramount for plant health. Ensure the planter is large enough to accommodate the plant’s mature root system. Shallow-rooted plants like annuals can thrive in smaller, shallower containers, but deep-rooted plants (e.g., tomatoes, small shrubs) require ample depth for proper development and stability. Overcrowding can lead to stunted growth and increased maintenance.
- Drainage Holes: This cannot be stressed enough – every planter must have adequate drainage holes at the bottom. Without them, water will accumulate, leading to waterlogged soil, root rot, and ultimately, plant death. If a planter lacks holes, you must drill them yourself.
- Location and Overall Style: Reiterate how the planter material and design should complement your outdoor space’s existing aesthetic and functional requirements. A large, heavy planter might be suitable for a permanent focal point, while lightweight plastic is ideal for seasonal arrangements that need frequent rearrangement.
By carefully weighing the pros and cons of each type and considering these factors, you can choose the perfect planter that not only looks fantastic but also provides the ideal environment for your plants to thrive.
3. Prepare The Area for Planter Installation
Once you’ve selected the perfect location and chosen your ideal planters, the next crucial step is meticulously preparing the chosen area. Proper preparation ensures stability, optimal drainage, and a welcoming environment for your new plant additions.
Clearing and Leveling the Ground:
The very first action is to thoroughly clear the area where your planter will sit. Remove any existing debris such as fallen leaves, branches, loose rocks, or garden tools. Crucially, remove any weeds that may be present, as they can compete with your plants for nutrients or become a future nuisance. You want to ensure the base is free of any obstructions that could hinder your planter’s stability or the overall growth of your plants.
Next, you need to level the ground. This step is critical to ensure that your planter sits evenly and securely, preventing it from wobbling, leaning, or even tipping over, especially larger containers or those in windy locations. Use a shovel, rake, and a spirit level to achieve a perfectly flat and even surface. For larger areas or heavier planters, a hand tamper can help compact the soil for added stability. An uneven base can also lead to inconsistent drainage within the planter itself, creating pockets of waterlogged soil.
Ensuring Proper Drainage:
Drainage is paramount for container gardening. Your plants can quickly become waterlogged without proper drainage, leading to root rot, fungal diseases, and other severe problems. The requirement for drainage preparation varies depending on the surface:
- On Hard Surfaces (Patios, Decks, Concrete Slabs): If you’re installing a planter on a hard, impermeable surface, adequate drainage within the planter itself is crucial. Ensure your chosen planter has sufficient drainage holes (usually multiple holes, about 0.5 to 1 inch in diameter, at the bottom). To further enhance drainage and prevent water from pooling directly underneath the planter and causing staining or mildew on your patio, consider using “pot feet” or risers. These elevate the planter slightly, allowing for better airflow and unimpeded water escape. This also helps prevent insects from nesting directly under the pot. For inspiration, explore best small patio ideas that often incorporate well-drained planters.
- On Soft Ground (Soil, Grass): While soft ground offers natural drainage, it’s still wise to ensure the immediate area doesn’t retain water. If your soil is heavy clay and drains poorly, water could accumulate around the base of the planter. In such cases, you might dig a shallow depression slightly larger than the planter’s footprint and fill it with a few inches of coarse gravel or sand to create a drainage layer *under* the planter. This helps prevent the planter’s drainage holes from becoming clogged with soil and promotes efficient water runoff.
By taking the time to thoroughly prepare the area, you lay the groundwork for a stable, healthy, and visually appealing container garden.
4. Installing and Arranging Your Outdoor Planters
With the area prepared and the ideal planters chosen, the next exciting step is the actual installation and arrangement. This stage brings your vision to life, ensuring your planters are securely placed and aesthetically pleasing.
Assembly (If Required): Some planters, particularly those made of wood or certain metal designs, may arrive in flat-pack form, requiring assembly. Carefully follow the manufacturer’s instructions, using the correct tools and ensuring all components are properly secured. It’s often easier to assemble planters in or near their final location, especially if they are large, to minimize subsequent moving efforts.
Careful Placement and Centering: Once assembled (or if pre-assembled), carefully move the planter into its chosen, prepared location. For large or heavy planters, prioritize safety. Enlist the help of a friend, use a furniture dolly, or lifting straps to prevent injury or damage. Avoid dragging heavy planters, which can scratch surfaces or damage the planter itself. Once in place, ensure it is perfectly centered and level on the ground. Use a spirit level one last time to confirm stability and visual balance. This ensures the soil will distribute evenly and water will drain uniformly, preventing issues like leaning plants or uneven moisture distribution.
Securing Your Planters: Depending on the size, weight, and location of your planter, you may need to secure it to prevent accidental tipping or displacement, especially in areas prone to high winds or heavy foot traffic.
- On Patios or Hard Surfaces: For smaller or lighter planters, simply using pot feet to raise them is often sufficient. For larger, more stable planters, their weight will typically keep them in place. However, if you have very tall or narrow planters, or live in a particularly windy area, you might consider using anti-slip pads underneath or even a strong, weather-resistant adhesive designed for outdoor use to semi-permanently attach them to the surface. Mounting brackets, while less common for individual planters, can be used for window boxes or hanging planters.
- On Soft Ground: Planters placed on soil or grass are more susceptible to tipping, especially when filled with soil and plants, which can act as a sail in strong winds. For these, stakes can be an effective solution. Drive sturdy garden stakes into the ground around the base of the planter, and then secure the planter to the stakes using durable ties or straps. For very large or permanent installations, you might consider more robust anchoring methods, such as burying a portion of the planter or setting it into a concrete pad.
Considering Arrangement and Grouping: Don’t just place a single planter in isolation. Think about how planters can be grouped to create a more impactful display. Grouping planters of varying heights, sizes, and plant types can add depth and visual interest to your outdoor space. This also creates a mini-ecosystem, where plants can benefit from shared humidity. Consider the “thriller, filler, spiller” design principle for a balanced and attractive arrangement within individual large containers or when grouping multiple smaller ones.
Integrating Irrigation: If you plan to use a drip irrigation system or self-watering inserts, this is an excellent time to install these components before adding soil and plants. Routing drip lines or setting up reservoir systems now will be much easier than trying to do so after planting.
By carefully installing and strategically arranging your planters, you set the stage for a beautiful and functional outdoor space that you’ll cherish for seasons to come.
5. Filling The Planter With Soil And Plants
This is where your container garden truly comes to life! The success of your plants largely depends on the quality of the growing medium and proper planting techniques. Don’t underestimate this critical stage.
Choosing the Right Potting Mix: This is arguably the most crucial decision. You absolutely cannot use ordinary garden soil in your planters. Garden soil is too dense, compacts easily in containers, doesn’t drain well, and often contains weed seeds, pests, and diseases. Instead, always opt for a high-quality, sterile potting mix specifically formulated for containers.
Potting mixes are designed to provide the ideal balance of aeration, drainage, and moisture retention. They typically contain a blend of ingredients, each serving a specific purpose:
- Peat Moss or Coir: Retains moisture and provides a light, fluffy texture. Coir (coconut fiber) is a more sustainable alternative to peat.
- Perlite or Vermiculite: Improves drainage and aeration, preventing compaction. Perlite is a volcanic rock that creates air pockets, while vermiculite is a mineral that also holds some moisture.
- Compost: Adds essential nutrients and beneficial microorganisms. Look for mixes that include some compost for natural fertility.
- Slow-Release Fertilizer: Many commercial potting mixes come pre-enriched with slow-release fertilizers, providing a steady supply of nutrients for several months.
Research the specific needs of your plants. Some plants, like cacti and succulents, require a fast-draining mix, while others, such as ferns, prefer a mix with higher moisture retention. There are specialized potting mixes available for vegetables, herbs, orchids, and other specific plant types.
Debunking the Drainage Layer Myth: A common misconception is to place a layer of gravel, broken pottery, or rocks at the bottom of the planter for “better drainage.” Scientific research has shown this practice is actually detrimental. It creates a “perched water table” where water accumulates just above the gravel layer, effectively raising the water level and making the plant’s roots more susceptible to waterlogging and root rot. Instead, rely on good drainage holes and a quality potting mix for optimal water flow.
Filling Technique:
Begin by adding a layer of your chosen potting mix to the bottom of the planter. The amount depends on the size of your plant’s root ball. You want to ensure that when the plant is placed, the top of its root ball is about 1 to 2 inches below the rim of the planter. This space, known as the “watering lip,” is essential to prevent water and soil from overflowing when you water your plants.
Planting Your Plants:
Gently remove your plant from its nursery container. If the plant is root-bound (roots are tightly coiled around the soil ball), carefully loosen them with your fingers. This encourages the roots to grow outwards into the new potting mix. Place the plant in the center of the planter, ensuring the top of its root ball is at the same level as it was in its original container. Avoid burying the stem too deep or leaving roots exposed.
If you’re planting multiple plants in one container, arrange them before filling with soil, paying attention to proper spacing. Overcrowding can lead to poor air circulation, increased disease risk, and competition for resources. Allow enough room for each plant to grow to its mature size.
Once positioned, backfill the planter with more potting mix around the root ball. Gently pat down the soil to remove large air pockets, but avoid compacting it too firmly. The soil should be firm enough to hold the plants securely but remain loose enough for roots to penetrate and for water and air to circulate.
Initial Watering and Mulching:
Immediately after planting, give your plants a thorough watering. Water slowly until you see it draining from the bottom holes. This settles the soil around the roots and helps reduce transplant shock. For the first few days, keep a close eye on your newly planted containers, as they may require more frequent watering until the plants establish themselves.
Finally, consider adding a layer of mulch to the top of your planter. This can be decorative bark chips, pea gravel, or even compost. Mulch helps conserve soil moisture, regulate soil temperature (keeping roots cooler in summer and warmer in winter), and suppress weeds. It also gives your planter a neat and finished appearance.
Conclusion: Cultivating a Thriving Outdoor Oasis with Planters
Installing planters in your outdoor space is a rewarding endeavor that offers endless opportunities for creativity and brings vibrant life to any area. From a cozy balcony to an expansive backyard, the right planters, thoughtfully chosen and meticulously installed, can transform your environment into a stunning, functional, and deeply personal sanctuary. The key to long-term success in this delightful form of container gardening lies in careful planning, thorough research, and a commitment to providing the best possible conditions for your green companions.
Remember that the journey of creating a beautiful planter display doesn’t end with the initial installation. Planters, by their very nature, require ongoing maintenance to keep them looking their absolute best and to ensure the continued health of their inhabitants. This includes a consistent routine of regular watering, as plants in containers dry out more quickly than those in the ground. You’ll also need to implement appropriate fertilizing schedules, as the confined soil volume means nutrients are depleted faster. Routine pruning and deadheading of spent flowers will encourage new growth and abundant blooms, while regular removal of dead leaves and debris helps prevent diseases and keeps your plants looking tidy.
Beyond daily care, it’s a good practice to inspect your planters regularly for any signs of damage, wear and tear, or pest infestations. Catching issues early can prevent them from escalating into larger problems. Depending on your climate, you may also need to consider seasonal care, such as moving tender plants indoors during winter or providing extra protection during extreme weather conditions.
By diligently following the comprehensive steps outlined in this article—from selecting the perfect sun-kissed location and choosing the right vessels, to preparing the ground, installing with care, and nurturing your plants with optimal soil and attention—you will be well on your way to creating a beautiful and functional outdoor space. This living extension of your home will not only enhance its curb appeal but also provide a source of joy, tranquility, and natural beauty that you can enjoy for countless years to come. Embrace the art of container gardening, and watch your outdoor oasis flourish!