

In our increasingly busy lives, finding dedicated time for home improvement can often feel like an insurmountable challenge. However, opportunities sometimes arise that allow us to redirect our focus and energy towards our immediate surroundings. Whether you’re spending more time indoors, seeking a creative outlet, or simply longing for a refresh, now is the perfect moment to embark on simple yet impactful home renovation projects that won’t strain your wallet.
Transforming your living space doesn’t necessitate extensive professional overhauls or significant financial investment. Many of the most effective home improvements can be achieved with a modest budget, a few readily available tools, and a willingness to embrace the do-it-yourself spirit. These affordable home updates not only enhance the aesthetic appeal and functionality of your property but also provide a rewarding sense of accomplishment and a boost to your overall well-being. Engaging in DIY home projects can be a fantastic way to stimulate your mind, keep your body active, and channel your creativity into tangible results.
Inspired by comprehensive resources, such as this insightful home renovation guide, we’ve curated a selection of budget-friendly home decor ideas and practical tips. These suggestions are designed to empower you to create a home environment you genuinely love spending time in, all while keeping costs remarkably low. Let’s dive into some transformative projects that promise to deliver maximum impact with minimal fuss.
Revitalize Your Woodwork: A Fresh Coat Makes All the Difference
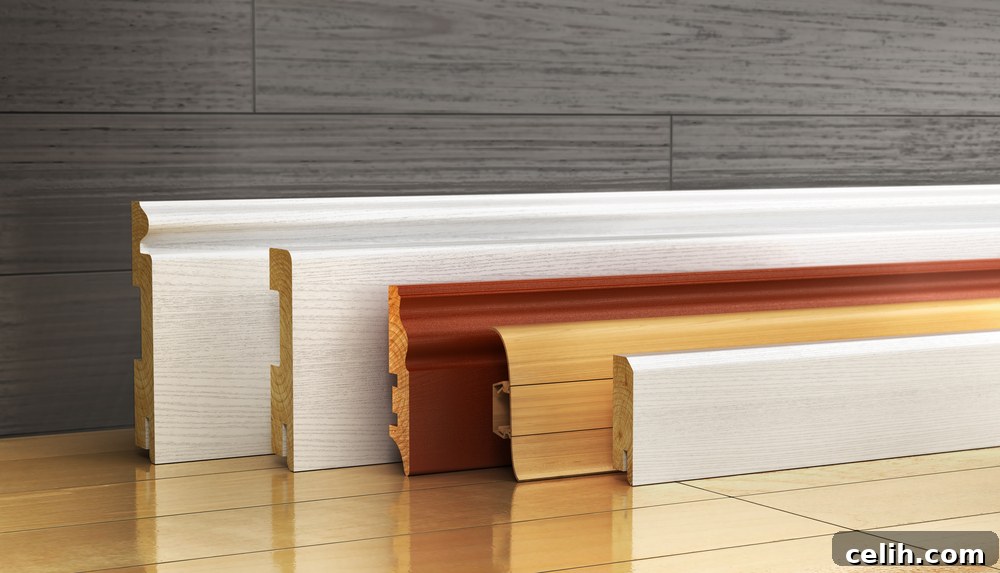
Few things dull the overall appearance of a room quite like tired, chipped, or discolored woodwork. Skirting boards, architraves, door frames, and banisters are fundamental elements of your home’s structure and contribute significantly to its perceived cleanliness and finish. If these surfaces are looking a bit worse for wear, it’s an ideal opportunity to grab that forgotten tin of gloss paint and give them a much-needed facelift.
The process is surprisingly straightforward and incredibly rewarding. Begin by preparing the surface: use a fine-grit sandpaper to gently abrade the existing paintwork. This step is crucial for removing any loose flakes, smoothing out minor imperfections, and creating a ‘key’ for the new paint to adhere to. After sanding, thoroughly wipe down the woodwork with a damp cloth to remove all dust and debris, then allow it to dry completely. For optimal results, apply a thin, even coat of a good quality primer, especially if you’re painting over a dark color or bare wood. Once the primer is dry, apply your chosen gloss or satin paint. You’ll likely need two thin coats for a durable and flawless finish, allowing adequate drying time between each application. The transformation will be immediate and striking, leaving you with crisp, clean woodwork that brightens the entire room and provides a pristine backdrop for your decor. This simple update can dramatically improve the perception of cleanliness and attention to detail throughout your home.
Renew Kitchen and Bathroom Sealant: A Small Detail, A Huge Impact
This often-overlooked task is a prime example of a small effort yielding massive returns in terms of both aesthetics and hygiene. The silicone sealant around your kitchen sink, bathtub, shower tray, and bathroom taps serves a vital function: it prevents water from seeping into gaps, protecting your home from potential water damage, mold growth, and structural issues. Over time, however, sealant can degrade, crack, stain, and become unsightly, harboring grime and mildew. Replacing old, dirty sealant is an immediate way to make these high-traffic areas feel sparkling clean and fresh.
Before you begin, gather your tools: a utility knife or sealant removal tool, a cleaning spray (anti-mold specific is best), a cloth, masking tape, a tube of new sealant (silicone for wet areas), and a sealant gun. First, carefully use your knife or removal tool to scrape away all traces of the old sealant. Be thorough; any remaining old sealant can compromise the adhesion of the new. Clean the area meticulously, ensuring it’s free of soap scum, mold, and dirt, then dry it completely. For a professional-looking finish, apply masking tape along both edges of the gap, leaving only the area to be sealed exposed. Load your sealant tube into the gun and apply a steady, even bead along the joint. Immediately after application, use a wet finger, a sealant smoother tool, or even an ice lolly stick to gently smooth the bead, creating a neat, waterproof finish. Promptly remove the masking tape before the sealant cures. This quick revamp around the bathtub, the kitchen sink, and various taps will instantly refresh your home, providing a clean, hygienic, and polished look that belies the simplicity of the task.
Revamp Old Wooden Furniture: Give Pieces a Second Life

Why replace when you can revitalize? Old wooden furniture, whether it’s a set of dining chairs showing their age, a chest of drawers inherited from a relative, or a bargain find from a second-hand shop, often possesses excellent craftsmanship and sturdy bones. With a little imagination and effort, these pieces can be transformed into stunning, unique accents that perfectly complement your home’s aesthetic. This process of upcycling furniture is not only incredibly satisfying but also an eco-friendly approach to interior design, reducing waste and giving items a prolonged purpose.
Begin by thoroughly cleaning the furniture. If there’s an existing finish, a light sanding with medium-grit sandpaper will help to rough up the surface, ensuring better adhesion for new paint or stain. For pieces with significant damage or a thick old finish, a more aggressive sanding or even stripping might be necessary. Once sanded and cleaned, apply a high-quality primer, especially if you’re drastically changing the color or painting over a difficult surface. Next comes the fun part: choosing your finish. You might opt for a vibrant new paint color to make a bold statement, a classic white or grey for a shabby-chic look, or a rich wood stain to enhance the natural grain. Apply several thin, even coats, sanding lightly between each for a super smooth finish. Consider upgrading the hardware – new handles or knobs can completely alter the character of a piece. Spending a sunny afternoon in the garden on this creative project is not only productive but also a wonderful way to relax and engage in a fulfilling hobby, breathing new life into cherished items and extending their functional and decorative lifespan within your home.
Unleash Creativity with a Feature Wall: Define Your Space
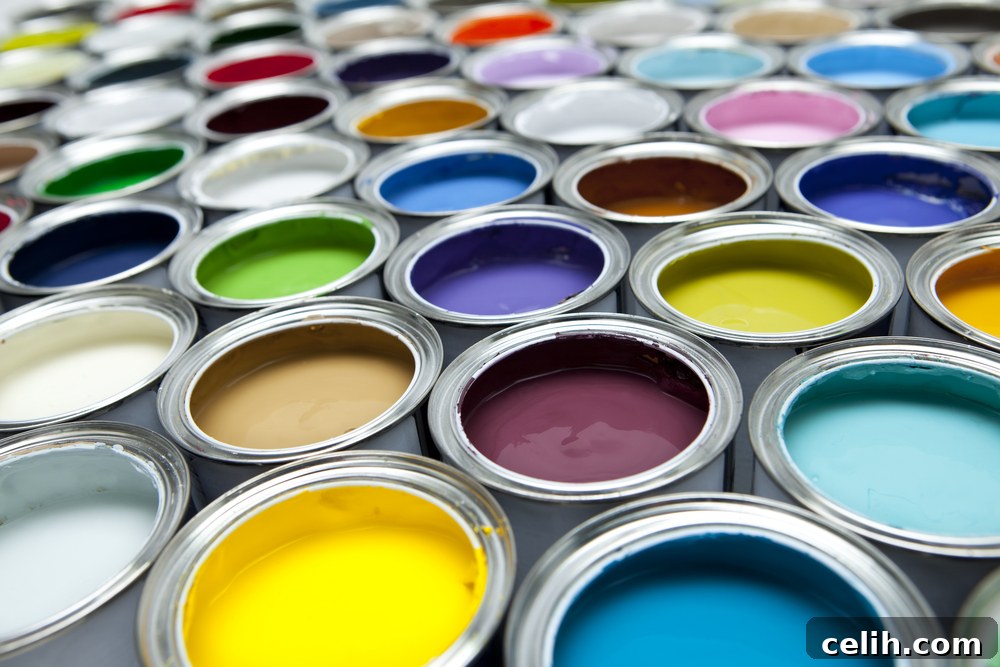
A feature wall is one of the quickest and most cost-effective ways to inject personality, depth, and visual interest into any room. Rather than painting an entire space, which can sometimes feel overwhelming or make a room appear smaller, an accent wall draws the eye and creates a focal point. This is an excellent opportunity to use up those half-full tins of paint languishing in your garage or shed, transforming leftover supplies into a striking design element.
Consider the impact of color: a leftover navy blue from your kitchen could become a sophisticated feature wall in the lounge, beautifully complemented by gold accessories and plush velvet cushions, adding a touch of drama and elegance. Alternatively, that peachy pink paint used in a child’s bedroom could be surprisingly effective when painted on the hallway ceiling, creating an unexpected and charming pop of color that draws the eye upwards, expanding the perceived height of the space. Beyond solid colors, you can explore geometric patterns, stripes, or stenciled designs for a truly unique look. Don’t forget to consider paint finishes; a matt finish absorbs light and gives a sophisticated, soft look, while a silk or satin finish reflects light, adding a subtle sheen and durability, particularly useful in high-traffic areas. Consult a helpful guide’s ‘matt or silk’ paint section to determine the best type of paint for your chosen wall and desired effect. A well-executed feature wall can redefine a room’s character and make a powerful design statement with minimal financial outlay.
Declutter and Organize: The Foundation of a Harmonious Home
Before any major aesthetic changes, one of the most transformative — and free — home renovation projects you can undertake is decluttering and organizing. A cluttered space can feel chaotic and overwhelming, impacting your mood and productivity. Dedicate time to going through each room, sorting items into categories: keep, donate, recycle, or discard. Employ methods like the KonMari technique, or simply the “four-box method,” to systematically clear out unnecessary items. This process not only frees up physical space but also mental space, creating a calmer, more functional environment. Once decluttered, invest in clever storage solutions such as shelving, baskets, or drawer organizers to keep your newly organized space tidy and maintain its fresh feel. A clean, uncluttered foundation is essential for any further decorative enhancements to truly shine.
Refresh Soft Furnishings: Instant Comfort and Style
Soft furnishings are the unsung heroes of interior design, capable of instantly transforming the mood and aesthetic of a room. Replacing or simply rearranging cushions, throws, and curtains can breathe new life into your living space without requiring a single drop of paint or a hammer. Consider updating your cushion covers with new textures or colors that align with your desired palette. A luxurious throw draped over a sofa can add warmth and an inviting touch. For curtains, ensure they are clean and well-maintained; sometimes, a simple wash and iron can make them look brand new. If you’re looking for a bigger change, opt for new curtains or blinds in a contemporary pattern or a color that complements your new feature wall. These elements add softness, absorb sound, and provide opportunities to introduce new patterns and colors, tying the entire room together with minimal effort and expense.
Bring in Greenery: The Power of Plants
Introducing indoor plants is perhaps one of the easiest and most impactful ways to enhance your home’s aesthetic and atmosphere. Plants bring life, color, and a sense of tranquility to any room, instantly making a space feel more vibrant and inviting. Beyond their beauty, many houseplants are natural air purifiers, improving indoor air quality and contributing to a healthier living environment. You don’t need to be a seasoned gardener to incorporate greenery; low-maintenance options like snake plants, ZZ plants, Pothos, or succulents are perfect for beginners. Arrange a cluster of plants on a windowsill, place a statement plant in an empty corner, or hang a trailing plant from the ceiling. Even small additions, such as a fresh herb pot in the kitchen, can make a significant difference. Plants connect us to nature, reduce stress, and add a refreshing touch that artificial decor simply cannot replicate.
Optimize Lighting: Set the Mood and Enhance Functionality
Lighting is a critical, yet often underestimated, element in home design. Strategic lighting can dramatically alter the mood, perceived size, and functionality of a room. Beyond simply flipping a switch, consider how you can optimize both natural and artificial light. Maximize natural light by keeping windows clean, using light-colored, sheer curtains, and positioning mirrors opposite windows to reflect light deeper into the room. For artificial lighting, layer different types of fixtures: ambient lighting for overall illumination (ceiling lights), task lighting for specific activities (desk lamps, under-cabinet lights), and accent lighting to highlight features (spotlights on artwork, dimmable floor lamps). Experiment with different bulb temperatures – warmer tones create a cozy, inviting atmosphere, while cooler tones are more energizing and suitable for task-oriented areas. Simply swapping out old light fixtures or adding a new decorative lamp can instantly elevate a room’s ambiance and design.
Rearrange Furniture: A Free and Fresh Perspective
Sometimes, the most significant home refresh doesn’t cost a penny. Simply rearranging your existing furniture can completely transform the feel and flow of a room. Before you start, measure your space and even sketch out a few different layouts. Consider the room’s purpose and traffic patterns. Can you create a more intimate seating arrangement in the living room? Would moving the bed to a different wall open up more space in the bedroom? Think about how light enters the room and how each piece functions within the space. Pulling furniture slightly away from walls can make a room feel larger, and angling pieces can add visual interest. This free exercise encourages you to see your home with fresh eyes, unlock new possibilities, and create a more functional and aesthetically pleasing environment using what you already own.
Ready to tackle these easy home renovation tasks? Embracing these budget-friendly DIY projects offers a fantastic way to refresh your surroundings, boost your mood, and create a home that truly reflects your style and provides comfort. Take on these tips and give your rooms a simple yet powerful spruce up, transforming your living space into a haven you’ll cherish.
Images courtesy of Shutterstock