
Mastering Your Home Heating: A Comprehensive Guide to Bleeding Radiators for Enhanced Efficiency and Comfort
Is your central heating working hard, yet some rooms still feel chilly? Perhaps you’ve noticed certain radiators are warm at the bottom but distinctly cold at the top? These common frustrations are often clear indicators that your radiators are suffering from a build-up of trapped air. Far from being a complex or intimidating task, bleeding your radiators is a simple, effective DIY solution that can dramatically improve your home’s warmth and energy efficiency.
Ignoring trapped air in your heating system can lead to uneven heating, unnecessary strain on your boiler, and ultimately, higher energy bills. By taking a few straightforward steps, you can ensure your radiators are performing at their best, distributing heat evenly throughout your home, and saving you money in the long run. This comprehensive guide, crafted with insights from leading UK heating specialists like CNM Online, will walk you through everything you need to know to successfully bleed your radiators with confidence.
Understanding Why You Need to Bleed Your Radiators
Your central heating system operates by circulating hot water through a network of pipes and radiators. Over time, air can seep into this closed system. Because air is lighter than water, it tends to rise and accumulate at the highest points within your radiators, typically at the top. This trapped air creates pockets that prevent hot water from fully circulating, leading to cold spots and reduced heating performance.
Common signs that your radiators need bleeding include:
- Cold Spots: The most common symptom is a radiator that’s warm at the bottom but noticeably cooler or completely cold at the top. This is a direct result of trapped air blocking hot water from reaching the upper sections.
- Gurgling or Hissing Noises: You might hear distinctive gurgling, bubbling, or hissing sounds coming from your radiators or pipes. These noises are the sound of water trying to push past air bubbles within the system.
- Increased Energy Bills: If your radiators aren’t heating efficiently, your boiler will have to work harder and longer to reach the desired temperature, leading to wasted energy and higher heating costs.
- System Inefficiency: An entire central heating system can become less effective if multiple radiators are air-locked, impacting overall home comfort.
Addressing these issues through regular bleeding is a crucial part of maintaining an efficient and cost-effective heating system. It’s a small effort that yields significant rewards in comfort and savings.
When is the Best Time to Bleed Your Radiators?
While you can bleed a radiator whenever you notice the symptoms of trapped air, there are a few opportune times to perform this maintenance task:
- Annually, Before Winter: The ideal time for routine maintenance is usually in early autumn, just before you start relying heavily on your central heating. This ensures your system is primed for peak performance during the colder months.
- When Symptoms Appear: Don’t wait for your annual check if you hear gurgling or feel cold spots. Bleed the affected radiators as soon as you notice these signs.
- After System Maintenance or Installation: If you’ve had new radiators installed, major plumbing work, or if your boiler has been serviced and the system drained, it’s very likely that air will have entered the system. Bleeding is essential in these scenarios.
- After Repressurizing Your Boiler: If your boiler pressure has dropped and you’ve had to top it up, it’s a good idea to check your radiators for trapped air afterwards, as repressurizing can sometimes introduce air.
Proactive bleeding ensures that your heating system is always running at its optimum level, providing consistent warmth and preventing potential issues before they become major problems.
Gathering Your Tools: What You’ll Need
Before you begin the bleeding process, it’s important to have the right tools readily available. This simple task requires very few items, most of which are inexpensive and easy to find:
- A Radiator Bleed Key: This is the most crucial tool. Bleed keys are small, square-ended keys designed to fit into the bleed valve on your radiator. They are readily available at any DIY store, hardware shop, or even supermarkets. Some modern radiators might come with a slot for a flat-head screwdriver instead of a key, but a dedicated bleed key is always recommended.
- Tissue Paper or a Small Cloth: You’ll need this to catch any water that might escape during the bleeding process. A small, absorbent cloth or a wad of tissue paper will suffice.
- An Old Towel or Tray (Optional but Recommended): For added protection, especially if you’re concerned about drips or working near carpets, placing an old towel or a shallow tray beneath the valve can prevent mess.
- Gloves (Optional): While not strictly necessary, wearing gloves can protect your hands from potentially dirty water that may escape.
Having these items ready before you start will make the process smooth and hassle-free, allowing you to focus on the task at hand without interruptions.
Step-by-Step Guide: How to Bleed a Radiator Safely and Effectively
Bleeding a radiator is a straightforward process, but following these steps carefully will ensure safety and optimal results. Remember to tackle one radiator at a time, especially if you suspect multiple radiators need attention.
Step 1: Prioritize Safety – Turn Off Your Central Heating System
This is arguably the most critical initial step. Before you do anything else, make sure your central heating system is completely turned off at the thermostat and the boiler. It is massively important that the system has cooled down before you begin. Attempting to bleed a hot radiator can be dangerous, as hot water and steam can spray out, causing burns. Turning off the system also allows any trapped air to settle at the top of the radiators, making the bleeding process more effective. Wait at least 15-20 minutes after turning it off to ensure everything has cooled down sufficiently.
Step 2: Locate and Prepare – Finding the Bleed Valve
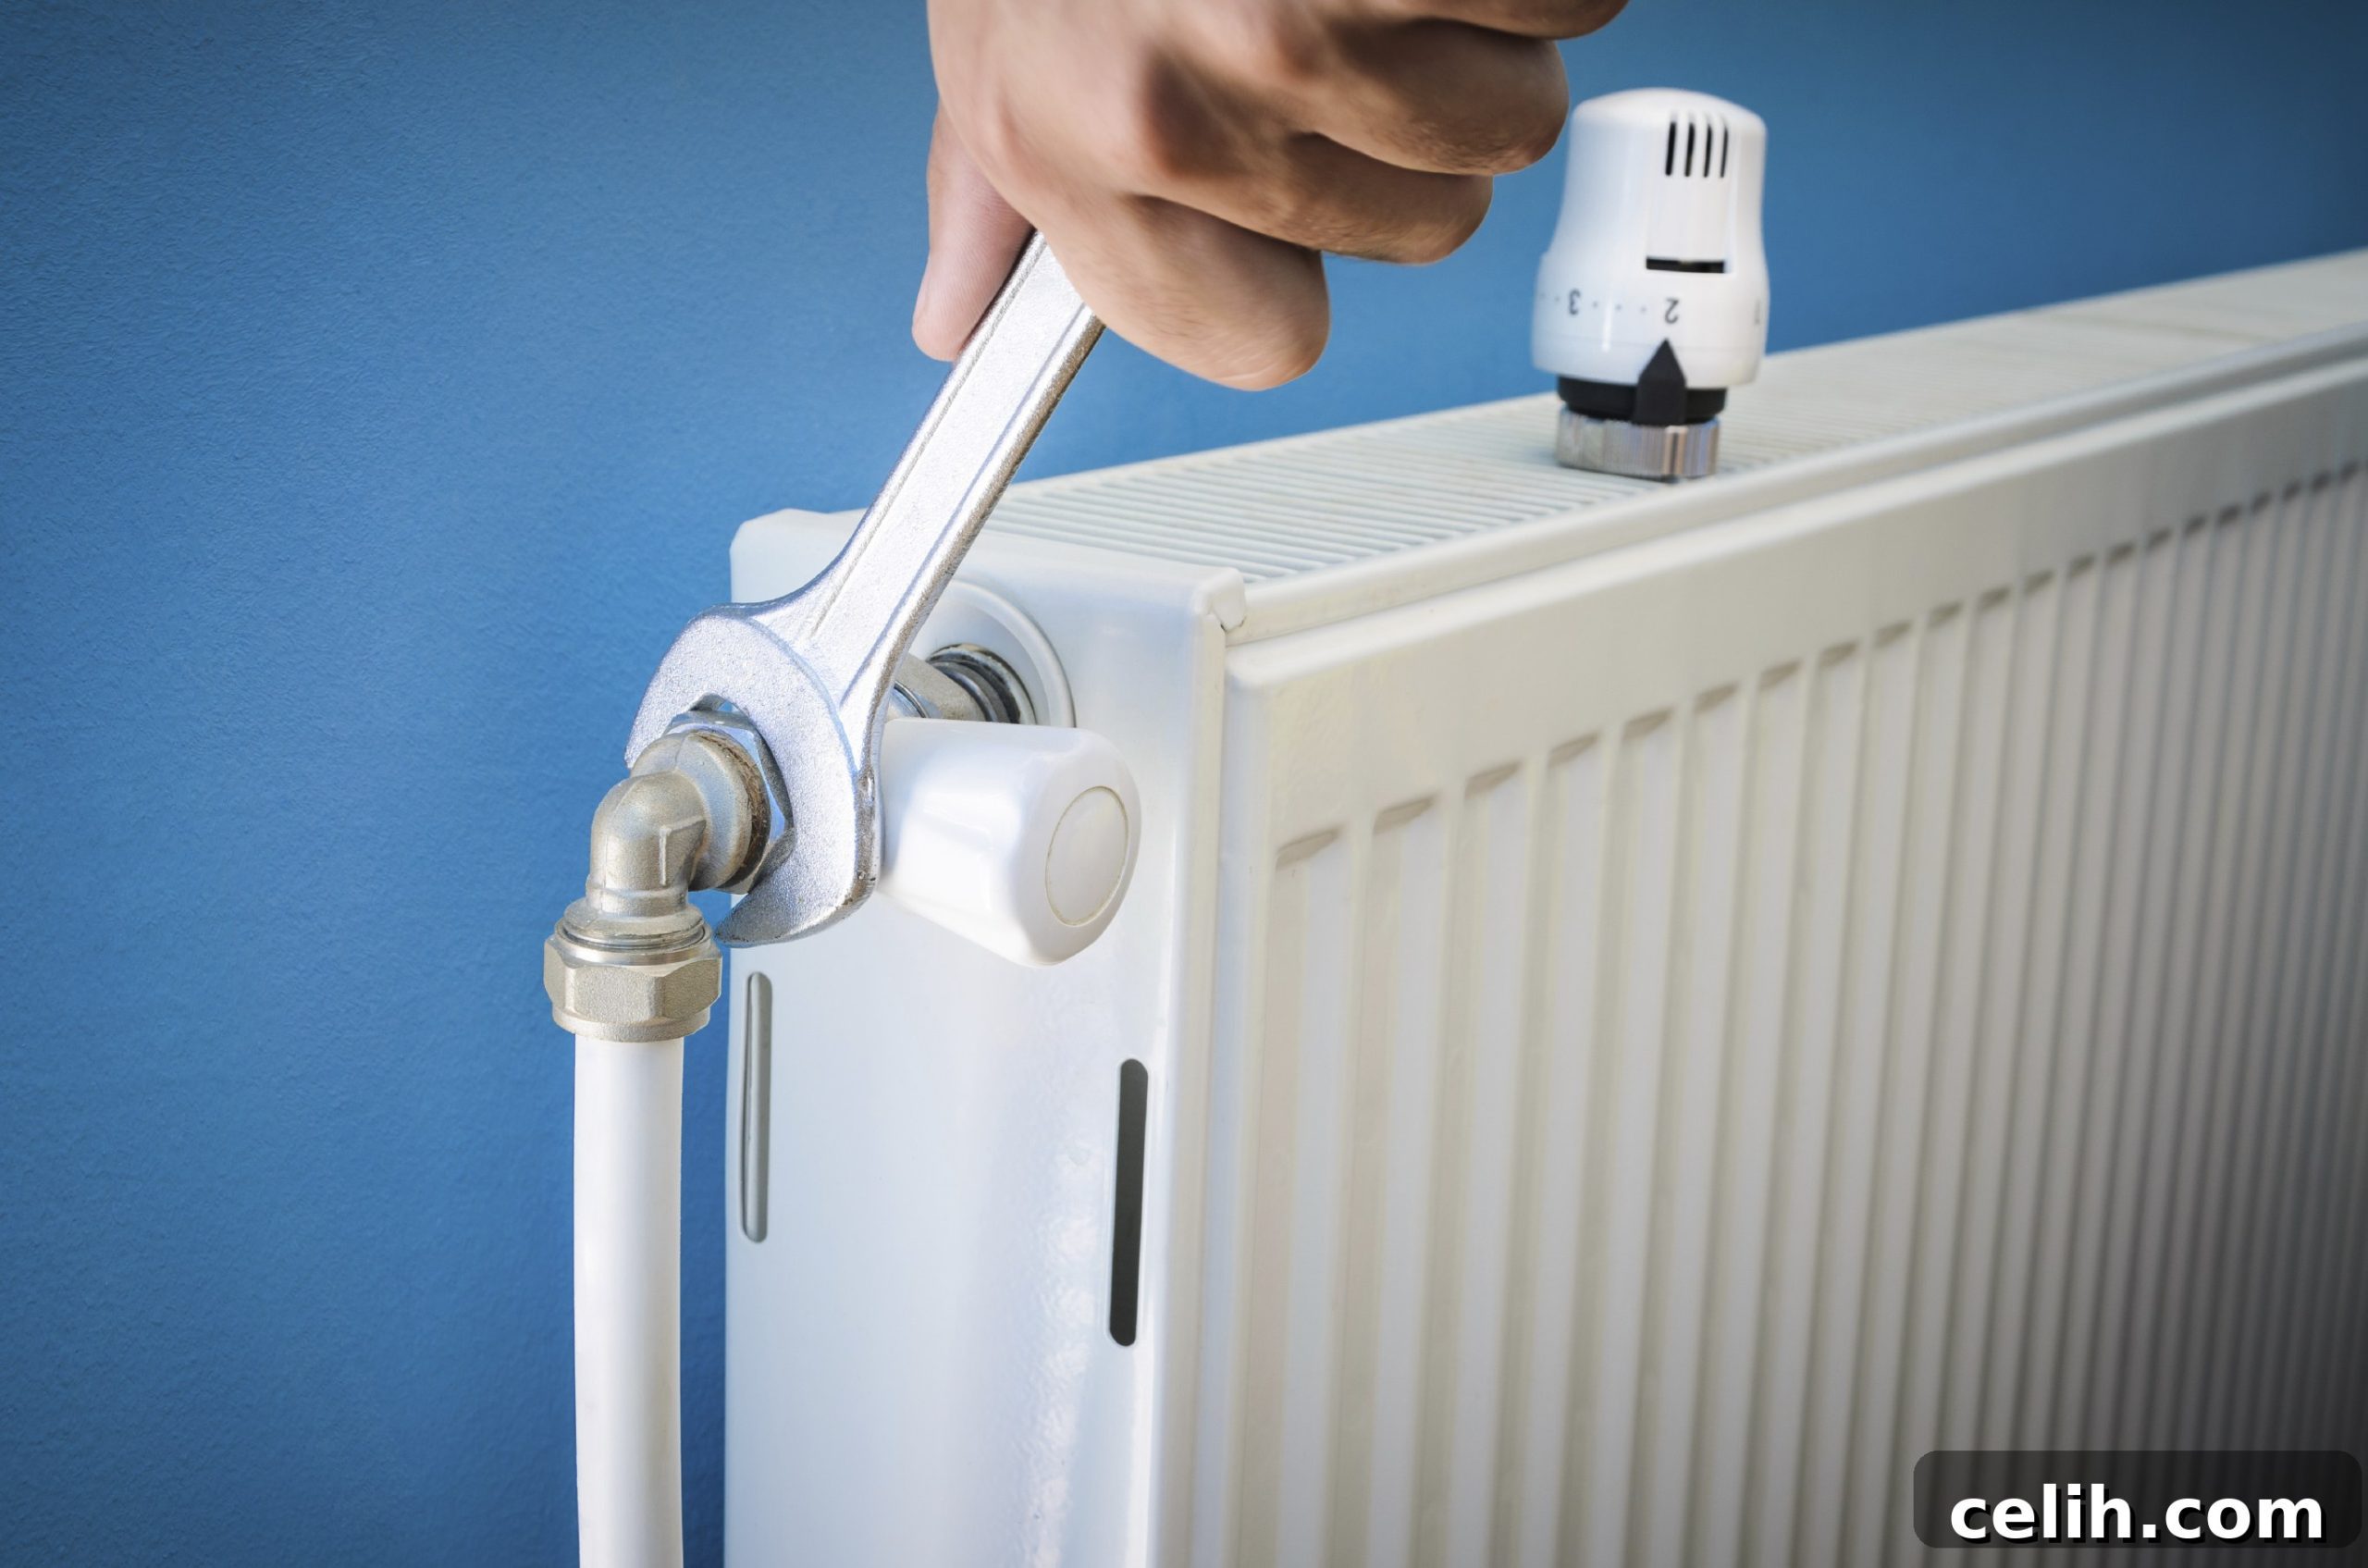
Once your heating system is off and cool, identify the bleed valve on the radiator you wish to bleed. This valve is typically a small, circular pin with a square or slotted insert, usually located at one of the top corners of the radiator, as illustrated in the accompanying picture. It will often be opposite the thermostatic radiator valve (TRV) or the manual control valve. Position your tissue paper, or a small cloth, directly beneath the bleed valve. This will catch any drips or spurts of water that might escape during the next step. If you find it challenging to hold the tissue and operate the bleed key simultaneously, don’t hesitate to ask someone else for help.
Step 3: The Bleeding Process – Releasing Trapped Air
Now, take your radiator bleed key and carefully insert it into the square or slotted opening of the bleed valve. With a firm but gentle grip, slowly turn the bleed key anti-clockwise. You only need to turn it a quarter to half a turn; there’s no need to fully unscrew the valve. As you open the valve, you should immediately hear a hissing sound. This is the sound of the trapped air escaping from the radiator. It signifies that the bleeding process has begun and the pressure within the radiator is being released. Do not be alarmed by the sound; it’s a positive sign.
Step 4: Recognizing Success – Air Escapes, Water Appears
Continue to hold the bleed key in place, allowing the air to escape. The hissing sound will eventually diminish and then stop. At this point, a small amount of water will begin to trickle or spray out from the valve, which should be caught by your tissue or cloth. This is a very good sign! It means all the trapped air has been released, and hot water is now able to fill the entire radiator. The water might initially be discoloured (brownish or black), which is normal and indicates some dirt or sludge within the system. However, if the water remains heavily discoloured for a prolonged period, or if you consistently have to bleed the same radiator, it might indicate a more systemic issue that requires professional attention.
Step 5: Finalizing the Task – Closing the Valve and Restarting
As soon as a steady stream of water (without any accompanying air) begins to emerge from the valve, you know the radiator is fully bled. Immediately turn the bleed key clockwise to fully close the valve. Ensure it is tightened securely to prevent any leaks, but be careful not to overtighten, as this could damage the valve. Once the valve is closed, you can remove your tissue or cloth. With the task complete for this radiator, you can now proceed to bleed other radiators if necessary, or restart your central heating system.
Post-Bleeding Checks: What to Do Next
After you’ve successfully bled all the necessary radiators, there are a few important follow-up steps to ensure your system is running perfectly:
- Check Your Boiler Pressure: Bleeding radiators releases air, but it also releases a small amount of water from the system. This can cause a slight drop in your boiler’s pressure. Check your boiler’s pressure gauge (usually a dial or digital display on the front of the boiler). If it has fallen below the manufacturer’s recommended level (typically between 1 and 1.5 bar when cold), you’ll need to repressurize your system according to your boiler’s instructions. This usually involves opening a filling loop valve until the pressure returns to the correct level.
- Monitor Heating Performance: Turn your central heating system back on and set it to a warm temperature. Walk around your home and carefully check all the radiators you bled. Feel them from top to bottom to ensure they are now heating evenly and consistently.
- Listen for Further Noises: Pay attention to any lingering gurgling or hissing sounds. If these persist, it might indicate that more air is present, or that you missed a spot. You may need to re-bleed the affected radiator.
- Check for Leaks: Although unlikely if the valve was tightened correctly, do a quick check around the bleed valve for any signs of water leakage after restarting the system.
- Bleed Other Radiators: If you have multiple radiators, it’s often a good practice to check and bleed all of them, especially those furthest from the boiler or on the highest floors, as air tends to accumulate there first.
By following these post-bleeding checks, you can confirm that your efforts have been successful and your central heating system is now operating at peak efficiency.
Common Radiator Problems Beyond Bleeding
While bleeding your radiators is a powerful solution for trapped air, it’s important to recognise that not all heating issues are resolved by this method. Here are a few other common radiator problems and what they might indicate:
- Radiator Cold at the Bottom, Warm at the Top: Ironically, this is the opposite of the trapped air symptom. If your radiator is cold at the bottom but warm at the top, it often indicates a build-up of sludge or sediment (rust, dirt, scale) at the bottom. This heavier debris settles and blocks water flow. Bleeding won’t fix this; a chemical flush or professional power flush of the system might be required.
- Entire Radiator is Cold: If a radiator remains completely cold even after bleeding (and the system pressure is correct), check its thermostatic radiator valve (TRV) to ensure it’s open. The valve’s pin might be stuck, preventing water flow. Also, check the lockshield valve on the opposite side, ensuring it’s open.
- Only One Radiator is Cold: If only a single radiator in your entire home isn’t heating up, it might be an issue with balancing your central heating system. This involves adjusting the lockshield valves on each radiator to ensure even heat distribution.
- Consistent Need for Bleeding: If you find yourself frequently bleeding the same radiator or notice a constant drop in boiler pressure, it could signal a leak in your system that’s allowing air to enter, or a persistent fault with your boiler.
Understanding these different symptoms helps you diagnose problems more accurately. While bleeding is a simple DIY fix, complex or recurring issues often warrant professional assistance.
The Benefits of Regular Radiator Maintenance
Incorporating radiator bleeding into your regular home maintenance routine offers a multitude of advantages that extend far beyond simply having warm radiators:
- Significant Energy Savings: An efficiently operating radiator system means your boiler doesn’t have to overwork, consuming less energy to heat your home. This directly translates into noticeable reductions in your monthly energy bills.
- Enhanced Comfort: By eliminating cold spots, your home will enjoy more consistent and comfortable warmth, creating a more pleasant living environment during colder months.
- Extended System Lifespan: When your radiators and boiler operate efficiently, they experience less strain and wear and tear. This can help prolong the lifespan of your entire central heating system, delaying costly repairs or replacements.
- Reduced Noise: The annoying gurgling and bubbling sounds caused by trapped air will be eliminated, contributing to a quieter and more peaceful home.
- Environmental Impact: Using less energy not only saves you money but also reduces your carbon footprint, making your home more environmentally friendly.
Regular maintenance, including bleeding your radiators, is a small investment of time that yields substantial benefits for your wallet, your comfort, and the longevity of your heating system.
When to Call a Professional
While bleeding radiators is a straightforward DIY task, there are circumstances where it’s best to call in a qualified heating engineer:
- Uncertainty or Lack of Confidence: If you are unsure about any of the steps, or simply don’t feel confident carrying out the work yourself, it’s always safer to seek professional help.
- Persistent Problems: If a radiator remains cold after repeated bleeding, or if you constantly need to bleed the same radiator, this suggests a deeper issue that a professional can diagnose and fix. This could be a leak, a sludged system, or a faulty valve.
- Boiler Pressure Issues: If you’re consistently losing boiler pressure after bleeding, or if you can’t get the pressure back up, it might indicate a more serious problem with your boiler or system.
- Water Continues to Leak: If water continues to leak from the bleed valve after tightening it, or if you notice leaks elsewhere in your system, contact a professional immediately.
- Complex System: If you have an older, more complex heating system or underfloor heating, it might be prudent to consult an expert.
Your safety and the efficient operation of your heating system are paramount. Don’t hesitate to contact a professional if you encounter any difficulties or suspect a more serious underlying problem.
Conclusion
Bleeding your radiators is a simple yet incredibly effective maintenance task that can significantly improve the performance and efficiency of your central heating system. By taking a few minutes to follow these easy steps, you can eliminate cold spots, reduce gurgling noises, lower your energy bills, and ensure your home remains comfortably warm throughout the year.
Remember to always prioritize safety by turning off and cooling down your system before starting, and don’t be afraid to seek professional advice if you encounter any persistent issues or concerns. With a little effort, you can keep your heating system running smoothly and enjoy a more comfortable and cost-effective home environment.
(Disclosure: This is a collaborative post)