
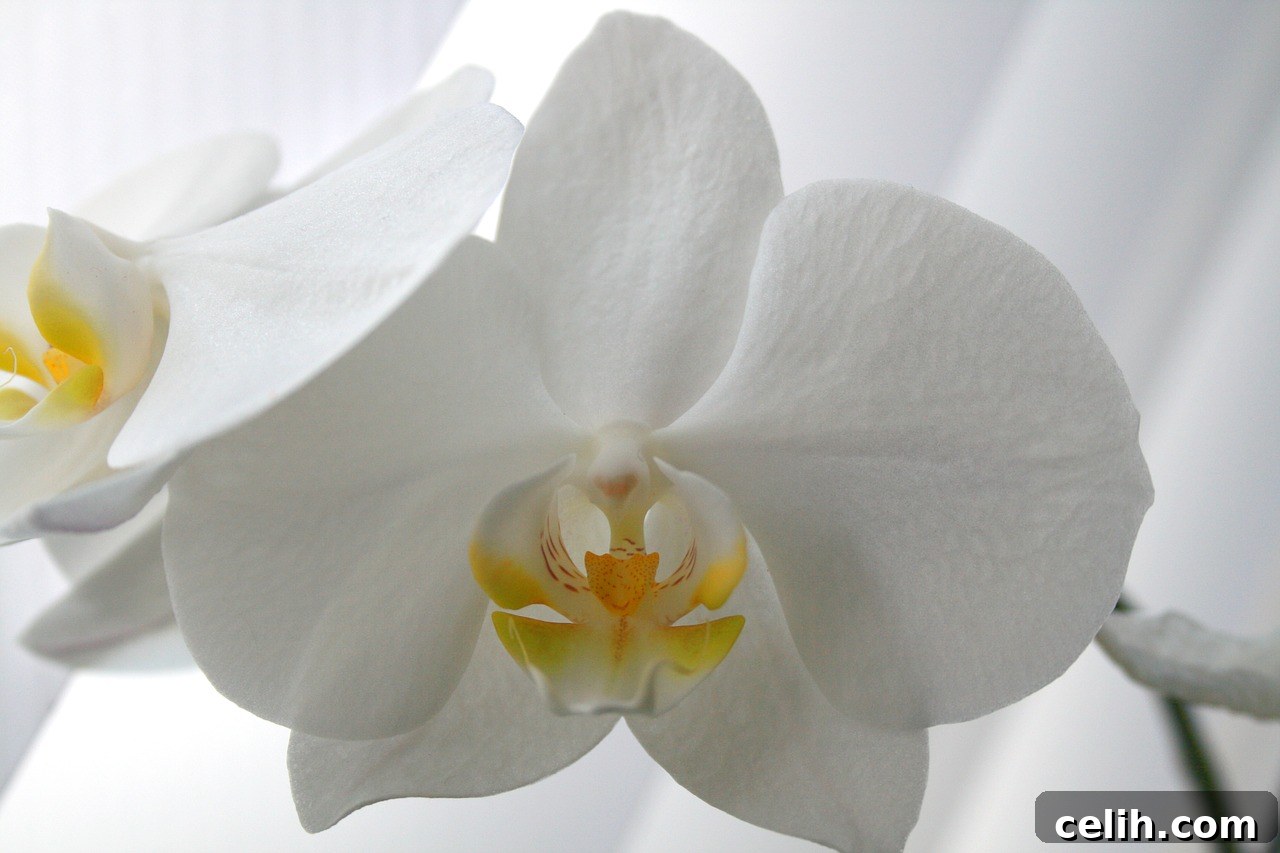
The Ultimate Guide to Orchid Care and Styling: Elevate Your Home with Exotic Blooms
With their captivating allure, diverse forms, and breathtaking beauty, orchids have long been a favorite among interior designers and plant enthusiasts alike. These exotic flowers, once considered the exclusive domain of expert horticulturists, are now more accessible than ever, bringing a touch of tropical elegance to any living space. You might have hesitated to bring them into your own home, perhaps assuming they are prohibitively expensive or notoriously difficult to maintain. While it’s true that orchids might not always be the cheapest houseplant option on the market, the good news is that they are remarkably easy to care for once you understand their basic needs. With a few simple steps, your orchids can thrive, re-flowering regularly and gracing your home with their magnificent blooms for years.
This comprehensive guide from Fresh Design will walk you through everything you need to know about caring for and styling these magnificent orchid plants in your home, transforming your perception of orchid care from daunting to delightful.
Essential Orchid Care: Understanding Their Environment
To successfully care for orchids, it’s crucial to understand their natural habitat. Most orchids popular as houseplants, particularly the ubiquitous Moth Orchid (Phalaenopsis), originate from tropical rainforests. This means they naturally prefer a warm, humid environment and absolutely detest drying out completely. Unlike many other houseplants that struggle with central heating, Phalaenopsis orchids actually thrive in the consistent warmth of centrally heated homes, making them surprisingly well-suited for modern indoor living. Their popularity also stems from their incredibly long flowering period and the vast array of stunning colors and unique flower shapes they offer.
When it comes to light, orchids need bright, indirect light to flourish. Think of the filtered sunlight they would receive under the canopy of a dense rainforest. Direct, strong sunlight, especially from a south-facing window, can scorch their delicate leaves, leading to unsightly black or brown patches. An ideal spot would be an east-facing windowsill, which provides gentle morning sun, or a north-facing window, offering consistent indirect light. If your only option is a south or west-facing window, consider diffusing the light with sheer curtains or placing the orchid a few feet away from the window. Should you notice any blackened areas on the leaves, gently move your plant to a less intense location. Only remove scorched leaves if the plant has plenty of other healthy foliage, as even damaged leaves can still contribute to photosynthesis.
Beyond light, temperature plays a vital role. Most Phalaenopsis orchids prefer daytime temperatures between 65-80°F (18-27°C) and a slight drop at night, around 60-65°F (15-18°C), which can help stimulate re-blooming. Humidity is also key. While central heating provides warmth, it often lacks humidity. To compensate, you can mist the leaves (avoiding flowers) daily or place the orchid pot on a saucer filled with pebbles and water, ensuring the pot itself doesn’t sit directly in the water. This creates a microclimate of increased humidity around the plant.
The Importance of Proper Potting and Substrate
One distinctive characteristic of many epiphytic orchids (those that grow on other plants, not in soil) is their need for light to reach their roots. This is why you’ll almost always find orchids sold in transparent pots. Their roots are not just for anchorage and nutrient uptake; they also photosynthesize, contributing to the plant’s overall health. Healthy orchid roots are typically green, indicating active photosynthesis.
Understanding this, it becomes clear why transferring your orchid directly into an opaque ceramic pot upon arriving home might not be the best idea, despite our natural tendency to prioritize aesthetics. While the roots may not be the prettiest part of the plant to everyone, their exposure to light is vital. Instead of traditional ceramic, consider using a decorative clear glass pot, a stylish filigree basket with a clear liner, or a cachepot (a decorative outer pot) that allows you to easily lift the clear inner pot for watering and root inspection. This way, you get the best of both worlds: the beauty of a decorative container and the health benefits for your orchid.
It’s also crucial to remember that orchids do not grow in traditional potting soil. In their natural habitat, they cling to tree bark and rocks, drawing moisture and nutrients from the air and rain. Therefore, they require a specialized orchid potting mix, typically composed of bark chips, sphagnum moss, charcoal, and perlite. This mix provides the excellent drainage and air circulation that orchid roots need, preventing root rot which is a common killer of these plants. Never use regular potting soil, as it retains too much moisture and suffocates the roots.
Mastering Orchid Watering Techniques
Given their rainforest origins, orchids famously hate being completely dry. However, they equally despise being waterlogged. Striking the right balance with watering is perhaps the most critical aspect of orchid care. The common advice to “put a little water in the bottom of the pot” can be misleading for standard care. For most Phalaenopsis orchids in bark mix, the most effective method is to water thoroughly from the top until water drains out of the bottom holes. Alternatively, you can submerge the clear inner pot in a basin of lukewarm water for about 10-15 minutes, allowing the roots to soak up moisture. After soaking, lift the pot and allow all excess water to drain completely before returning it to its decorative container. Never let the pot sit in standing water, as this will lead to root rot.
The frequency of watering depends on several factors: the type of orchid, the potting medium, humidity levels, and ambient temperature. A good rule of thumb is to water when the potting mix is nearly dry but not bone dry. You can check this by feeling the weight of the pot – a lighter pot indicates less moisture. Observing the roots through the transparent pot is also helpful: plump, green roots signify adequate hydration, while silvery-gray or shriveled roots suggest it’s time to water. Typically, this means watering once every 7-10 days, but adjust as needed. During warmer months or in drier environments, you might water more frequently; in cooler temperatures or high humidity, less often.
Overwatering is the number one cause of orchid death. Signs of overwatering include brownish or yellow spots on the leaves, mushy black roots, and eventually, the leaves turning yellow and falling off. If you suspect overwatering, allow the plant to dry out thoroughly and inspect the roots for rot. Underwatering, on the other hand, can cause leaves to wrinkle and roots to shrivel. In between thorough waterings, lightly mist the leaves with a fine spray bottle to boost humidity – but be careful not to spray the delicate flowers directly, as they are fragile and excess moisture can cause them to spot or fall off prematurely. Regularly clean dusty leaves with a soft, damp cloth to remove any buildup; this not only restores their beautiful dark green glossy finish but also ensures they can photosynthesize efficiently.
Encouraging Re-Flowering: Post-Bloom Care
One of the most rewarding aspects of orchid care is encouraging them to re-flower, extending their vibrant display for months or even years. As the individual flowers on a spike begin to fade and die off, it’s good practice to carefully remove them. Once all the flowers on a stem have fallen, you’ll be left with what might look like a bare, unappealing twig. Don’t despair! This “bare twig” is the flower spike, and your orchid is very much alive and preparing for its next show. Many Phalaenopsis orchids can re-bloom from the same flower spike.
To encourage re-flowering, observe the spike. If it remains green and healthy, you can cut it back to just above a node (a small bump) on the stem. This node often contains dormant buds that can develop into a new flower spike. Use sterilized pruning shears or scissors for a clean cut. Leave it for a while, and with consistent care and possibly a slight temperature drop at night (which mimics seasonal changes and can trigger blooming), your orchid may re-flower in a relatively short time, sometimes within a few months. If, however, the flower stem turns yellow or brown and Withers completely without flowering again, it’s a sign that the stem has expended all its energy. In this case, cut the entire stem off as close to the base of the plant as possible. This encourages the orchid to focus its energy on growing new leaves and eventually, a completely new flower stem from the base, which will lead to even more vigorous blooms in the future. Patience is a virtue in orchid care; sometimes, they simply need a period of rest before astounding you with another display.
Repotting and Fertilization for Continued Growth
Unlike many other houseplants that quickly outgrow their pots, orchids generally prefer to be a little bit “root-bound.” They don’t typically need frequent repotting, often thriving for a couple of years in the same pot. You’ll know it’s time to repot when the potting medium starts to break down (it becomes soft and mushy), or when the roots are so numerous they are actively growing outside the pot in large quantities, often forming a dense, tangled mass. The best time to repot is usually after the orchid has finished flowering.
When repotting, you’ll need a specialist orchid potting mix, as discussed earlier. Gently remove the plant from its current pot, being careful not to damage the roots. Shake off as much of the old, degraded potting mix as possible. Inspect the roots: trim away any that are mushy, black, brown, or papery and hollow – these are dead or rotting. Healthy roots should be firm and white or green. Place a small amount of new orchid mix at the bottom of the new pot (which should only be slightly larger, if at all, than the previous one), then center the orchid and carefully fill around the roots with the remaining fresh mix, ensuring good contact without compacting it too tightly. Water thoroughly after repotting.
To support continuous growth and encourage robust flowering, regular fertilization is essential, especially during the spring and summer growing seasons. Use a fertilizer specifically formulated for orchids, which typically has a balanced NPK ratio or one higher in phosphorus for blooming. It’s often recommended to “feed weakly, weekly” – dilute the orchid food to half or even quarter strength and apply it with every other watering. Always water the plant before fertilizing to avoid burning the roots. Periodically, flush the pot with plain water to prevent the buildup of fertilizer salts, which can harm the plant over time.
How to Style Orchids in Your Home: Design Inspiration
Beyond their relatively straightforward care, orchids are an interior designer’s dream, offering incredible versatility and an instant touch of sophistication to any room. Like any well-chosen plant, they are fabulous to have in your home and can be styled in a myriad of ways to complement or elevate your existing decor.
- A Single Statement: Sometimes, less is more. A single, exquisitely blooming orchid in the right place can become a breathtaking focal point. Its sculptural form and elegant flowers will instantly enhance your decor scheme, drawing the eye and adding a luxurious touch to a minimalist or contemporary space. Place it on a mantelpiece, a bedside table, or a prominent console table in your entryway.
- Dramatic Groupings: For a truly huge visual impact, consider styling a row or a group of orchids. Opt for odd numbers, such as three or five, which often create a more visually pleasing and dynamic arrangement than even numbers. You can choose to use matching orchid plants for a cohesive, uniform look, or create an eclectic display with a group of different types, colors, or sizes of orchids for added interest and depth. Arrange them on a dining table, a long windowsill, or an office credenza.
- Pot Perfection: The container you choose for your orchid can drastically change its aesthetic. Plant your orchids in different colored or textured pots to complement your interior palette. Explore options such as sleek geometric designs for a modern vibe, rustic wire pots for an industrial or farmhouse feel, elegant metallic finishes for a touch of glamour, or raw concrete pots for a minimalist, urban look. Don’t forget clear glass pots, which not only look chic but also allow you to monitor root health.
- Beyond the Blooms: While the exquisite flowers are undoubtedly the star attraction, don’t underestimate the beauty of an orchid’s glossy green leaves. These vibrant leaves are a fantastic accent color in themselves, providing lush greenery even when the plant is not in bloom. Use them to add a touch of nature and freshness, complementing other elements in your room. Consider placing orchids in bathrooms, where the humidity is higher and their foliage can thrive, or in spaces where a continuous splash of green is desired.
- Elevate with Accessories: Enhance your orchid display by incorporating natural elements around the base of the pot, such as decorative moss, polished river stones, or small pieces of driftwood. This not only adds to the aesthetic but can also help retain some humidity. Consider elevating smaller orchids on decorative stands or pedestals to create varying heights within a grouping, adding visual interest.
With this guide, the world of orchids is now open to you. Embrace their beauty, understand their simple needs, and watch as these incredible plants transform your home into a haven of exotic charm and sophisticated style. Happy growing!
(Images courtesy of Pixabay)