
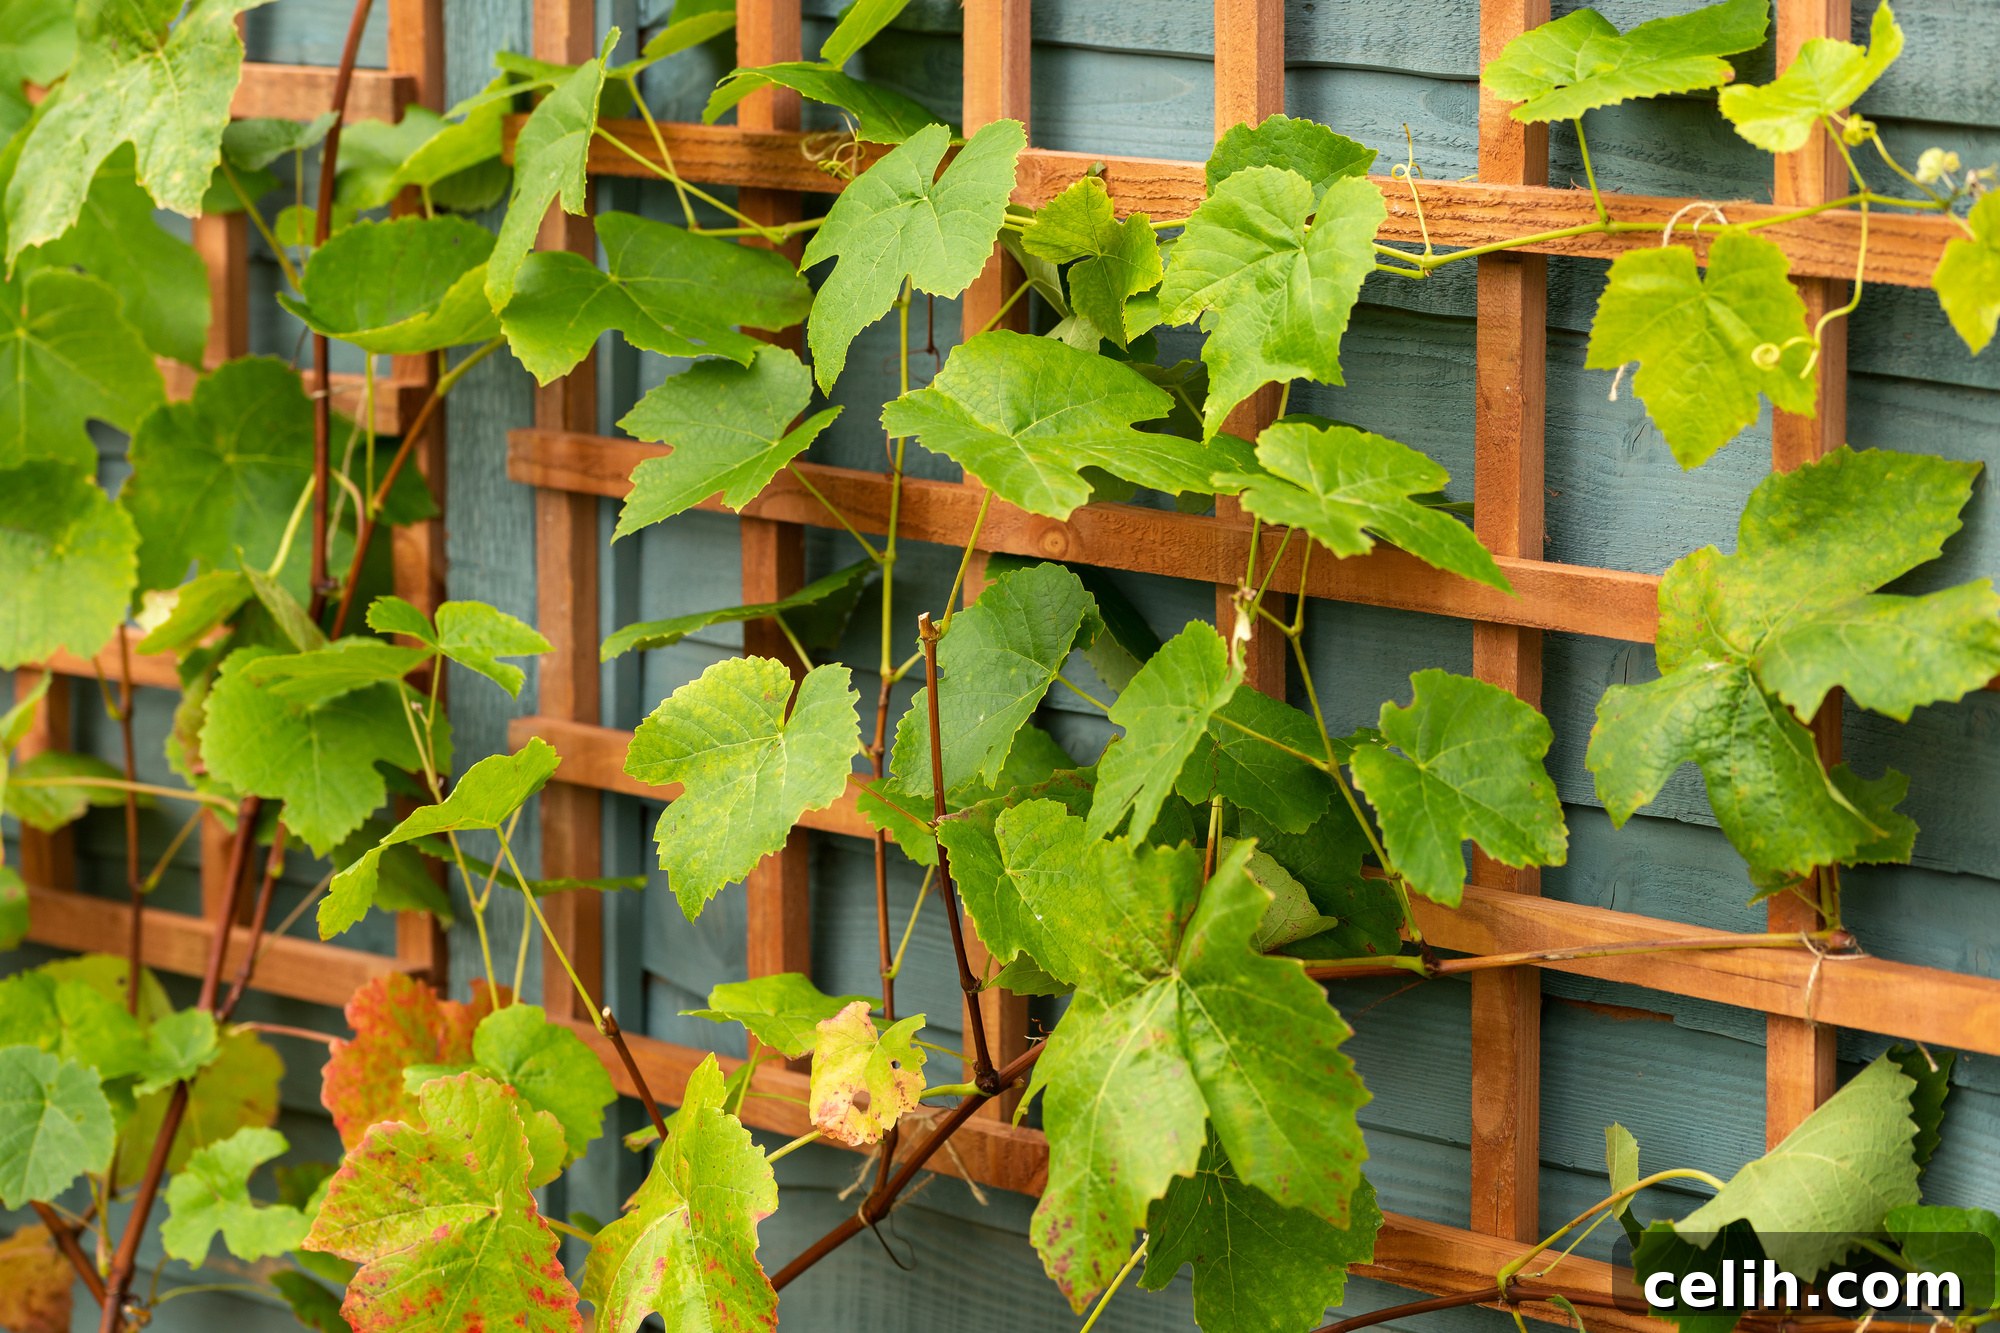
Few garden elements combine functional support with aesthetic appeal as effectively as a well-designed trellis. Yet, if you’ve ever found yourself struggling with a sagging, splintered, or rusted garden trellis, you know that maintaining these essential structures can be a challenging endeavor. Weak trellises not only fail to adequately support your climbing plants, leading to stunted growth or damage, but they can also detract from your garden’s beauty and meticulously planned landscaping design. The frustration of seeing a once-sturdy support structure falter is common among gardeners, highlighting the critical need for proper installation, timely repairs, and consistent maintenance.
A robust and attractive trellis is indispensable for the healthy growth of climbing plants like roses, clematis, jasmine, and even certain vegetables, offering them the vertical structure they need to thrive. Beyond its practical role, a well-maintained trellis significantly enhances the visual appeal of your outdoor space, adding architectural interest, defining areas, and creating stunning focal points. This comprehensive guide is meticulously crafted to provide you with the essential steps and knowledge required to not only repair your garden trellis but also to ensure it remains both exceptionally strong and visually captivating for years to come. By following these detailed instructions, you’ll transform your garden’s vertical elements into enduring assets, supporting lush plant life and contributing to an overall harmonious garden design.
1. Choose The Right Trellis For Durability And Style
The foundation of a successful trellis system, and indeed its longevity, begins with choosing the correct type. This crucial first step dictates not only how well it will support your plants but also how seamlessly it integrates into your garden’s aesthetic. You primarily have three main categories to consider: wood, metal, and plastic, each offering distinct advantages and potential drawbacks.
- Wood Trellises: These are a classic choice, prized for their natural appeal and ability to blend harmoniously with nearly any garden style, from rustic cottage gardens to more formal designs. Materials like cedar and redwood are naturally resistant to rot and insects, making them excellent, albeit often more expensive, options. Pressure-treated pine is a more budget-friendly alternative but requires regular maintenance, such as sealing or painting, to prevent decay and extend its lifespan. Wood trellises offer unmatched customization possibilities, allowing you to design intricate patterns or simple lattice work. However, they demand more ongoing care, including inspections for rot, splinters, and insect damage, and periodic re-treatment to protect against the elements.
- Metal Trellises: Known for their exceptional strength and sleek, often modern, aesthetic, metal trellises are built to last. Wrought iron offers a timeless, ornate look, while steel provides superior rigidity for heavy climbers, and aluminum is lightweight and rust-resistant. Metal trellises require minimal maintenance compared to wood, usually needing only occasional cleaning and a fresh coat of rust-proof paint if rust begins to appear on iron or steel varieties. Their durability makes them an ideal choice for large, vigorous climbers or in areas exposed to strong winds. However, they can be a more significant initial investment and may heat up in direct sun, potentially affecting delicate plant tendrils.
- Plastic/Vinyl Trellises: These options are celebrated for their affordability and outstanding resistance to rot, rust, and pests, making them virtually maintenance-free. Lightweight and easy to install, plastic trellises are a practical choice for gardeners seeking a quick and economical solution. They come in various colors and styles, though they might not offer the same natural charm or structural robustness as wood or metal. Over time, some plastics can become brittle due to UV exposure, especially in very sunny climates, and may not support the heaviest climbing plants as effectively as their metal or well-maintained wooden counterparts.
When making your selection, carefully consider the mature size and weight of the plants you intend to support. A vigorous climbing rose or a productive grape vine will require a far sturdier structure than a delicate sweet pea or morning glory. Also, factor in your garden’s overall theme, your local climate, and your budget. This thoughtful choice will significantly influence the long-term health, stability, and aesthetic contribution of your trellis to your beloved garden.
2. Gather Necessary Tools And Materials For A Smooth Repair
Before embarking on any repair project, proper preparation is key. Gathering all the necessary tools and materials beforehand will streamline the process, enhance safety, and prevent frustrating interruptions. Your toolkit should be comprehensive, tailored to the specific material of your trellis, and always include essential safety gear.
Safety First:
- Gloves: Sturdy gardening or work gloves are essential to protect your hands from splinters, sharp edges, rust, and potential contact with plant thorns or irritants.
- Safety Goggles: Always wear safety goggles to shield your eyes from flying debris, dust, or accidental splashes, especially when cutting, hammering, or dealing with rusted metal.
- Knee Pads: If you’ll be spending a lot of time kneeling, knee pads can significantly improve comfort and prevent strain.
Essential Tools for Repair:
- Hammer: A claw hammer is versatile for driving nails and prying out old ones. For lighter work, a smaller tack hammer might suffice.
- Pliers: A good pair of pliers is indispensable. Maun specifically recommends fencing pliers, as their design allows for efficient cutting, bending, and stripping of wire, often eliminating the need to switch between multiple tools. Lineman’s pliers or needle-nose pliers can also be useful for intricate work or reaching tight spaces.
- Screwdriver Set/Power Drill: A set of screwdrivers (Phillips and flathead) or, ideally, a cordless power drill with various bits, will be crucial for tightening existing screws, removing damaged ones, and driving new fasteners quickly and efficiently.
- Saw/Wire Cutters: For wooden trellises, a hand saw, jigsaw, or reciprocating saw will be needed to cut out damaged sections or new replacement pieces. For metal trellises, heavy-duty wire cutters or a hacksaw might be necessary to remove bent or broken metal components.
- Measuring Tape and Pencil: Accuracy is vital for cutting and fitting replacement parts correctly.
- Utility Knife: Handy for cutting plant ties, trimming small pieces of plastic, or scoring materials.
Materials for Repair:
- Fasteners: The type of fasteners will depend on your trellis material. For wood, stock up on exterior-grade wood screws (galvanized or stainless steel to prevent rust) or nails. For metal, self-tapping metal screws, nuts, bolts, or small metal brackets might be required. Ensure fasteners are long enough to provide a secure hold without penetrating too far.
- Replacement Parts: Have on hand new wood slats, metal rods, or plastic mesh sections that match your existing trellis in material and dimension. This ensures structural integrity and a uniform appearance.
- Garden Ties/Soft Wire: Crucial for gently re-securing plants without causing damage to delicate stems. Options include jute twine, soft fabric strips, reusable Velcro plant ties, or plastic-coated soft wire. Avoid using thin, rigid wire that can cut into plant stems as they grow.
- Wood Preservative/Rust-Proof Paint: If dealing with wood or metal, having appropriate protective treatments ready can extend the life of your repairs and prevent future damage.
By having all these items systematically gathered and ready before you begin, you ensure a repair process that is not only efficient and safe but also yields durable and aesthetically pleasing results.
3. Assess The Damage Thoroughly And Strategically
A successful trellis repair begins with a meticulous assessment of the damage. This step is crucial for determining the extent of the problem, identifying its root cause, and deciding whether a repair is feasible or if a full replacement is the more sensible option. A superficial glance often isn’t enough; you need to engage in a detailed inspection.
Key Inspection Points:
- Visual Examination: Start by stepping back and observing the overall structure. Does it sag? Is it leaning? Are there any obvious breaks or missing components?
-
Wood Trellises:
- Rot: Look for discolored, soft, or crumbly sections, especially near the ground or where wood meets fasteners. Probe with a screwdriver; if it sinks in easily, rot is present.
- Splintering/Cracking: Check for any splits in slats or posts, particularly at stress points or joints.
- Insect Damage: Look for tiny holes, sawdust-like frass, or tunneling that indicates wood-boring insects.
- Loose Joints: Wiggle individual slats or posts to identify any connections that have become loose due to weathering or failed fasteners.
-
Metal Trellises:
- Rust: Identify areas of flaky, pitted, or reddish-brown rust. Significant rust can weaken the metal structure.
- Bent/Broken Components: Inspect for any bent rods, broken welds, or snapped connections. The rigidity of metal makes bends a serious structural concern.
- Loose Fasteners: Check if any screws, bolts, or wires holding the metal sections together have come loose or are corroded.
-
Plastic/Vinyl Trellises:
- Cracks/Brittleness: Look for hairline cracks or larger fractures, especially in sections exposed to direct sunlight, which can cause UV degradation.
- Snapping: Check for any snapped pieces, particularly at connection points or where stress is applied.
- Discoloration: While often aesthetic, significant discoloration can sometimes indicate material degradation.
Structural Integrity Test:
After your visual inspection, lightly press or gently wiggle suspect areas. A sturdy trellis should have minimal give. Any significant movement or creaking indicates a compromised structure. Pay close attention to the base of the trellis and its anchoring points, as these are critical for stability.
Repair vs. Replace Decision:
Based on your assessment, you must decide if a repair is truly viable or if a full replacement is warranted. Consider these factors:
- Extent of Damage: If localized, minor damage (e.g., one rotted slat, a few rusty spots, a small crack) is present, repair is usually the best course of action. However, widespread rot, severe rust compromising the entire frame, or multiple broken structural elements often point towards replacement.
- Cost-Benefit Analysis: Calculate the cost of replacement parts and your time. Sometimes, investing in a new, more durable trellis can be more cost-effective in the long run than repeatedly patching up an old, failing one.
- Age of Trellis: An older trellis nearing the end of its typical lifespan (e.g., an untreated wooden trellis over 10-15 years old) might be better replaced, even with minor damage, to avoid imminent future failures.
- Safety Concerns: If the trellis is structurally unsound and poses a risk of falling, especially with heavy plants or in windy conditions, prioritize replacement for safety.
A thorough assessment ensures you allocate your efforts wisely, avoiding the frustration and wasted resources of attempting to repair a trellis that is simply beyond salvage, ultimately ensuring a strong and beautiful support for your climbing plants.
4. Prepare The Work Area For Safety And Efficiency
Once you’ve assessed the damage and decided on your repair strategy, preparing your work area is a vital step that enhances both safety and efficiency. A clean, organized, and accessible workspace will allow you to focus on the repair task at hand without distractions or hazards.
Clear the Immediate Vicinity:
- Remove Obstacles: Begin by clearing away any garden tools, hoses, pots, decorative items, or other debris from around the trellis. This creates ample space for you to move freely, reducing the risk of tripping or bumping into objects.
- Protect Surrounding Plants: Gently tie back any nearby plants or delicate shrubs that might be in your way or at risk of damage from falling tools, materials, or debris. Use soft ties or fabric strips to avoid harming their stems. If necessary, place temporary stakes to hold them away from the work zone.
- Ensure Pet and Child Safety: If you have pets or small children, make sure the work area is inaccessible to them during the repair process. Sharp tools, loose fasteners, and debris can pose significant hazards.
Lay Down a Tarp or Drop Cloth:
This simple yet effective measure offers multiple benefits:
- Debris Collection: A tarp will catch any small parts, wood splinters, metal shards, rust flakes, or other debris generated during the repair. This prevents them from mixing with your soil or being lost among your plants.
- Easier Cleanup: Once the repair is complete, you can simply gather the corners of the tarp and dispose of the accumulated debris quickly and cleanly.
- Material Protection: If you’re working with new wood, metal, or plastic components, the tarp provides a clean surface to place them, keeping them free from dirt or moisture.
- Tool Organization: You can also use a section of the tarp to lay out your tools, making them easily accessible and visible, rather than having them scattered on the ground.
Consider Lighting and Weather:
- Adequate Lighting: If working late in the day or in a shaded area, ensure you have sufficient lighting to clearly see your work, especially when dealing with intricate repairs or small fasteners.
- Weather Conditions: Choose a dry, calm day for your repair. Working in rain or strong winds can be uncomfortable, unsafe, and may compromise the quality of your work (e.g., fresh paint or glue needing to cure).
Thorough preparation not only minimizes the potential for accidents but also significantly enhances the efficiency and quality of your repair work, allowing you to focus completely on restoring your trellis to its former glory.
5. Carefully Remove Damaged Trellis Parts
With your work area prepared and safety gear on, the next step is to meticulously remove the compromised sections of your trellis. This process requires careful attention to avoid causing further damage to the remaining structure or the plants intertwined within it.
Handling Plant Life:
The first priority before removing any structural elements is to manage the plants that rely on the trellis for support. Many climbing plants become deeply entwined, and abrupt removal of support can cause significant stress or physical damage to their stems and branches.
- Gently Detach: Carefully identify and untangle any vines or stems directly attached to the damaged sections you plan to remove. This might involve carefully unweaving them, loosening plant ties, or using a utility knife or shears to cut old, brittle ties or wires.
- Temporary Support: For larger or more established plants, or if the repair will take some time, provide temporary support. Use garden stakes inserted into the ground near the plant, or tie the detached vines gently to a nearby sturdy object (like another part of the trellis, a fence, or a temporary stake) using soft plant ties, jute twine, or fabric strips. The goal is to keep the plants upright and prevent them from collapsing or breaking.
- Prune Judiciously: If any plant parts are dead, diseased, or heavily damaged, now is an opportune time to carefully prune them away. This can improve plant health and make the repair process easier, but avoid over-pruning healthy growth unless absolutely necessary.
Removing Damaged Trellis Components:
The method of removal will vary depending on your trellis material and the type of damage:
-
For Wooden Trellises:
- Splintered or Rotted Slats: Use a pry bar to gently separate loose or rotted slats from the main frame. If a section of a larger post or beam is rotted, mark the healthy wood on either side of the damage and use a hand saw, jigsaw, or reciprocating saw to carefully cut out the compromised section.
- Nails/Screws: Use the claw of your hammer or a pry bar to remove nails. For screws, use a screwdriver or power drill. Be mindful of not stripping screw heads, which can make removal difficult.
-
For Metal Trellises:
- Bent Rods/Wires: For minor bends, you might be able to straighten them with heavy-duty pliers or a mallet. For severely bent or broken sections, use bolt cutters, heavy-duty wire cutters, or a hacksaw to cut them away.
- Loose Connections: If sections are bolted or screwed together, use a wrench or screwdriver to undo them. For welded connections that have broken, you might need to use a grinder to smooth the edges or prepare for re-welding if you have the skills and equipment.
-
For Plastic/Vinyl Trellises:
- Cracked Panels: Often, individual panels or sections are designed to clip or snap into place. Carefully release these clips. For larger, integrated pieces, a utility knife or strong shears may be needed to cut out the damaged portion.
- Brittle Connectors: If connectors have become brittle and broken, gently snap or cut them away.
Throughout this step, work slowly and deliberately. The goal is to isolate and remove only the damaged parts, preserving as much of the original trellis structure and plant integrity as possible. This careful approach sets the stage for a strong and lasting repair.
6. Expertly Repair Or Replace Damaged Trellis Components
Once the damaged sections have been carefully removed, the next critical phase is to repair or replace these components, restoring the trellis to its full strength and aesthetic appeal. The key here is precision and selecting the right materials and techniques to ensure a seamless and durable fix.
Repairing Wooden Trellises:
- Replacing Rotted or Broken Slats/Posts: If a slat or post was removed due to rot or breakage, measure the opening precisely. Cut new pieces of wood to the exact size, ensuring they match the original material and dimensions as closely as possible. For exterior use, opt for cedar, redwood, or pressure-treated lumber, and consider treating the cut ends with a wood preservative for added longevity. Secure these new pieces using exterior-grade screws or galvanized nails. Pre-drilling pilot holes can prevent wood from splitting.
- Mending Splinters and Cracks: For minor splinters or cracks, wood glue designed for outdoor use can be effective. Apply glue, clamp the pieces together until dry, and reinforce with small screws or nails if feasible. For larger cracks that don’t compromise structural integrity, a waterproof wood filler can be used, then sanded smooth and painted/stained to match.
- Reinforcing Joints: If existing joints are loose but the wood is sound, apply wood glue into the joint and clamp it tightly. You might also add small metal brackets or corner braces on the back or less visible sides for extra stability.
Repairing Metal Trellises:
- Straightening Bent Rods: For slightly bent metal rods or wires, use heavy-duty pliers or a vice with a mallet to carefully straighten them. Be gentle to avoid kinking the metal, which can weaken it further.
-
Replacing Broken Sections: If a metal rod or frame piece is broken beyond repair, you’ll need to source a replacement section of the same gauge and material. These can often be found at hardware stores or specialty metal suppliers.
- Bolted Connections: If the original trellis used bolts, use new, corrosion-resistant bolts, washers, and nuts to attach the replacement piece.
- Welding: If the original connection was welded and you have welding skills and equipment, re-welding the broken piece or attaching a new one is an option. If not, consider using strong metal epoxy or adding a metal brace plate secured with self-tapping metal screws for a robust, non-welded solution.
- Wire Mesh: For metal mesh panels, small sections can often be repaired by weaving in new wire or attaching a patch using specialized metal ties or small wires.
- Rust Treatment: After repair, areas affected by rust should be wire-brushed thoroughly to remove loose flakes, treated with a rust converter, and then painted with a high-quality rust-inhibiting paint to prevent future corrosion and maintain appearance.
Repairing Plastic/Vinyl Trellises:
- Replacing Broken Panels or Connectors: Most plastic trellises are modular. Identify the specific broken panel or connector. Often, manufacturers offer replacement parts. Snap or clip the new components into place according to the original design.
- Patching Cracks: For small cracks in plastic, a strong, waterproof plastic-specific adhesive or repair kit can be used. Ensure the surface is clean and dry for optimal adhesion. For larger cracks or breaks, replacement of the section is usually more reliable.
Always strive to match the new parts to the existing material not just for a uniform look, but also to ensure consistent structural strength and durability. Mixing materials with different properties can create weak points. By carefully performing these repairs, you will effectively restore the trellis’s structural integrity, allowing it to provide unwavering support for your climbing plants and continue to beautify your garden for many more seasons.
7. Secure The Trellis Firmly For Lasting Stability
A beautifully repaired trellis is only as good as its foundation. Ensuring your trellis is firmly and correctly secured is paramount to its long-term stability, allowing it to withstand the forces of nature—such as strong winds—and the ever-increasing weight of mature climbing plants. This step focuses on establishing robust anchoring points tailored to your trellis’s location and design.
Anchoring in Soil or Directly in the Ground:
For freestanding trellises or those positioned in garden beds, proper ground anchoring is essential:
- Deep Stakes or Posts: If your trellis has integrated posts, dig holes deep enough (typically 18-24 inches or 45-60 cm, depending on trellis height and plant weight) to bury the posts securely. Ensure the holes are wider than the posts to allow for backfilling.
- Concrete Footings: For larger, heavier trellises or those supporting vigorous climbers like wisteria or heavy fruit vines, concrete footings offer the ultimate stability. Place the trellis posts in the prepared holes, ensure they are plumb (perfectly vertical) using a level, and then pour quick-setting concrete around them. Allow the concrete to cure fully before attaching plants or applying significant weight.
- Ground Anchors/Augers: For lighter trellises or temporary structures, specialized ground anchors (similar to screw-in tent stakes but larger) or rebar stakes driven deep into the ground can provide sufficient stability. Secure the trellis to these anchors with heavy-duty ties or clamps.
- Gravel/Soil Backfill: For smaller posts not requiring concrete, backfill the hole with a mixture of gravel and soil, compacting it firmly in layers around the post to eliminate air pockets and provide good drainage.
Attaching to Walls, Fences, or Decks:
When your trellis is intended to lean against or be mounted directly onto an existing structure, the method of attachment needs to be appropriate for both surfaces:
-
Wall Mounting (Masonry/Siding):
- Brackets and Screws: Use robust, weather-resistant brackets (metal or heavy-duty plastic) to attach the trellis to the wall. For masonry walls (brick, concrete), you’ll need a hammer drill and appropriate masonry anchors (e.g., expansion anchors, sleeve anchors) to secure the screws. For siding, ensure screws penetrate into wall studs for a secure hold.
- Stand-off Brackets: These are highly recommended for wall-mounted trellises. They create a small gap (typically 1-2 inches or 2.5-5 cm) between the trellis and the wall. This gap is crucial for allowing air circulation, which helps prevent mildew and rot on both the wall and the trellis, and provides space for plants to twine behind the trellis without being compressed against the surface.
- Fence Mounting: Attach the trellis directly to fence posts or rails using strong screws or bolts. Ensure the fasteners are long enough to pass through the trellis and securely into the fence structure.
-
Deck/Patio Mounting:
- Deck Brackets: Specialized brackets can be bolted directly to deck railings or joists, providing a secure base for trellis posts.
- Heavy Planters: For trellises designed to be movable or less permanent, placing their posts into very large, heavy planters filled with soil and gravel (or even concrete) can provide stability. Ensure the planters are wide enough at the base to prevent tipping.
Final Stability Checks:
Once secured, perform a thorough check:
- Test for Wobble: Gently push and pull the trellis in various directions. There should be minimal or no wobble. If there’s significant movement, reinforce the anchoring points.
- Tighten All Connections: Double-check that all screws, bolts, and ties are securely tightened.
A well-secured trellis is an investment in your garden’s future. It provides unwavering support for your plants, protects against structural failure, and ensures your vertical garden elements remain a source of beauty and functionality for years to come.
8. Gently Guide Plants For Optimal Growth And Aesthetics
With your trellis firmly secured and looking renewed, the final step in the repair process is to carefully reintroduce and guide your climbing plants. This isn’t merely about reattaching them; it’s about strategically training their growth to maximize both their health and the visual impact of your revitalized trellis.
The Importance of Guiding:
- Promotes Healthy Growth: Guiding ensures plants grow upwards and outwards along the support structure, rather than tangling into dense, unhealthy masses. This allows for better air circulation, reducing the risk of fungal diseases, and ensures even light exposure to all parts of the plant.
- Maximizes Support: By distributing the plant’s weight evenly across the trellis, you prevent undue stress on any single point of the structure or on the plant itself. This is especially crucial for heavy fruiting vines or large, mature climbers.
- Enhances Aesthetic Appeal: A well-trained plant on a trellis creates a beautiful, structured display, turning a functional support into a living work of art. It allows you to shape the plant to complement your garden design.
- Facilitates Maintenance: Organized growth makes it easier to prune, inspect for pests or diseases, and harvest fruits or flowers.
Techniques for Gentle Guidance:
-
Use Soft, Flexible Ties: The choice of ties is critical to prevent damage to delicate stems and growing tendrils. Avoid thin wire or anything that can cut into the plant as it grows and expands. Excellent options include:
- Jute Twine: Natural, biodegradable, and soft.
- Soft Fabric Strips: Cut from old t-shirts or stockings; these are gentle and stretch with the plant.
- Velcro Plant Ties: Reusable, adjustable, and gentle on stems.
- Plastic-Coated Wire Ties: Flexible and durable, but ensure the coating is intact.
- Regular Intervals: Attach vines and stems to the trellis at regular intervals. This encourages even growth and ensures the plant’s weight is distributed across the entire structure. For most climbers, spacing ties every 6-12 inches (15-30 cm) is a good starting point.
- Loose Ties: Always tie loosely to allow for future stem growth and expansion. A tie that is too tight will constrict the stem, eventually “girdling” it and cutting off nutrient flow. You should be able to insert a finger easily between the tie and the stem.
- Weaving Techniques: Many plants, especially those with tendrils (like sweet peas or grapes), can be gently woven through the trellis lattice. This method often requires fewer ties and creates a more natural look. Guide the tendrils around the trellis members in the direction you want them to grow.
- Train Young Growth: It’s easiest to guide young, pliable shoots. Regularly check your plants as they grow and gently redirect new growth onto the trellis. This proactive approach prevents plants from becoming a tangled mess.
- Consider Plant Habits: Understand how your plant climbs. Some (like clematis) use petioles (leaf stalks) to wrap around supports, others (like grapes) use tendrils, and some (like climbing roses) need to be tied and trained as they grow. Adjust your guiding method accordingly.
Being attentive to detail during this step maximizes both the vitality of your plants and the overall aesthetic appeal of your garden. A carefully guided plant will flourish on its newly strengthened trellis, becoming a captivating feature that draws the eye and enhances the beauty of your outdoor sanctuary.
9. Implement Proactive Maintenance Tips For Longevity
Performing a thorough repair is a significant achievement, but the key to truly extending the life of your garden trellis and maintaining its beauty lies in consistent, proactive maintenance. Regular care not only prevents minor issues from escalating into major repairs but also ensures your plants continue to receive optimal support and your garden remains vibrant.
Routine Structural Checks:
- Annual Inspection: Make it a habit to inspect your trellis at least once a year, ideally in early spring before vigorous new growth begins, or in late autumn after plants have died back or been pruned.
- Fastener Check: Systematically go over all connections. Tighten any loose screws, bolts, or clips. Replace any rusted nails or fasteners that show signs of corrosion or weakening. Loose connections are often the first sign of impending structural failure.
- Base Integrity: Pay special attention to the base where the trellis meets the ground or its anchoring point. This area is most susceptible to moisture and rot/rust. Ensure anchors are still firm and posts aren’t showing signs of decay or weakening.
Material-Specific Maintenance:
-
For Wooden Trellises:
- Prevent Decay: Reapply a wood preservative, stain, or exterior-grade paint every 1-3 years (or as recommended by the product manufacturer). This shields the wood from moisture, UV damage, and pests. Pay extra attention to cut ends or areas in contact with the ground.
- Address Splinters/Cracks: Sand down any rough splinters to prevent injury and further damage. Fill minor cracks with outdoor wood filler to prevent water ingress.
- Pest Monitoring: Look for signs of insect activity, such as sawdust, tunnels, or holes, and address them promptly with appropriate treatments.
-
For Metal Trellises:
- Combat Rust: Regularly inspect for any new rust spots. Wire brush away loose rust, apply a rust-converting primer, and touch up with rust-inhibiting paint. This is crucial for iron and steel trellises.
- Clean Accumulation: Over time, dirt and mineral deposits can accumulate. A periodic wash with mild soap and water can keep metal trellises looking pristine.
-
For Plastic/Vinyl Trellises:
- UV Protection: While inherently resistant to rot and rust, prolonged UV exposure can make some plastics brittle. If possible, apply a UV-protective spray designed for outdoor plastics.
- Cleaning: A simple wash with soap and water can remove dirt, algae, or mildew, keeping your plastic trellis looking fresh.
Plant Management:
- Regular Trimming and Pruning: Timely pruning of your climbing plants is perhaps the most overlooked aspect of trellis maintenance. Overgrown plants can exert immense weight on the structure, leading to bending or breakage. Regularly trim back excessive growth to manage the plant’s size and distribute its weight evenly. This also improves air circulation and light penetration.
- Re-guiding Plants: As plants grow, they may detach from the trellis or start growing in unwanted directions. Periodically re-guide new shoots and re-tie any loose stems to ensure continuous, healthy coverage of the trellis.
- Clear Debris: Remove dead leaves, spent flowers, or any other organic debris that can accumulate on or around the trellis, as this can trap moisture and encourage pests or rot.
These simple, routine maintenance steps are not time-consuming but are incredibly effective. They will significantly extend the life of your trellis, minimize the need for extensive repairs, and ensure your garden remains a neat, vibrant, and structurally sound haven for both you and your climbing plants. Proactive care truly is the best defense against deterioration, preserving the beauty and functionality of your garden for countless seasons.
Conclusion: Cultivating A Stronger, More Beautiful Garden
Embarking on the journey of repairing and maintaining your garden trellis might seem daunting at first, but as this comprehensive guide has detailed, it is an incredibly rewarding endeavor. Each highlighted step, from the initial strategic choice of materials to the meticulous assessment of damage, the precise repair work, robust securing, gentle plant guidance, and ongoing proactive maintenance, is designed to empower you. These practices collectively ensure that your trellis is not merely sturdy and functional but also an aesthetically pleasing cornerstone of your garden’s design.
The knowledge you’ve gained is invaluable for any gardener who cherishes their outdoor space. It’s about more than just fixing a broken structure; it’s about understanding the synergy between your garden’s architecture and its living elements. By investing your time and effort into these essential practices, you are actively transforming your garden. A well-maintained trellis offers unparalleled support to your climbing plants, fostering vigorous growth, abundant blooms, and healthy foliage. Simultaneously, it acts as a captivating design feature, adding vertical interest, defining spaces, and contributing to the overall beauty and harmony of your landscape. Your diligence today will unequivocally lead to a more robust, charming, and enduring garden feature that you can enjoy for many seasons to come.
As you grow more comfortable with these fundamental repair and maintenance basics, we encourage you to explore further. Delve into more complex trellis designs, experiment with innovative materials, or research specialized training techniques for specific climbing plants. Engaging with the wider gardening community, whether through online forums, local gardening clubs, or workshops, can provide a wealth of new ideas, shared experiences, and collaborative learning opportunities. Remember, the journey of gardening is one of continuous learning and adaptation. Regularly checking and maintaining all your garden structures is not just about preventing issues; it’s about nurturing an environment where beauty thrives and your garden truly remains a delightful sanctuary, a testament to your care and passion.