
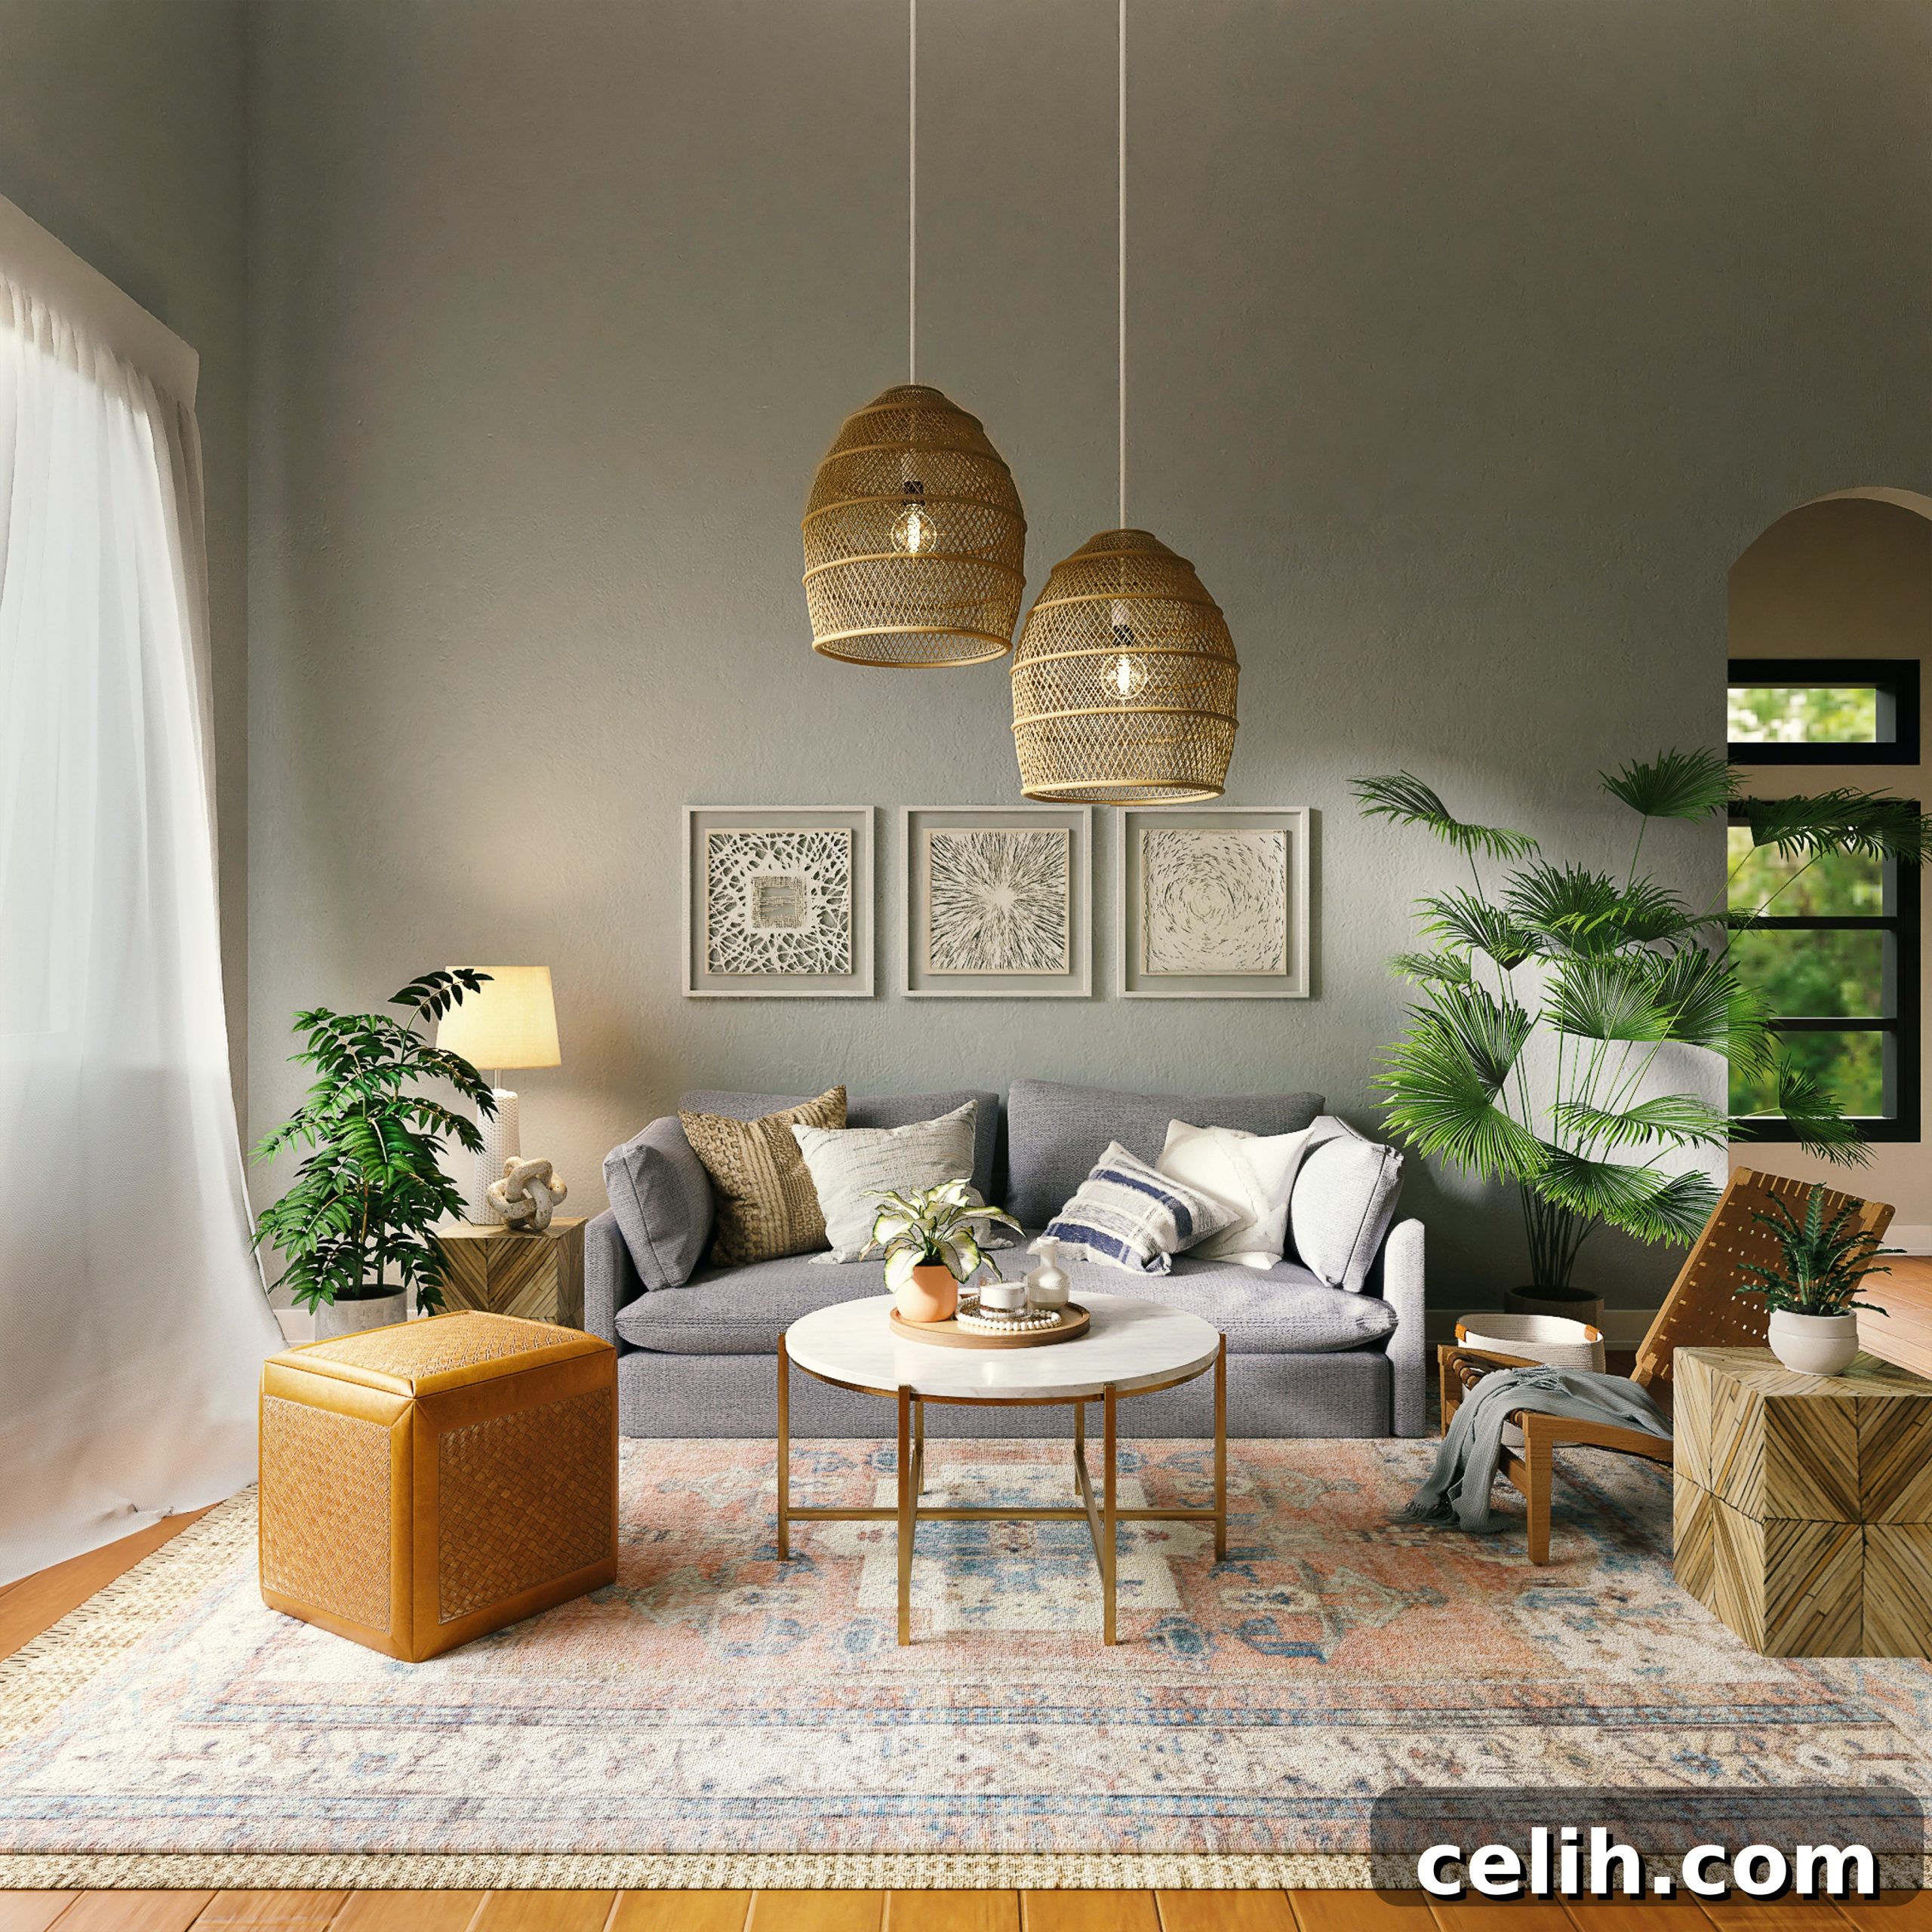
Transforming your home doesn’t have to drain your bank account. With a surge in interest for DIY projects and smart, budget-friendly solutions, homeowners now have an abundance of innovative options to refresh their living spaces. This guide explores creative and affordable home improvement ideas that promise a significant impact without the hefty price tag, empowering you to personalize your environment and boost your home’s aesthetic appeal.
Revitalize Your Kitchen with Repainted Cabinets
One of the most impactful and cost-effective ways to give your kitchen a complete overhaul is by repainting your cabinets. Instead of embarking on a full-scale, expensive kitchen renovation, a fresh coat of paint or stain can dramatically alter the entire ambiance. Kitchen cabinets, constantly exposed to steam, grease, and moisture, require regular maintenance. Wood, in particular, can show signs of wear and tear or begin to deteriorate if not properly sealed and protected.
Choosing a completely new color for your cabinets can instantly modernize your kitchen. Imagine transforming dark, dated wood into a bright, airy white or a chic, sophisticated gray. The process involves thorough cleaning, light sanding to ensure paint adhesion, priming, and then applying several thin coats of high-quality cabinet paint. Opt for paints specifically designed for kitchen use, known for their durability and resistance to moisture and scuffs. Pair your newly colored cabinets with a few well-chosen decorative items, perhaps in complementary hues, and you’ll achieve a cohesive, designer-inspired look that feels brand new without the significant financial investment.
Upgrade Your Interior with New Doors
Damaged or chipped interior doors can significantly detract from your home’s overall aesthetic. Replacing even a few key doors can make an immense difference, instantly elevating the perceived value and style of your space. While cheap doors are often prone to wear, strategic replacement allows you to upgrade gradually, focusing on high-traffic or highly visible areas first.
Begin with the social hubs of your home, such as the living room or dining area. Internal glazed doors, for example, are a popular contemporary choice. They allow natural light to flow between rooms, creating a more open and spacious feel, and can complement a wide array of interior design styles, from modern minimalist to classic elegance. Once these primary areas are addressed, you can move on to more private spaces like bedrooms and bathrooms. Consider solid core doors for bedrooms and bathrooms for better sound insulation and privacy. Choosing the right material, finish, and style for your doors can dramatically enhance both the functionality and visual appeal of each room, making this a smart and impactful budget home improvement.
Revitalize Bathroom Tiles with Paint
The idea of painting bathroom tiles might sound unconventional, but it’s an ingenious solution for those on a tight budget. While severely cracked, broken, or extremely old tiles should ideally be replaced for structural integrity and hygiene, if your tiles are merely outdated in color or design, repainting offers a surprisingly effective alternative. This DIY project can dramatically update your bathroom’s look without the mess and expense of a full re-tiling job.
However, it’s crucial to understand that this is not a permanent fix, nor is it suitable for all situations. Given the high moisture environment of a bathroom, proper preparation and the right materials are paramount. You’ll need specialized tile paint, often an epoxy-based formula, known for its adhesion and durability in wet conditions. The process typically involves meticulous cleaning, degreasing, light sanding, and then applying a primer specifically designed for glossy surfaces, followed by several thin, even coats of tile paint. A high-quality, moisture-resistant sealer or lacquer is also essential to protect the paint from water and wear. When executed correctly, a painted tile surface can hold up for several years, providing a fresh, clean appearance before signs of wear might necessitate another update or a more permanent solution. Always ensure good ventilation during the painting and curing process.
Introduce an Accent Wall for Instant Style
The accent wall continues to be a popular and versatile trend, offering a powerful way to inject personality and focal interest into any room. Whether it’s in your bathroom, bedroom behind the bed, or even a living room, an accent wall draws the eye and anchors the space. The design possibilities are virtually endless, allowing for creative expression that aligns with your personal style.
Wallpaper is perhaps the quickest and easiest route to a stunning accent wall, with countless patterns, textures, and colors available to suit any aesthetic. For those seeking a more rustic or natural touch, a reclaimed wood pallet wall offers a unique, textured focal point. This DIY project involves carefully disassembling pallets, sanding the wood smooth, and then securely nailing or screwing each piece to the chosen wall. A saw will be essential for precise cuts, especially around corners and outlets. Once installed, you can leave the wood in its natural state, apply a clear stain to enhance its inherent beauty, or even paint it for a different effect. Beyond wallpaper and wood, consider textured paint, stenciling, or even fabric panels for a softer look. An accent wall is not only a fun and rewarding project that brings an element of the outdoors inside, but also an affordable way to make a dramatic visual statement.
Refresh Your Ambiance with Replaced Lighting Fixtures
Lighting plays a crucial role in setting the mood and defining the functionality of any room. Replacing outdated or inefficient lighting fixtures can dramatically alter a room’s appearance, making it feel more modern, inviting, or spacious. The right style of fixture acts as a complementary design element, tying together the room’s decor and enhancing its overall appeal.
There’s a vast world of DIY lighting ideas, especially if you’re drawn to styles like shabby chic, industrial, or minimalist. Simple pendant lights can be transformed with new shades, or an old lamp base can be repainted and given a new lease on life. For those seeking new fixtures, browsing online retailers and local home improvement stores can yield impressive offers and diverse styles. While a grand chandelier might be a significant investment, numerous affordable options exist, from sleek flush mounts to elegant sconces and stylish track lighting.
Beyond the main overhead lights, consider incorporating accent lighting. Table lamps, floor lamps, and even LED strip lighting can create inviting pools of light, highlight architectural features, or draw attention to artwork. Think about the functionality of each space; task lighting is essential in a home office or kitchen, while ambient lighting sets a relaxed mood in a living room or bedroom. Upgrading your lighting is not just about aesthetics; it can also improve energy efficiency, especially if you switch to LED bulbs, contributing to long-term savings.
Install a Stylish and Practical Backsplash
A backsplash is a functional and aesthetic element that can protect your walls from splashes while adding a pop of color, texture, or pattern to your kitchen or bathroom. While traditional tile backsplashes can be costly and labor-intensive to install, modern DIY solutions offer an easy and affordable alternative: peel-and-stick options.
These innovative backsplashes come in a bewildering array of styles, materials, and patterns, from realistic subway tile and natural stone looks to geometric designs and sleek metallic finishes. Made from soft vinyl, plastic, or even gel-like tiles, they are incredibly user-friendly, requiring no messy grout or specialized tools. The main skill needed is patience and precision to ensure each piece is aligned correctly for a seamless finish. Simply clean the wall surface thoroughly, measure, cut the panels to size (often with just scissors or a utility knife), peel off the backing, and stick them into place.
When installing a peel-and-stick backsplash in areas prone to heat, such as behind a cooker, it’s crucial to select a heat-resistant material and maintain a safe distance from open flames to prevent any potential fire hazards. For existing tiled backsplashes that just need a refresh, consider using a grout pen to whiten or color grout lines, giving the entire area a clean, updated look without replacing a single tile. This budget-friendly project offers immediate visual gratification and enhanced protection for your walls.
Give Your Fireplace a Fresh Makeover
Even if you rarely light a fire, the fireplace often serves as a central focal point in your living room or family space. Its presence can significantly influence the room’s character, making a fireplace makeover a highly effective way to enhance your home’s decor. A refreshed fireplace can draw positive attention and elevate the entire room’s aesthetic.
Depending on its current condition and style, there are several budget-friendly DIY options. A simple yet powerful change can be repainting the existing fireplace surround. Choose a heat-resistant paint in a color that complements your room’s palette – a crisp white can brighten a space, while a charcoal gray can add a touch of modern sophistication. For a more structural update, consider building a new frame around it using decorative wood molding or even applying peel-and-stick tiles for a faux stone or brick effect. Another incredibly easy and impactful DIY project is installing a wooden mantel shelf above the fireplace. This not only adds architectural interest but also provides a practical surface for displaying family photos, decorative objects, seasonal decor, or even a convenient spot for your keys. This small addition can transform a plain fireplace into a beautifully styled centerpiece.
Paint an Old Sink for a Brand New Look
A dingy, discolored, or outdated sink doesn’t necessarily warrant a full replacement, especially if it’s structurally sound and free from severe cracks or damage. While its original luster may have faded over time, a complete makeover can be achieved with nothing more than paint. This ingenious DIY solution is particularly effective for ceramic or porcelain sinks that are otherwise in good condition.
To successfully paint a sink, meticulous preparation is key. Begin by thoroughly cleaning the sink, removing all soap scum, grime, and mildew. Lightly sand the surface to create a profile for the paint to adhere to, then wipe away any dust. Cover all surrounding areas, including the faucet, drain, and countertops, with painter’s tape and plastic sheeting to protect them from paint splatters. You’ll need a specialized epoxy-based refinishing kit designed for bathtubs and sinks, which typically includes a cleaner, primer, and topcoat. Apply several thin, even layers of paint, allowing adequate drying time between each coat as per the product instructions. The final crucial step is applying a durable, waterproof lacquer or clear coat to protect the painted surface from water, chemicals, and everyday wear. While painted sinks can look fantastic, it’s important to be mindful of heavy impacts, as dropping hard objects could potentially chip the paint. With careful use and proper maintenance, a painted sink can look fresh and stylish for years, adding a personal touch to your bathroom or utility room.
Create an Impressive Library Wall
A library wall doesn’t require bespoke, expensive built-in furniture. You can achieve this sophisticated and highly functional look by utilizing several inexpensive, modular bookcases. Many furniture brands offer affordable, sturdy shelving units in a variety of colors and styles that are perfect for this project. The key is to select units that are similar in height and depth to create a cohesive, custom-built appearance.
Install these bookcases side-by-side, covering an entire wall or a significant portion of it. This strategy maximizes vertical space, providing abundant storage for books, collectibles, decorative objects, and even hidden storage with decorative bins. Not only does a library wall offer immense practicality, but it also creates a stunning visual impact, transforming a plain wall into an impressive display and a focal point of intellectual charm. If you’re concerned about the space feeling too cramped, strategically place a large potted plant at one end or within the shelving arrangement to introduce natural elements and break up the linearity. Consider starting the library design from one corner of the room, extending it along the wall, and placing a vibrant plant in the opposite corner to balance the composition. This design element adds warmth, texture, and a sense of life, making your personalized library wall both beautiful and inviting.
Summary: Elevate Your Home with Smart DIY Projects
Ultimately, these budget-friendly and creative DIY ideas offer a fantastic opportunity to significantly upgrade your home’s aesthetic and functionality. The best part? They prove that you don’t need extensive funds or advanced skills to achieve a dramatic transformation. With a little imagination, some elbow grease, and the right approach, you can personalize your living spaces, enhance their appeal, and enjoy the immense satisfaction of a home improvement project well done. Start small, be patient, and watch your vision come to life.
Featured image credit: Photo by Spacejoy on Unsplash