
In an age where professional services can come with a hefty price tag, the allure of the Do-It-Yourself (DIY) movement has never been stronger. For countless homeowners and enthusiasts, the satisfaction of mending, crafting, or improving their living space with their own hands is an unparalleled reward. Beyond the profound sense of accomplishment, embracing DIY projects offers substantial financial savings, deepens one’s understanding of their home’s mechanics, and fosters a valuable set of practical skills. While certain tasks unequivocally call for the expertise of a certified professional, a vast array of common household issues and enhancement projects are surprisingly within reach for the average individual. With a dash of curiosity, a bit of research, and the right approach, you can keep your home’s plumbing, electrical systems, and devices in peak condition, all while saving significant amounts of money.
This comprehensive guide is designed to empower you with clever tricks and actionable strategies to tackle everyday home problems efficiently and effectively. Whether you’re a seasoned DIY veteran looking for new hacks or a complete beginner eager to start your journey into home improvement, these insights will equip you to approach challenges with confidence. From assembling the perfect toolkit to eco-friendly material reuse and smart maintenance techniques, prepare to transform your home and enhance your DIY prowess.
Acquire the Right Gear: Building Your Essential DIY Toolkit
The foundation of any successful DIY project lies in having the correct tools for the job. Attempting a repair or installation without the appropriate equipment can lead to frustration, inefficiency, and potentially damage to your property or even injury. Investing in a solid toolkit is not an expense but a long-term investment that pays dividends in convenience, safety, and superior results. Think of it this way: a professional plumber charges not only for their time and expertise but also for the specialized equipment they bring. By gradually building your own arsenal, you can perform many common tasks at a fraction of the cost.
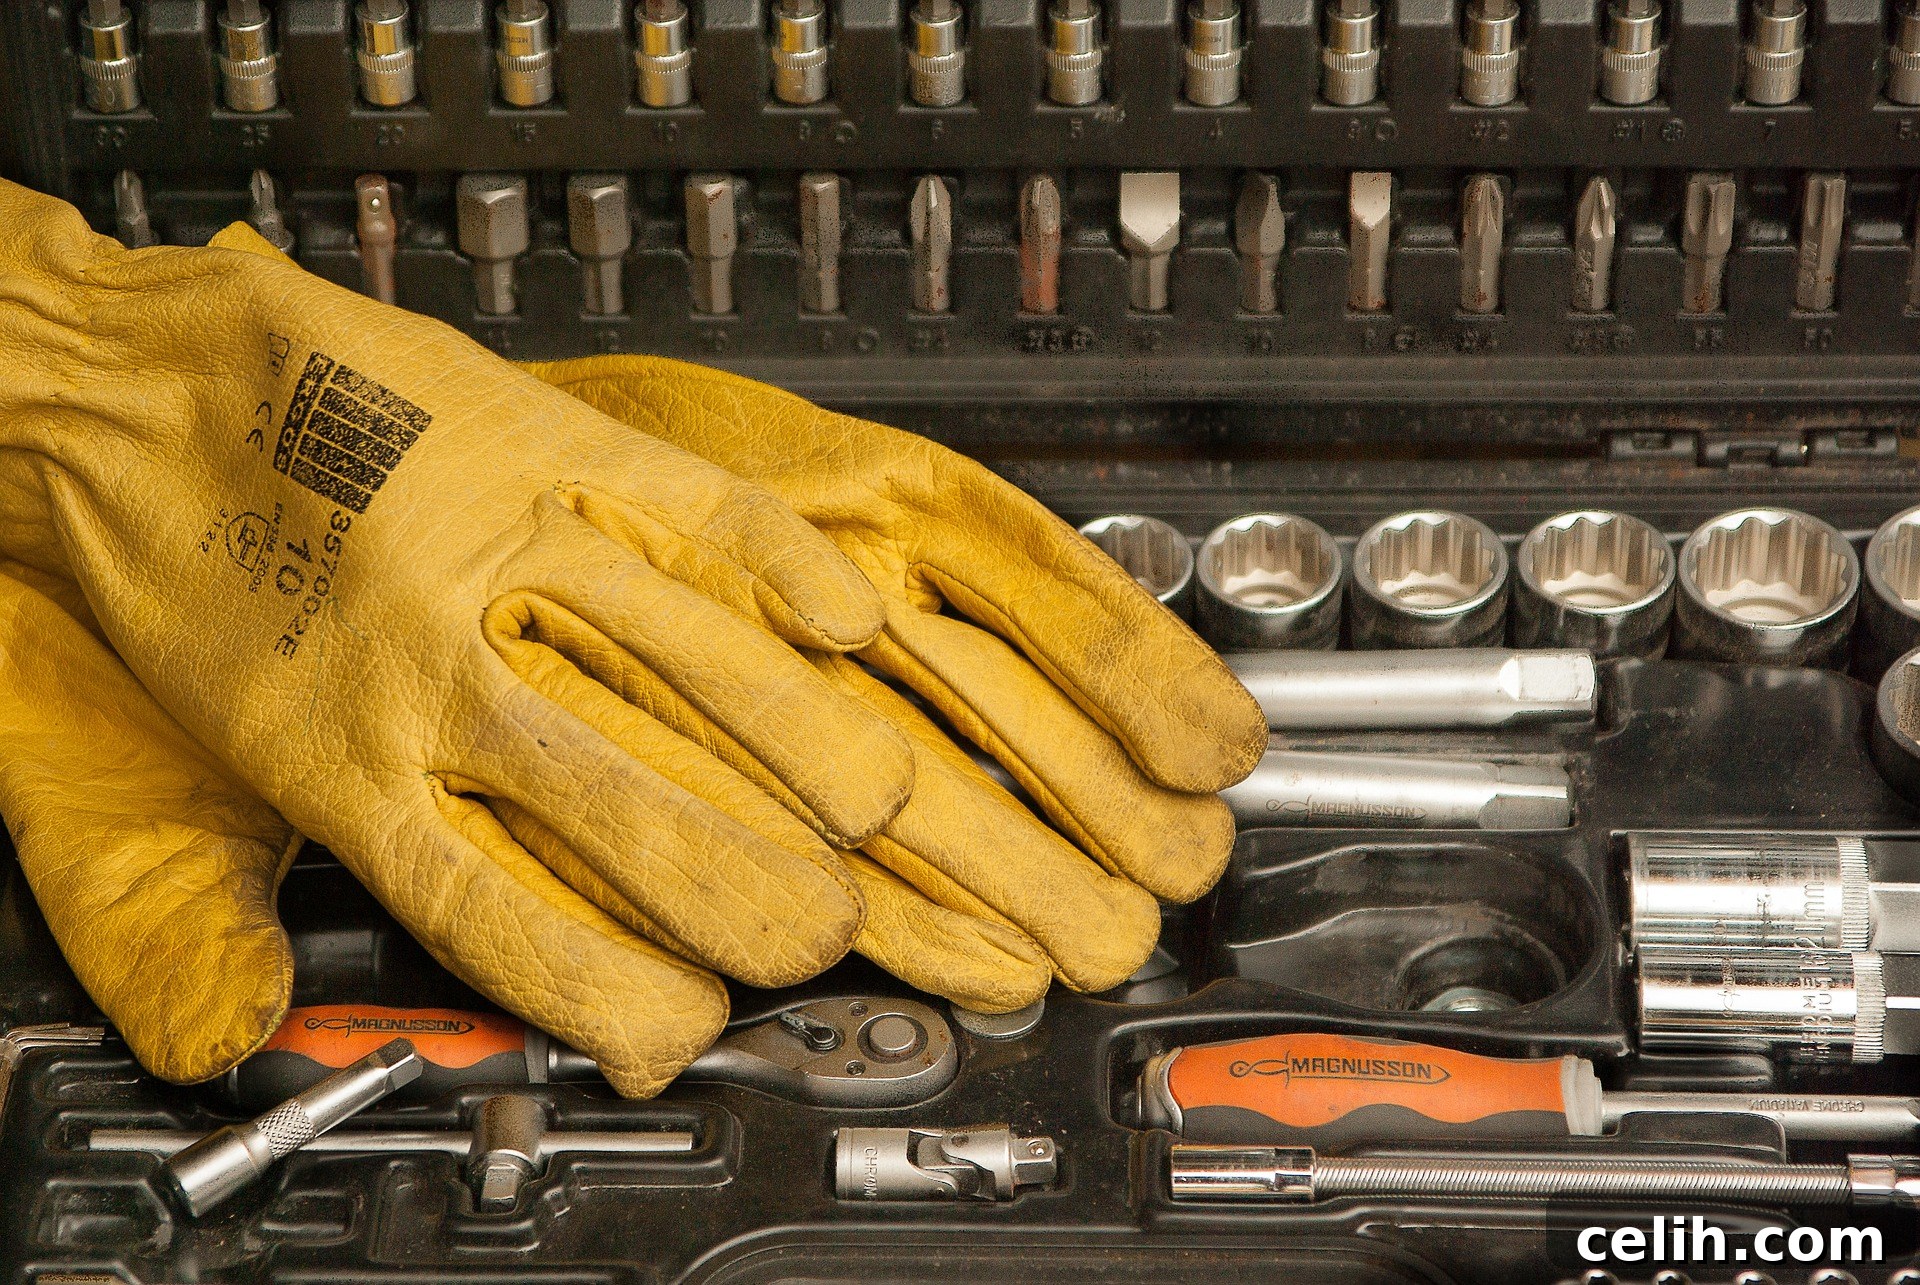
For those just starting, the sheer variety of tools can be overwhelming. Begin with a general-purpose home toolkit that includes fundamental items. Essential hand tools like a claw hammer, a set of screwdrivers (Phillips and flathead in various sizes), a tape measure, adjustable wrenches, pliers (needle-nose and slip-joint), a utility knife, and a sturdy level are non-negotiable. Don’t overlook safety gear; gloves, safety glasses, and ear protection are paramount, especially when working with power tools or chemicals. As you delve deeper into specific projects, you can expand your collection. For instance, plumbing tasks might require pipe wrenches and a basin wrench, while electrical work demands non-contact voltage testers and wire strippers (always exercise extreme caution with electricity or consult an expert).
Consider the role of engineered fasteners in modern DIY. These are often superior alternatives to traditional screws, nuts, and bolts, designed for specific applications, offering enhanced strength, durability, and ease of installation. Understanding different types of fasteners, from self-tapping screws to anchor bolts, will significantly improve the integrity of your repairs and constructions. Building your toolkit isn’t a race; it’s a journey. Start with quality basics, add tools as specific needs arise, and soon you’ll have a comprehensive collection ready for almost any maintenance emergency or creative endeavor.
Reuse Raw Materials: Embracing Upcycling for Sustainable DIY
In our consumer-driven society, it’s easy to discard old items without a second thought. However, the principles of sustainability and creative resourcefulness encourage us to look at “waste” differently. Upcycling, the process of transforming old, discarded items into new products of higher quality or environmental value, is a fantastic way to engage in DIY. Not only does it reduce landfill waste, but it also provides a unique opportunity to create personalized, functional, and aesthetically pleasing pieces for your home at minimal cost.
Imagine the potential hidden within items you might typically throw away. A solid wood chopping board, for example, is more than just a kitchen utensil past its prime. With a little sanding and staining, it can be reborn as a charming wall shelf, a bespoke decorative mount for your keys, or even a unique frame for a small mirror. The possibilities extend far beyond the kitchen. Salvaged hardware from broken furniture – ornate hinges, distinctive handles, or sturdy casters – often possesses a character that new components lack. These pieces can be cleaned, polished, and repurposed to give new life to other furniture items or to craft entirely new creations, like custom storage boxes or jewelry displays. Old wooden pallets can be disassembled and transformed into outdoor furniture, garden planters, or rustic wall art. Glass jars and bottles can become decorative vases, storage containers, or even components for unique light fixtures. Even worn-out textiles can be cut and sewn into cleaning rags, braided rugs, or artistic wall hangings. Embracing the concept of reusing raw materials not only saves money but also injects a unique, story-filled personality into your living space, making your home truly one-of-a-kind while contributing to a healthier planet.
Bleed Your Radiators: Optimizing Your Home’s Heating Efficiency
A common yet often overlooked issue in many homes is the presence of excess air trapped within the central heating system’s radiators. This air can significantly reduce the efficiency of your heating, leading to colder spots in rooms, longer heating times, and often an annoying gurgling or clanking sound from your radiators. Fortunately, remedying this problem is a straightforward DIY task that requires minimal tools and no professional intervention, saving you the expense of a service call.
Bleeding your radiators essentially means releasing this trapped air, allowing hot water to circulate freely and efficiently. The process is simple: first, ensure your central heating system is turned off and allow the radiators to cool down completely. This prevents scalding from hot water and allows any trapped air to collect at the top of the radiator. Next, locate the radiator valve, typically a small square or slotted nut found at the top corner of the radiator. Using a radiator key (a small, inexpensive tool readily available at hardware stores) or a flathead screwdriver for slotted valves, slowly turn the valve anti-clockwise. You should hear a hissing sound as the trapped air escapes. Keep a cloth or small container handy, as a small amount of water may also emerge after the air is released. Once a steady stream of water starts to flow (without any air bubbles), close the valve by turning it clockwise. Repeat this process for all radiators in your home, starting with the ones on the lowest floor and working your way up. After bleeding all radiators, it’s crucial to check your boiler’s pressure gauge. Bleeding air can cause a slight drop in system pressure. If the pressure is too low (typically below 1 bar when cold), you will need to re-pressurize your boiler system according to your boiler’s manufacturer manual. This usually involves adjusting a filling loop until the pressure returns to the recommended level. Regular bleeding, especially before the colder months, ensures your heating system runs smoothly, efficiently, and quietly.
Paint Tricky Areas With a Painting Mitt: Smart Solutions for Intricate Painting Jobs
Painting is one of the most transformative and satisfying DIY projects, yet it can also be one of the most tedious, particularly when dealing with intricate areas, tight corners, and detailed trim. Achieving clean lines and even coverage in these challenging spots often requires painstaking effort, multiple tools, and a steady hand. Many DIY enthusiasts can attest to the frustrations of “cutting in” or navigating around obstacles like stair spindles and balusters. However, a simple, often overlooked tool can revolutionize your approach to these difficult painting tasks: the painting mitt.
Painting mitts are designed specifically for reaching awkward angles and contours that traditional brushes and rollers struggle with. Made typically from lamb’s wool or synthetic fibers, these gloves allow you to literally “paint with your hand,” offering unparalleled flexibility and control. They conform to the shape of the surface, making it incredibly easy to paint around pipes, railings, decorative moldings, and the often-frustrating spindles of a staircase. To use a painting mitt effectively, simply dip it into your paint, allowing it to absorb a moderate amount, and then glide your hand over the surface. The natural flexibility of your hand allows for precise application, significantly reducing drips and uneven coverage. This method not only saves a considerable amount of time and effort but also yields a smoother, more professional finish in areas that would otherwise be very challenging.
Beyond specialized mitts, the principle of using flexible applicators extends to other creative hacks. For instance, an old glove or even a clean sock can be an excellent tool for applying varnish or stain to intricate furniture legs, chair rungs, or banisters. These improvised applicators allow you to quickly and evenly coat curved or slender surfaces without the mess and streaks often associated with brushes. Such ingenious solutions exemplify how simple, inexpensive tools and a bit of creativity can transform arduous painting tasks into quick, satisfying DIY projects, making home renovation more accessible and enjoyable for everyone.
Get Dents Out of Wood: Restoring Wooden Surfaces with Ease
Wooden furniture, floors, and surfaces add warmth and character to any home, but they are also susceptible to dents and minor imperfections from everyday use. A noticeable dent can detract significantly from the beauty of an otherwise pristine wooden piece. While deeper gouges might require professional repair or wood filler, many common dents, especially those that haven’t broken the wood fibers, can be surprisingly and easily remedied using a simple household item: your iron. This clever technique leverages the natural properties of wood to restore its original smooth surface.
The science behind this trick is quite fascinating. Wood fibers are hygroscopic, meaning they absorb moisture. When wood gets dented, the fibers are compressed. By introducing heat and moisture, you encourage these compressed fibers to swell and expand back to their original state. Here’s how to perform this effective DIY wood dent repair: First, ensure the wooden surface is clean and free of dust or debris. Next, take a clean washcloth and dampen it thoroughly with water, then wring out any excess so it’s moist but not dripping wet. Carefully place the damp cloth directly over the dented area. Now, set your iron to its highest heat setting (usually “cotton” or “linen”) and ensure there is no water in its reservoir if it has a steam function, as you only want dry heat initially applied through the cloth. Place the hot iron firmly onto the damp washcloth, directly above the dent. Begin making small, slow back-and-forth and circular movements, holding the iron over each section for about 10 seconds. Apply consistent, firm pressure, but avoid keeping the iron stationary for too long to prevent scorching the wood. As you move the iron, you’ll notice the water from the washcloth quickly evaporating, creating steam that deeply penetrates the wood fibers. Continue this process until the washcloth feels dry.
After the first application, remove the cloth and inspect the dent. You should see a noticeable improvement as the wood fibers begin to expand. For deeper dents, you may need to repeat the process: re-dampen the washcloth, place it over the dent, and reapply the hot iron. Continue these cycles until the dent has risen to be flush with the surrounding wood surface. It’s crucial to be patient and work incrementally to avoid damaging the finish or burning the wood. Once the dent is gone, allow the wood to dry completely. You might then gently sand the area with very fine-grit sandpaper (e.g., 220-grit) to smooth out any raised grain, followed by applying a matching wood finish or polish to fully restore the surface. This technique works best on solid wood and can breathe new life into beloved but blemished furniture pieces.
Final Thoughts: Embracing the Empowering World of DIY
The journey into DIY home repairs and improvements might seem daunting at first, especially if you’ve always relied on professionals or perceive yourself as “not good with technology and appliances.” However, as this guide illustrates, maintaining and enhancing your home doesn’t require advanced degrees or specialized certifications. It begins with a willingness to learn, a commitment to acquiring the right basic tools, and an embrace of practical, accessible techniques.
From efficiently bleeding your radiators to ensure optimal heating, to creatively repurposing old materials for sustainable home decor, and even expertly removing stubborn dents from your cherished wooden furniture, the world of DIY offers endless opportunities for growth and self-sufficiency. Each successful project, no matter how small, builds confidence, hones your skills, and empowers you to take greater ownership of your living space. Remember to always prioritize safety, consult manuals when necessary, and don’t hesitate to seek professional advice for tasks that extend beyond your comfort zone or expertise. By investing in the right gear, continuously seeking knowledge, and patiently applying these simple yet effective hacks, you can keep your home in top working order, save significant money, and enjoy the profound satisfaction that comes with being a capable, hands-on homeowner. Start small, learn at every chance you get, and watch your DIY prowess grow.
Featured image credit: Pixabay