
In the heart of every home, the washing machine tirelessly works to keep our clothes fresh and clean. Yet, this essential appliance harbors a secret life, quietly accumulating more than just dirt from your sweaty gym gear and muddy jeans. While it spins away the grime, it’s also diligently collecting a hidden cocktail of smelly bacteria, mold spores, limescale, and detergent residue. Think about it: where does all that collected filth go? Some of it drains away, certainly, but a significant portion stubbornly clings to the unseen corners, crevices, and components within your machine. Have you ever pulled out a load of “clean” laundry only to detect an unwelcome, musty odor? That distinct funk is your washing machine signaling distress, a clear cry for much-needed attention and a thorough cleanse. Most of us rarely consider cleaning the very appliance designed to clean our belongings, but this oversight is often the root cause of that less-than-fresh scent clinging to your favorite shirt. Neglecting your washing machine’s internal hygiene can lead to a host of problems, from unpleasant odors and stained clothes to reduced efficiency and costly breakdowns. It’s time to unveil the mysteries of your washer’s inner workings and discover why regular cleaning isn’t just a recommendation—it’s a necessity for truly fresh laundry and a longer-lasting appliance.
Combat Limescale and Grime: The Descaling Imperative
Over time, especially in areas with hard water, limescale can build up within your washing machine’s heating elements, pipes, and drum. This mineral deposit acts like an insidious enemy, reducing your machine’s efficiency, increasing energy consumption, and providing a rough surface for mold and detergent residue to cling to. When limescale and mold begin to take over, compromising both performance and hygiene, it’s time to bring in the big guns for a deep clean. Many homeowners confidently descale their washing machine using specialized products like HG washing machine and dishwasher deep clean and service, specifically formulated to tackle this stubborn, nasty buildup. These powerful descaling agents work wonders, penetrating years of accumulated residue in hidden parts of your machine where grime typically flourishes. Unlike harsh, abrasive cleaners that could damage sensitive components, proper descalers are designed to safely dissolve mineral deposits and biological growth without compromising your appliance’s integrity. Incorporating just two quick descaling treatments a year can dramatically prolong your washer’s lifespan, ensuring it runs as efficiently and effectively as the day you bought it. This simple, preventative measure can save you from the painful prospect of an early machine replacement, a cost that can make anyone’s wallet weep. Regular descaling isn’t just about cleanliness; it’s a vital step in maintaining optimal performance, preventing breakdowns, and ensuring your clothes receive the thorough cleaning they deserve every single cycle.
Decoding Your Washer’s Whispers: The Warning Signs You Can’t Ignore
Your washing machine, much like a living organism, communicates its health through a variety of subtle and not-so-subtle cues. The question is, are you truly listening? That peculiar grinding noise emanating during a spin cycle isn’t merely an eccentric sound your machine is supposed to make; it could be a sign of worn bearings or an obstruction. The appearance of unsightly stains or streaks on your freshly washed jeans is certainly not a new fashion statement; it often indicates residue buildup or a problem with the dispenser or drainage. Pay close attention if your machine suddenly takes an unusually long time to complete a wash cycle; it’s not working harder, but rather struggling under the burden of clogs, pump issues, or sensor malfunctions.
These critical warning signs often manifest slowly, making them easy to overlook until your machine decides to throw a complete tantrum, seizing up entirely. By then, you’re likely facing repair bills that could easily fund a delightful weekend getaway or, even worse, the full cost of a brand-new washing machine. Beyond these obvious indicators, keep an eye out for other red flags: excessive vibration during operation, an unpleasant, lingering odor emanating from the machine itself (even when empty), clothes emerging with detergent residue, or water failing to drain properly after a cycle. A sudden increase in your energy bill might also point to an inefficient, struggling appliance due to limescale buildup on heating elements. Recognizing these signals early and addressing them promptly through proper cleaning and maintenance can save you significant money, stress, and the inconvenience of a broken washer.
Comprehensive Cleaning for a Pristine Machine
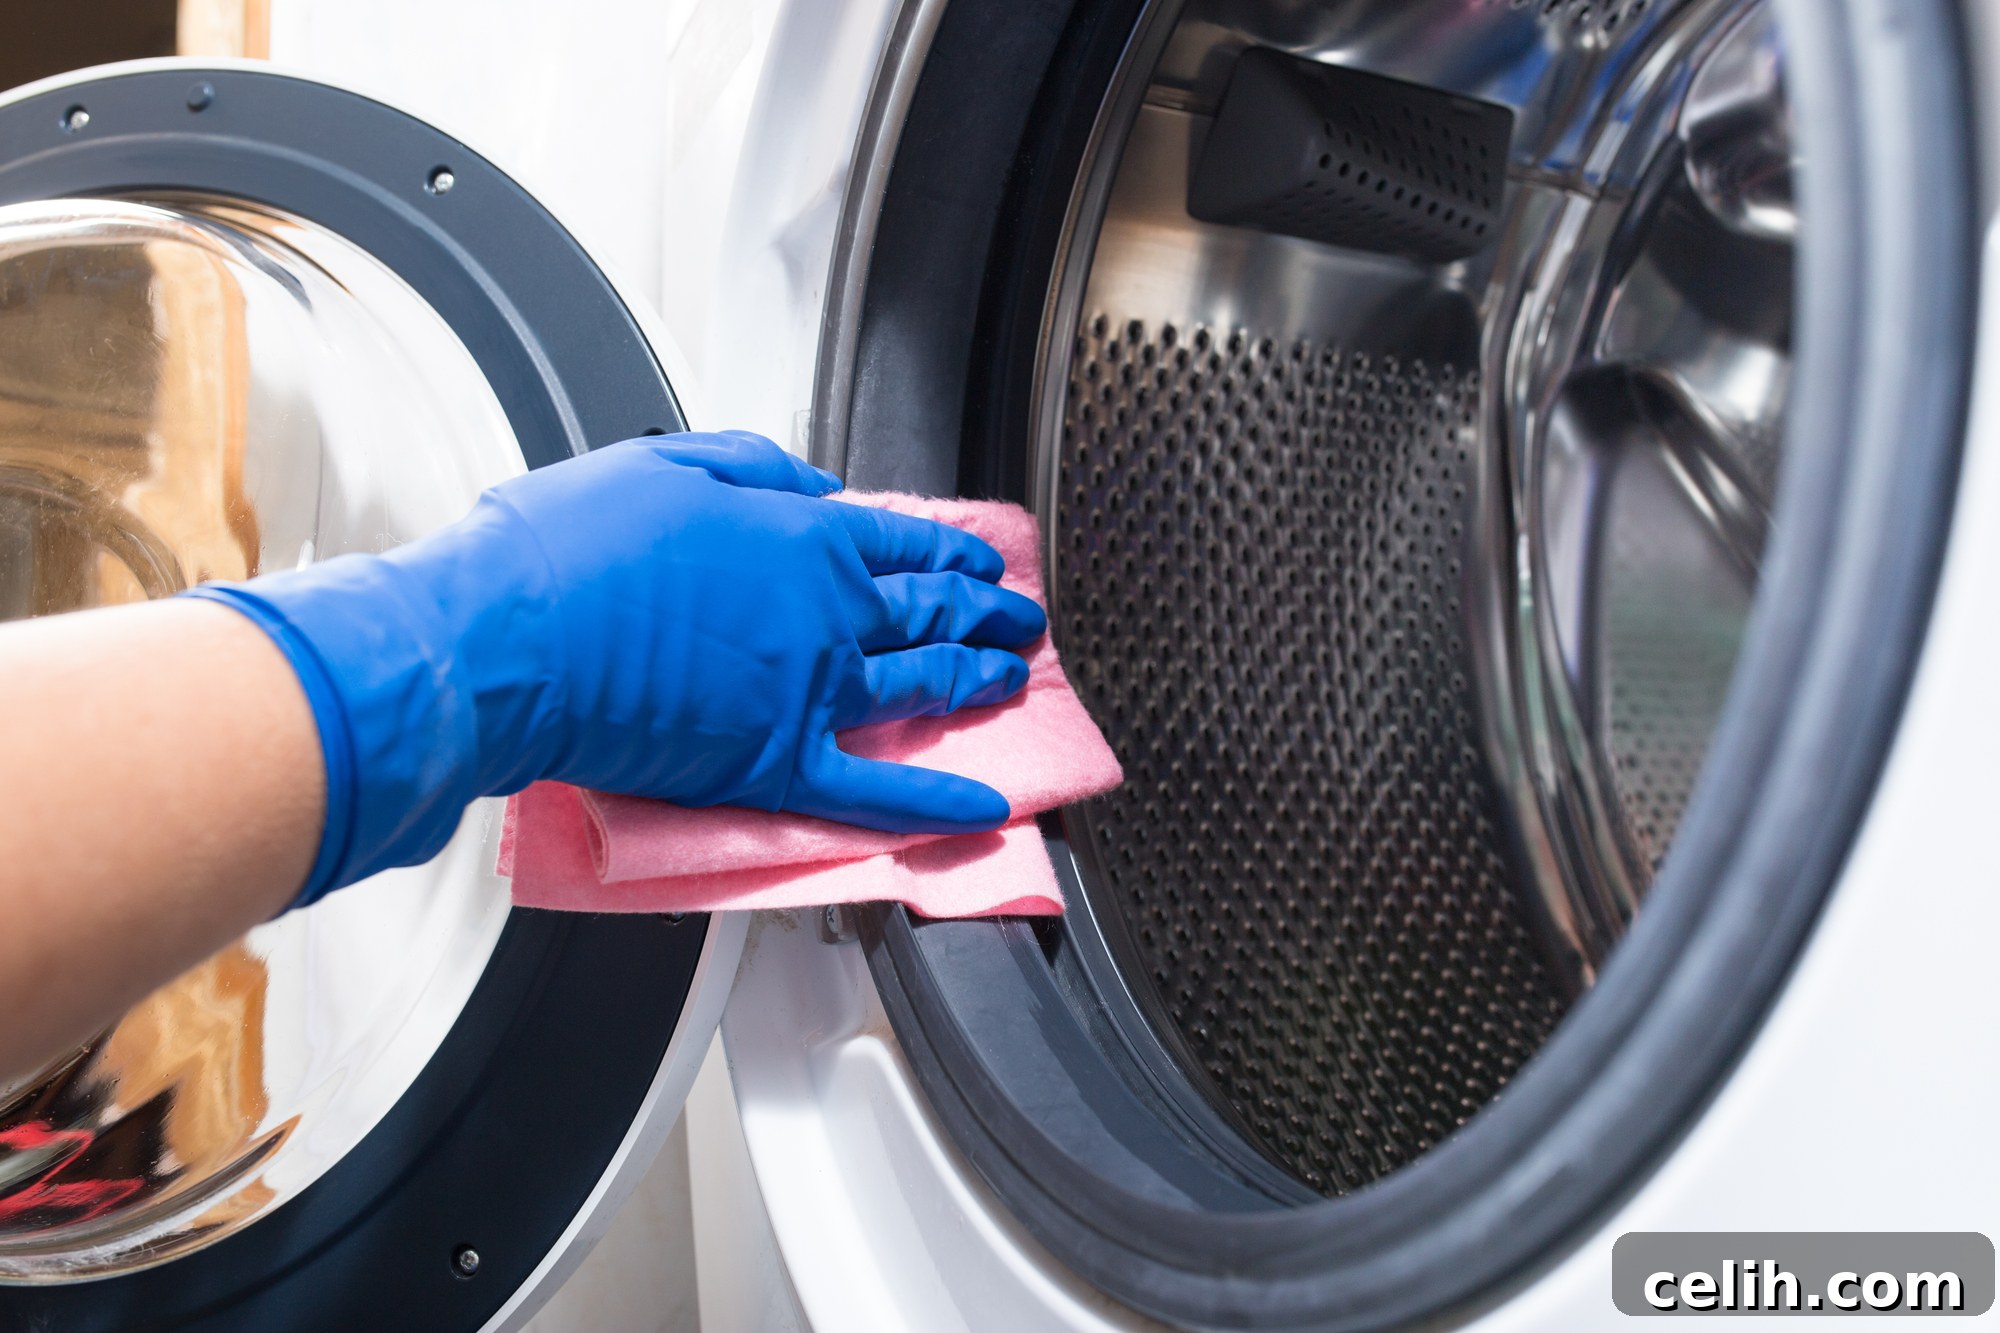
Achieving a truly clean washing machine goes beyond just descaling. It requires a multi-pronged approach, targeting all the notorious hiding spots for grime and bacteria. One of the most critical, yet frequently neglected, areas is the rubber seal or gasket around your machine’s door. This dark, damp crevice is an ideal breeding ground for mold and mildew, leading to those persistent musty smells and even transferring spores onto your freshly washed clothes. To tackle an existing mold infestation, prepare a cloth soaked in white vinegar or a diluted bleach solution (ensure good ventilation). Carefully wipe away all visible mold and mildew from the seal, paying special attention to its folds and underside. For tougher spots, a toothbrush can be an invaluable tool. After cleaning, dry the area thoroughly.
Preventing mold from forming in this crucial area is even simpler: always leave your machine door ajar when it’s not in use. This allows moisture to escape and air to circulate, preventing the damp, stagnant environment where mold and other undesirable organisms thrive. Additionally, make it a habit to wipe down the rubber seal after every few washes to remove any lingering moisture and lint.
Beyond the seal, turn your attention to the detergent dispenser drawer. This often-overlooked component is a magnet for detergent and fabric softener residue, which can harden, clog, and become a breeding ground for mold. Remove the dispenser drawer (most are easily detachable) and soak it in warm, soapy water for 30 minutes. Use an old toothbrush or a small brush to scrub away all accumulated gunk and slime. Don’t forget to clean the compartment where the drawer sits within the machine, as residue can build up there too. A clean dispenser ensures your detergents are properly dispensed, optimizing cleaning performance for your laundry.
Next, focus on the drum itself. Even though it’s where the “cleaning” happens, it needs to be sanitized regularly. Run a hot wash cycle (the hottest setting available, e.g., 90°C/190°F) with no clothes inside. For an effective cleanse, you can add two cups of white vinegar directly into the detergent dispenser or pour it into the drum. Alternatively, sprinkle half a cup of baking soda into the drum before starting the cycle. Some prefer using specialized washing machine cleaning tablets or liquids for this purpose. This hot, empty cycle helps to flush out odors, sanitize the drum, and dislodge internal residues. For an even deeper clean, consider running a second hot cycle with a cup of bleach (if your machine can handle it and you’re not using vinegar in the same cycle, as mixing can be dangerous). Always consult your machine’s manual for specific cleaning recommendations and avoid mixing different cleaning agents.
Finally, address the drain pump filter, usually located behind a small panel at the bottom front of your machine. This filter traps lint, coins, hair, and other small items that escape from your clothes. If clogged, it can lead to drainage problems, foul odors, and even machine malfunction. Before opening, place a shallow pan or towel underneath to catch any residual water. Carefully unscrew the filter, remove any debris, and rinse it thoroughly under running water. Clean out the filter housing before reinserting the filter securely. Cleaning this filter every few months is crucial for optimal drainage and to prevent unpleasant smells. A little external care also goes a long way; regularly wipe down the exterior of your machine with a damp cloth to keep it looking tidy and prevent dust buildup.
Embrace a Culture of Care for Your Washing Machine
Keeping your washing machine impeccably clean isn’t merely a trivial chore reserved for the most fastidious clean freaks; it is, in fact, an absolutely essential aspect of home appliance maintenance. This proactive approach ensures that your clothes aren’t just getting a superficial rinse but are truly undergoing a thorough, hygienic cleanse, rather than bathing in a stagnant mixture of dirty water, old detergent, and microbial growth. A well-maintained washing machine translates directly into cleaner, fresher-smelling laundry, free from those embarrassing musty odors or residual stains.
Beyond the immediate benefit of sparkling clean garments, consistent care dramatically extends the lifespan of your valuable appliance. By preventing the buildup of limescale, mold, and residue, you safeguard internal components from premature wear and tear, reducing the likelihood of costly repairs or the need for a complete replacement. A machine free from internal blockages and buildup operates more efficiently, consuming less energy per cycle and contributing to lower utility bills. This small investment of time—perhaps a semi-annual deep descale, a monthly gasket wipe, and a quarterly filter check—yields significant dividends in the long run, keeping more money firmly in your pocket. It’s a testament to the adage that a little attention goes a long way. So, make it a habit to treat your washing machine with the care it deserves. Your clothes, your wallet, and your peace of mind will undoubtedly thank you for it.