
Transforming your home into a sanctuary that reflects your personal style doesn’t have to be an overwhelming or expensive endeavor. Forget the misconception that a significant home makeover demands a massive budget, extensive time, or professional assistance. In reality, countless impactful updates can be achieved with a little creativity, some basic tools, and a weekend’s worth of effort. This comprehensive guide will explore a wealth of accessible and affordable ways to breathe new life into every corner of your living space. From refreshing tired kitchens and bathrooms to revitalizing overlooked staircases and creating serene bedrooms, we’ll provide practical, actionable advice to help you embark on your home refresh journey. So, gather your inspiration, prepare your toolkit, and let’s dive into making your home truly shine.
Kitchen Makeovers: Budget-Friendly Transformations for the Heart of Your Home
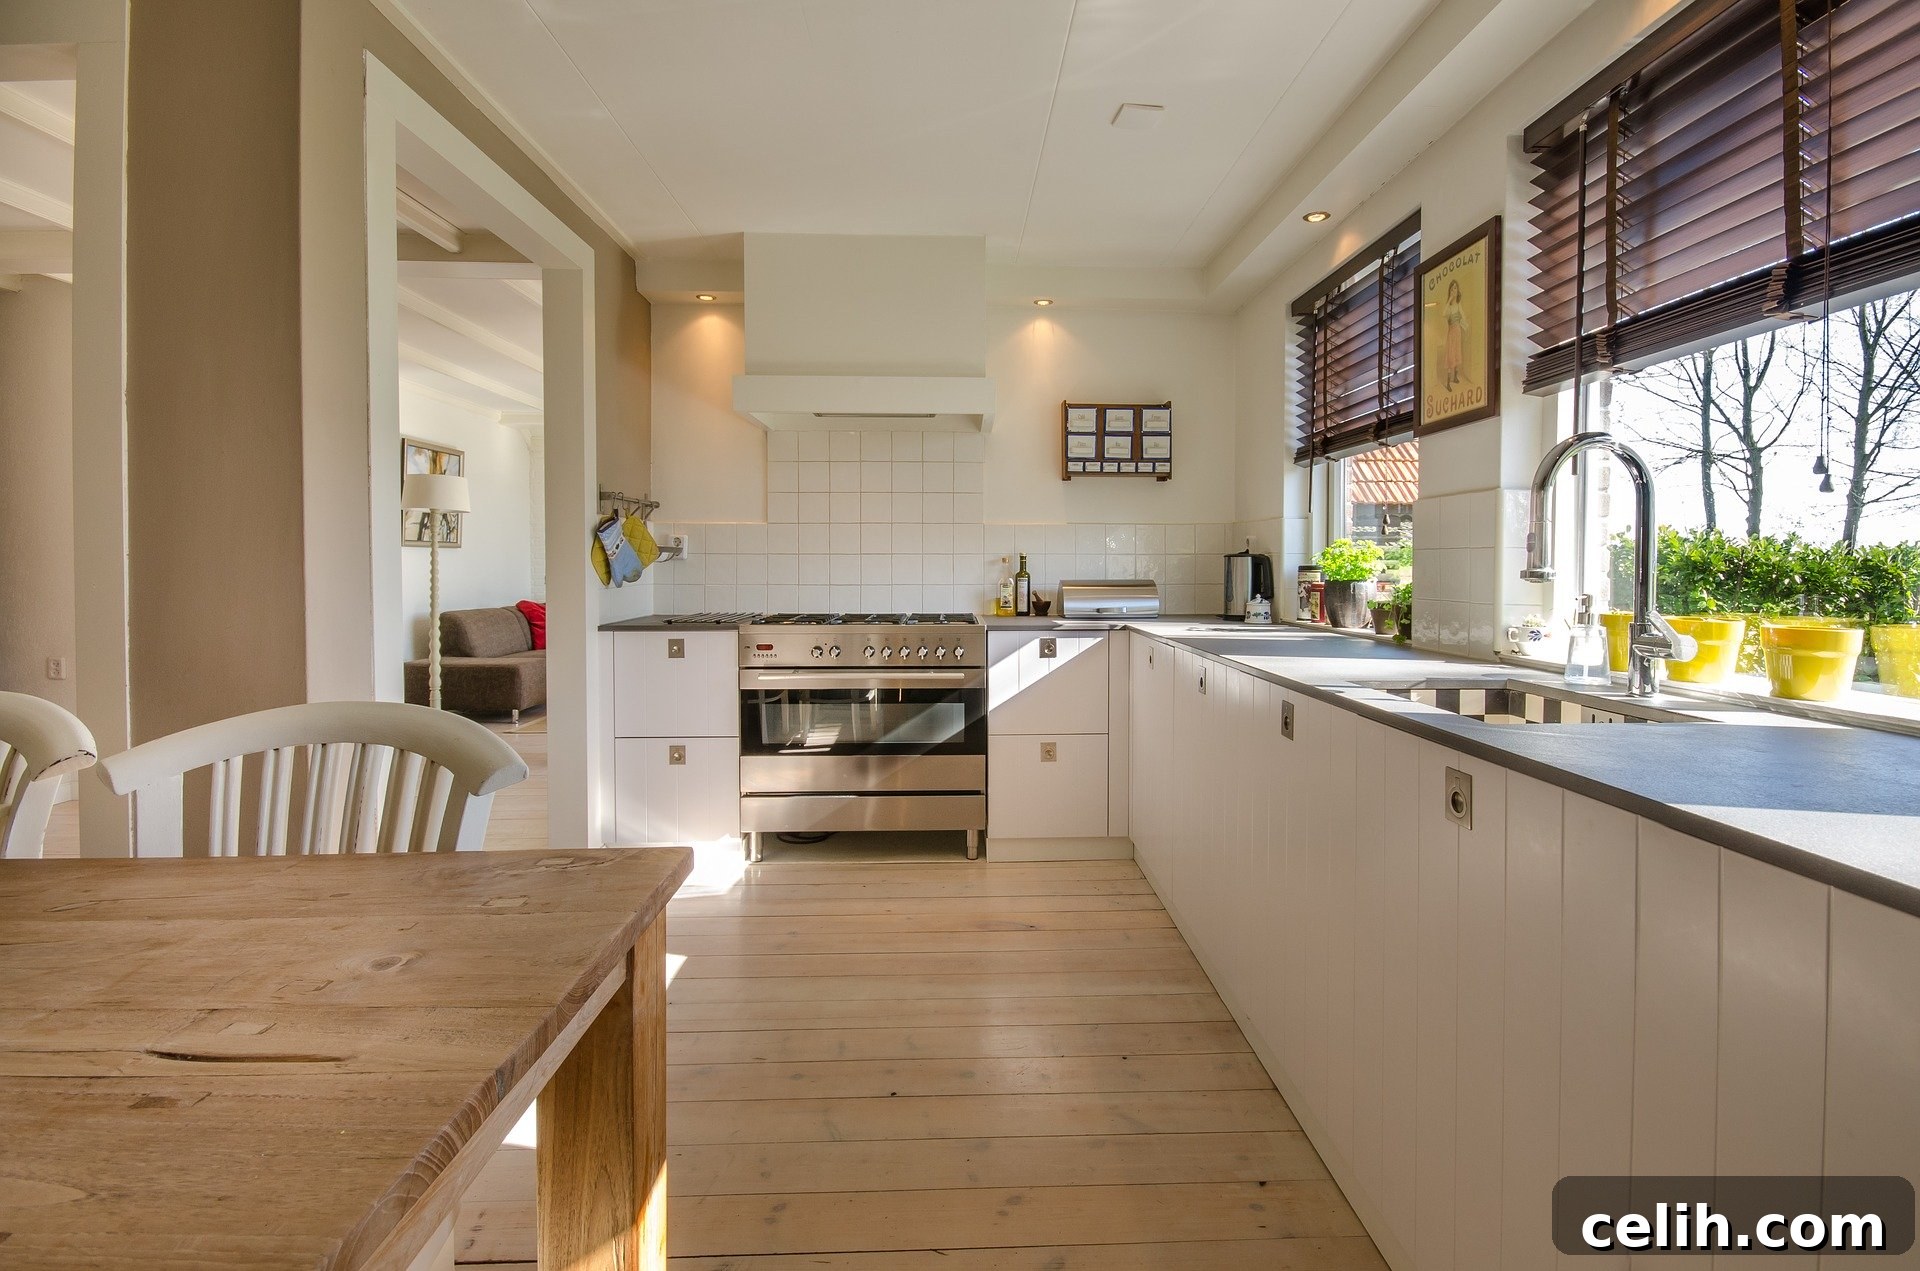
The kitchen is often considered the heart of the home, a place where memories are made and culinary adventures unfold. While a full kitchen replacement can be an incredibly costly and disruptive undertaking, there’s abundant good news for those seeking a fresh look without breaking the bank. With a strategic approach involving paint, a few key accessories, and perhaps a dedicated weekend or two, you can dramatically rejuvenate your kitchen, making it feel brand-new and entirely yours.
- Paint Your Cupboards for a Dramatic Refresh – One of the most impactful yet affordable ways to completely transform your kitchen’s aesthetic is by painting your existing cupboards. This simple project can update dated cabinetry and dramatically alter the room’s mood. Start by thoroughly cleaning and degreasing the cupboard doors and frames. Lightly sand the surfaces to create a good key for the paint, and then apply a suitable primer. It’s crucial to select paint specifically designed for the material of your cabinets – for instance, laminate or plastic-covered MDF surfaces require specialized adhesive paints. Using a high-quality roller will help achieve a smooth, professional-looking finish, free from brush marks. Once the paint is dry, elevate the transformation by installing new handles or knobs. These small hardware changes can have an immense effect, instantly modernizing the entire kitchen. You’ll find a vast selection of styles, from sleek minimalist designs to ornate vintage-inspired options, readily available online and at local DIY stores. This project is a fantastic way to completely transform a kitchen on a budget.
- Replace the Taps for Instant Style – Upgrading your kitchen faucet is a surprisingly effective way to add a touch of modern luxury. Swapping out old, worn taps for a fancy new pull-out mixer tap or a sleek, contemporary design can significantly enhance both the functionality and visual appeal of your sink area. Modern taps often feature improved water efficiency and ergonomic designs, making daily tasks more enjoyable. This is typically a straightforward plumbing project that many DIY enthusiasts can confidently tackle with basic tools and a good tutorial. Ensure you turn off the water supply before starting, and take care to seal all connections properly to prevent leaks.
- Swap Tiles for Glass Splashbacks or Creative Alternatives – While traditional tile splashbacks remain a popular choice, exploring alternatives can inject a unique and modern vibe into your kitchen. Colored glass splashbacks, for example, offer a stylish, seamless, and incredibly easy-to-clean surface. For a flawless installation, the wall behind the hob or sink will need to be perfectly smooth before applying the adhesive. The sleek, reflective quality of glass can also help to brighten and visually expand your kitchen. If bespoke glass isn’t within your budget or comfort zone, consider glass mosaic tiles, which come in an array of finishes, patterns, and colors, allowing for intricate designs without the need for extensive plastering. Other innovative splashback ideas include metallic panels, patterned wallpaper sealed with clear acrylic, or even durable, washable paint in a contrasting color.
- Enhance Lighting and Accessories – Beyond major surfaces, smaller details can make a big difference. Upgrading your kitchen lighting, perhaps by adding under-cabinet LED strips or replacing an outdated ceiling fixture, can dramatically improve both ambiance and functionality. Introduce some open shelving to display aesthetically pleasing dinnerware or cookbooks, or add some vibrant plants to bring a touch of nature indoors. Thoughtful accessories like a stylish fruit bowl, a new set of tea towels, or a modern clock can further personalize the space and complete your kitchen’s fresh new look.
Bathroom Makeovers: Creating a Spa-Like Retreat
The bathroom, often a functional space, holds immense potential to be transformed into a personal oasis. Older bathrooms, in particular, often suffer from outdated fixtures and lack the modern comforts we desire. A few strategic updates can elevate your bathroom from purely practical to wonderfully indulgent.
One immediate and impactful upgrade is to replace an old-fashioned radiator with a contemporary electric towel radiator. These versatile units serve a dual purpose: efficiently heating your bathroom while simultaneously warming and drying your towels. You can choose from a vast selection of designs, including sleek ladder styles that maximize towel hanging space, minimalist racks that blend seamlessly into modern decor, or even column radiators that offer a classic touch. Websites like justradiators.co.uk provide an excellent range of radiators, valves, and accessories to suit any aesthetic, ensuring you find the perfect match to enhance your bathroom’s style and functionality. Whether you lean towards a cutting-edge design or prefer the timeless elegance of a traditional column radiator, this upgrade will significantly improve both the comfort and visual appeal of your bathroom.
If your existing radiator is perfectly functional, shift your focus to other elements that can refresh the space. A smart new roman blind or a funky, eye-catching shower curtain can instantly update the room’s textiles. Pair these with matching accessories, such as a new soap dispenser, toothbrush holder, and bath mat, to create a cohesive and polished look. Don’t underestimate the power of color and pattern in these smaller items to inject personality.
For those feeling adventurous, consider a creative wall treatment. You could even paint a tranquil beach mural on an accent wall to add some extra pizazz and a sense of escapism. There are many fantastic Bob Ross tutorials on YouTube that offer easy-to-follow guidance for creating stunning landscape paintings, even for novice artists. Alternatively, explore removable wallpaper or stenciling for intricate patterns without the permanence of paint. Don’t forget the details: a new, elegant mirror can open up the space, fresh grout lines can make old tiles look new, and a strategically placed plant can add a touch of natural vitality.
Stairs Makeover: Elevating Your Entryway and Hallway
The staircase is often the first thing guests see upon entering your home, yet it’s frequently overlooked in renovation plans. If your stairs are currently covered in a worn-out, ratty old carpet, consider this your cue to rip it up immediately! There’s no longer any excuse for enduring an unsightly old carpet when a world of creative possibilities awaits your staircase. Unleash its potential to become a true design feature – for inspiring ideas, you can check out our previous post for some creative ideas that will get your imagination flowing.
Transforming your stairs is a rewarding weekend project. Begin by carefully removing all the old carpet, underlay, nails, and staples. This step is crucial, as any leftover metal can quickly tear up your sandpaper. Once the stairs are clear, spend time sanding down both the treads (where you step) and the risers (the vertical panels between steps). A hand-held sander can work for smaller areas, but for a quicker and more efficient job, consider hiring an industrial floor sander. Aim for a smooth, splinter-free surface, paying extra attention to any rough patches.
Once the sanding is complete and the dust has been thoroughly cleaned, apply a suitable primer to all wooden surfaces. This will ensure better adhesion and a more durable finish for your chosen topcoat. For the final finish, apply several layers of hard-wearing gloss paint. The multiple coats are essential for protection against daily foot traffic, ensuring your beautiful new stairs remain pristine for years to come. When it comes to color, you have endless options. Choose shades that complement your existing decor for a cohesive look, or embrace a bold, playful approach with a vibrant rainbow palette, making each riser a different color. You could also experiment with two-tone stairs, painting the risers in a contrasting color to the treads for a striking effect.
But why stop at paint? The risers offer a fantastic canvas for creative expression. Consider crafting a personalized collage using magazine cutouts, cherished postcards, or even family photos. Arrange your chosen images on the risers to create a captivating visual story. Once the collage is perfectly dry, seal it with several coats of clear gloss varnish for protection and durability. This will safeguard your artwork from wear and tear, allowing you to proudly view your unique picture gallery every time you ascend the stairs. Other innovative ideas for risers include applying patterned wallpaper, stenciling intricate designs, or using decorative decals for a modern twist. Don’t forget the banister and newel posts; a fresh coat of paint or a deep stain can complete the transformation, ensuring your staircase is a stunning focal point in your home.
Bedroom Makeover: Crafting Your Personal Haven
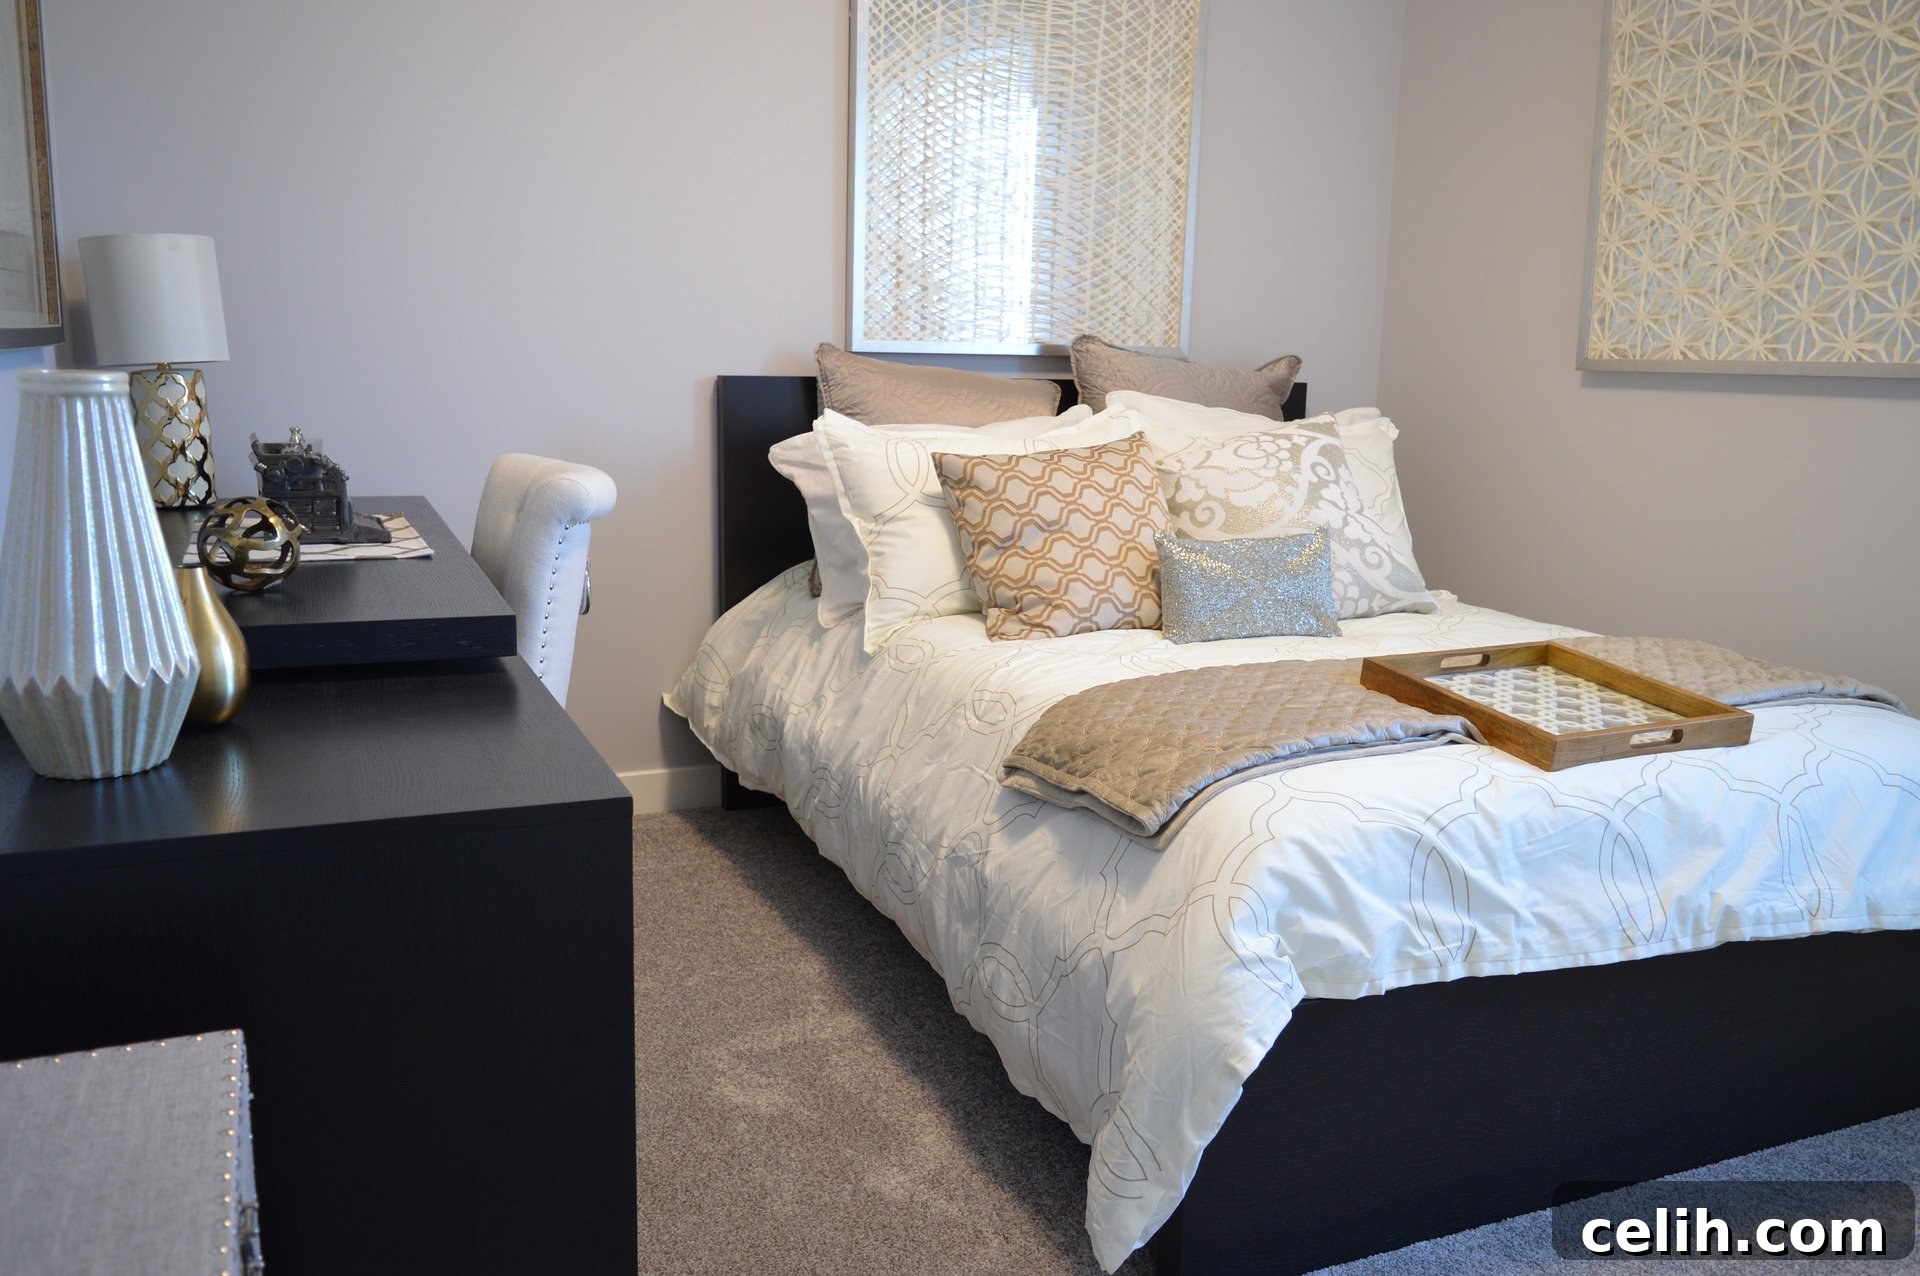
Considering we spend a significant portion of our lives in bed – approximately 33 years over an average lifetime – it’s paramount that our bedrooms serve as a comfortable, aesthetically pleasing, and deeply personal sanctuary. Fortunately, achieving a stylish and refreshing bedroom makeover doesn’t demand excessive effort or expense. With a few key changes, you can transform your sleeping space into a true retreat.
Begin by decluttering and updating your window treatments. Ditch heavy, old curtains that can make a room feel cramped and dated, and replace them with sleek, minimalist blinds. Standard-sized blinds are often surprisingly inexpensive and widely available at home decor stores like Dunelm. However, if your windows are uniquely sized, investing in a custom blind might be necessary for a perfect fit. Alternatively, for a truly personalized touch and a rewarding DIY project, consider making your own using a blind kit and a beautiful fabric of your choice. It’s often less daunting than it seems; Sara’s step-by-step tutorial provides excellent guidance to help you through the process, allowing you to tailor your window dressing to your exact preferences.
Next, turn your attention to the floor. If you have carpet, remove it to reveal the floorboards beneath. This weekend project offers immense satisfaction and a dramatic change. While a hand-held sander can be used, renting an industrial floor sander will significantly speed up the job and achieve a more uniform finish. Once sanded and thoroughly cleaned, you have several options: for a chic, airy, and slightly rustic feel, opt for whitewashed floorboards. If you’re drawn to a French country-style aesthetic, paint your floorboards in soft pastel hues like pale blue, serene green, or a sunny lemon yellow. For a classic, warm look, consider staining the wood to enhance its natural grain, then seal it with several coats of durable varnish for protection.
Lighting plays a crucial role in setting the mood of a bedroom. Replace an uninspired or ugly pendant light with a more dramatic fixture, such as an elegant chandelier for a touch of glamour, or a modern geometric design for a contemporary feel. Supplement overhead lighting with softer, ambient sources. Invest in some pretty string lights to drape above your bed or around a mirror, add stylish bedside lamps for reading, and perhaps a floor lamp to illuminate a cozy corner. Layering different types of lighting creates depth and allows you to adjust the ambiance to suit any mood or activity.
If you’re looking to make a more significant impact and truly push the boat out, consider upgrading your furniture. Instead of cheap, mass-produced MDF pieces, spend a weekend exploring local junk shops, antique markets, or charity stores for solid, old-fashioned dark wood items. These forgotten gems often boast superior craftsmanship and character. With a little effort, these pieces can be sanded down, painted in a fresh color, and distressed for a charming shabby-chic look. Experiment with different paint finishes, add new hardware, or even decoupage them for a truly unique statement piece. This approach not only provides high-quality furniture but also gives your bedroom a curated, individualistic feel that mass-produced items simply can’t replicate.
We sincerely hope this extensive guide has provided you with ample food for thought and inspired you to embark on your next home improvement projects. Remember, even small changes can create a profound impact on the look and feel of your living space. Have immense fun with your projects, embrace the creative process, and don’t forget to capture and share the fabulous results on social media to inspire fellow DIY enthusiasts and home decor lovers!
All image credits: Pixabay