
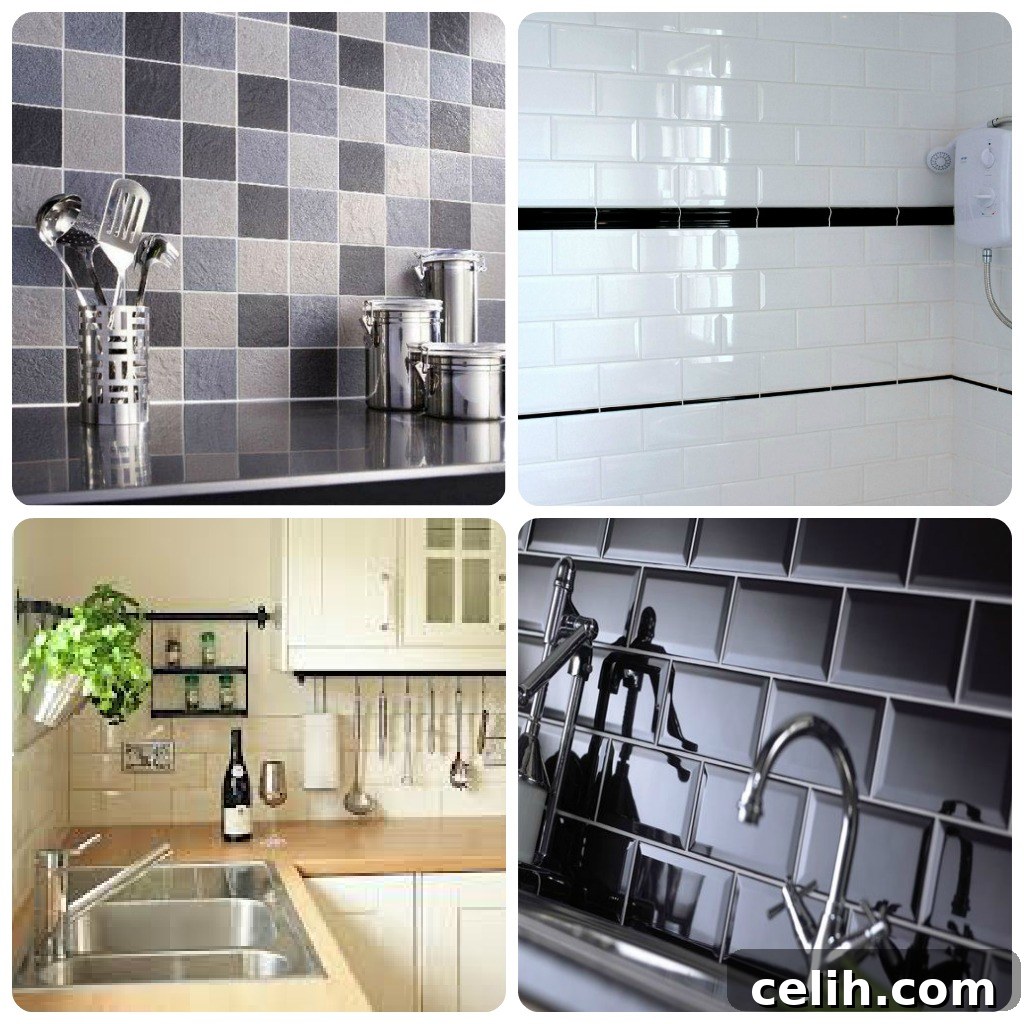
Achieving a Professional Tile Finish: Your Ultimate DIY Guide to Tiling Walls
Embarking on a tiling project for your bathroom, kitchen, or utility room walls might initially seem like a formidable challenge, conjuring images of potential DIY mishaps. However, with the right approach and a clear understanding of the process, achieving a stunning, professional-grade finish is entirely within your reach. This comprehensive guide will demystify the art of wall tiling, transforming what seems like a daunting task into a rewarding home improvement project. Forget the bathroom-themed nightmares; all that’s truly required for a flawless result is a dash of patience, meticulous preparation, and these essential, expert tips. Let’s dive into the world of wall tiling and equip you with the knowledge to transform your spaces with confidence.
The Foundation: Preparation & Planning for Perfect Tiling
1. Essential Tile Check & Strategic Ordering
The golden rule for any tiling endeavor is to always order more tiles than your initial measurements suggest. A good practice is to aim for at least 10% extra. This seemingly small surplus serves multiple critical purposes. Firstly, it accounts for cuts, as many tiles will need to be trimmed to fit edges, corners, or around obstacles. Breakages, while hopefully minimal, are also an unfortunate reality, and having spares prevents costly delays. More importantly, ordering extra tiles from the same batch helps you manage shade variations, a common occurrence between different production runs. Tiles from distinct batches, even of the same style, can exhibit subtle color differences. Having a few extra on hand also provides invaluable spares for future repairs, ensuring a perfect match if a tile ever gets damaged. Upon delivery, meticulously inspect every tile for defects, chips, or inconsistencies in color or size to prevent issues down the line.
2. Mastering the Art of Adhesive Mixing
Proper adhesive mixing is paramount to successful tiling. Always add the adhesive powder to clean, cold water, rather than the other way around. This technique is crucial for preventing the formation of stubborn lumps, ensuring a smooth, consistent mixture that is easy to spread and provides optimal adhesion. Imagine trying to spread lumpy peanut butter – it’s not ideal for securing tiles! Using cold water is also critical, as warm or dirty water can prematurely accelerate the adhesive’s setting time, making it unworkable before you’ve had a chance to apply it. The ideal consistency should be similar to thick peanut butter or toothpaste – firm enough to hold its shape on a trowel but pliable enough to spread evenly. Utilize a paddle mixer attached to a drill for thorough blending, and remember not to mix more adhesive than you can comfortably use within its stated working time, typically 30-60 minutes, to avoid waste and maintain optimal performance.
3. Wall Preparation: The Unsung Hero of Tiling
Before any adhesive touches your wall, ensure the surface is impeccably dry, clean, and sound. A wet or damp wall will severely compromise the adhesive’s ability to bond, potentially leading to tiles detaching over time. Moisture can also contribute to mold growth behind your tiles. Beyond dryness, the wall must be free from dust, grease, loose paint, wallpaper, or any flaky material that could prevent a strong bond. Smoothness and flatness are equally vital; uneven walls will result in an uneven, unsightly tiled surface. Use a straight edge to check for undulations, filling any depressions or sanding down high spots. If your walls are made of porous materials like plasterboard, gypsum plaster, or untreated wood, applying a suitable sealant or primer is a non-negotiable step. A primer reduces the wall’s absorbency, preventing it from drawing moisture too quickly from the adhesive, which ensures a strong, durable bond and extends the adhesive’s open time.
4. Precise Wall Measurement & Strategic Layout Planning
While you certainly measured your walls before ordering tiles, a final, precise measurement just before tiling is absolutely paramount. More than just verifying quantities, this step is for meticulous layout planning. Visualizing your tile layout is critical for achieving a professional finish, especially on prominent walls. Start by identifying the most visible wall and determine the center point. Dry-laying your tiles on the floor can help you anticipate how full tiles will land and where cuts will be necessary. The goal is to avoid awkward sliver cuts at the edges, which can look unprofessional. Plan your starting point carefully; often, beginning in the center of a wall and working outwards ensures symmetry and minimizes the appearance of any imperfect cuts at less visible corners. Use a spirit level and plumb line to mark accurate horizontal and vertical guide lines on your wall, setting the stage for a perfectly aligned installation.
Executing the Tiling Process: From Application to Alignment
5. Ensuring Perfectly Straight Tiles with Battens
Achieving perfectly even and straight tile lines is a hallmark of professional work. For your first row, especially, wooden battens are indispensable guides. Fix these battens horizontally to the wall, typically one tile’s height from the floor. Starting one tile width from the floor allows for minor floor variations and provides space to cut and fit bottom tiles later if needed. Use a spirit level diligently to ensure the batten is perfectly horizontal; this first reference line will dictate the straightness of every subsequent row. Any deviation here will compound across the wall, resulting in a visibly crooked finish. Once your starting batten is secure and level, it provides a stable ledge for your first course of tiles, ensuring a flawless foundation for the rest of your project.
6. The Art of Applying Adhesive and Tiles
With your guides in place, it’s time to apply the adhesive. Using a notched spreader, apply the mixed adhesive to the wall at the thickness specified on the packaging. The size of the trowel notches will depend on your tile size; larger tiles generally require larger notches for adequate coverage. Work in small sections, ideally no larger than 1 square meter at a time. This prevents the adhesive from skinning over (drying on the surface) before you can place your tiles, which would compromise the bond. For larger or heavy tiles, consider “back-buttering” the tile itself with a thin layer of adhesive in addition to the wall. This ensures maximum contact and prevents voids. Press each tile firmly into the adhesive with a slight twisting motion. This action helps to collapse the adhesive ridges, ensures full and even contact across the entire back of the tile, and expels any trapped air bubbles, leading to superior adhesion and a durable installation. Don’t forget to use tile spacers to maintain consistent grout lines.
7. Upholding Cleanliness: Tools & Tile Surfaces
While it’s customary to allow at least 24 hours for adhesive to dry before grouting, the adhesive begins to cure and harden much more quickly than that. Tiling a wall is a multi-stage process that cannot be rushed. Therefore, it is absolutely critical to clean your tools and the tile surfaces as you go. Any excess adhesive that squeezes out from between tiles or gets onto the tile faces should be wiped away immediately with a damp sponge. Once cured, adhesive is incredibly difficult to remove without potentially damaging the tile surface or the grout lines. Cleaning grout lines thoroughly at this stage will ensure proper grout adhesion later and prevent staining. Regularly cleaning your trowel and other tools will also extend their lifespan and ensure they perform optimally throughout your project.
Finishing Touches & Long-Term Maintenance
8. Tackling Complex Cuts and Shaped Tiles Last
Shaped tiles, or tiles requiring intricate cuts around obstacles like pipework, light switches, or window frames, are often the most challenging aspect of a tiling project. It’s always best to leave these until last. By this point, you will have gained valuable experience and confidence from installing the full field tiles. Whether you need simple straight cuts for corner pieces or more complicated L-shapes or circular holes, careful measurement and precise execution are paramount. Utilize appropriate tools such as a manual tile cutter for straight lines, a wet saw for more precise and faster cuts, or tile nippers and hole saws for curved or irregular shapes. Always mark your cuts clearly and take your time to avoid cracking or shattering tiles, which can be both frustrating and wasteful. Remember to wear appropriate safety gear, including eye protection, gloves, and hearing protection, especially when using power tools.
9. The Crucial 24-Hour Waiting Period Before Grouting
Patience truly is a virtue when it comes to tiling. After setting your tiles, it is absolutely essential to wait a minimum of 24 hours before applying grout. In some environments, particularly cooler or more humid conditions, this waiting period might extend to 36 hours or even longer. This crucial time allows the tile adhesive to fully cure and develop its maximum bond strength. Rushing the grouting process can have serious repercussions: tiles might shift, grout may not adhere properly, and moisture trapped beneath could lead to long-term issues. Always refer to the adhesive manufacturer’s specific instructions, as drying times can vary based on the product, tile type, and ambient conditions. Giving the adhesive ample time to set ensures a stable and durable foundation for your grout.
10. Long-Term Protection with Regular Sealer Application
Once your grout has fully dried and cured (typically 24-72 hours after application, check manufacturer guidelines), applying a high-quality waterproof sealer is a vital step for the longevity and aesthetic appeal of your tiled surface. Grout, being porous, is susceptible to absorbing moisture, stains, dirt, and developing mold and mildew. A sealer penetrates the grout, creating a protective barrier that repels water and prevents these common issues. For optimal protection, plan to reapply this sealer every six months, particularly in high-moisture areas like bathrooms and kitchens, or areas subject to heavy use. Regular sealing not only extends the life of your tiling and grout but also makes routine cleaning much easier, keeping your walls looking fresh and new for years to come. Ensure the grout lines are clean and dry before applying the sealer for best results.
Tiling your walls doesn’t have to be a source of stress. By following these detailed steps, from meticulous preparation and precise execution to diligent cleaning and ongoing maintenance, you can confidently achieve a professional, durable, and beautiful tiled finish. Embrace the process, take your time, and enjoy the satisfaction of transforming your home with your own hands. Happy tiling!
***This guest article was written by Tom McShane on behalf of Crown Tiles ***