
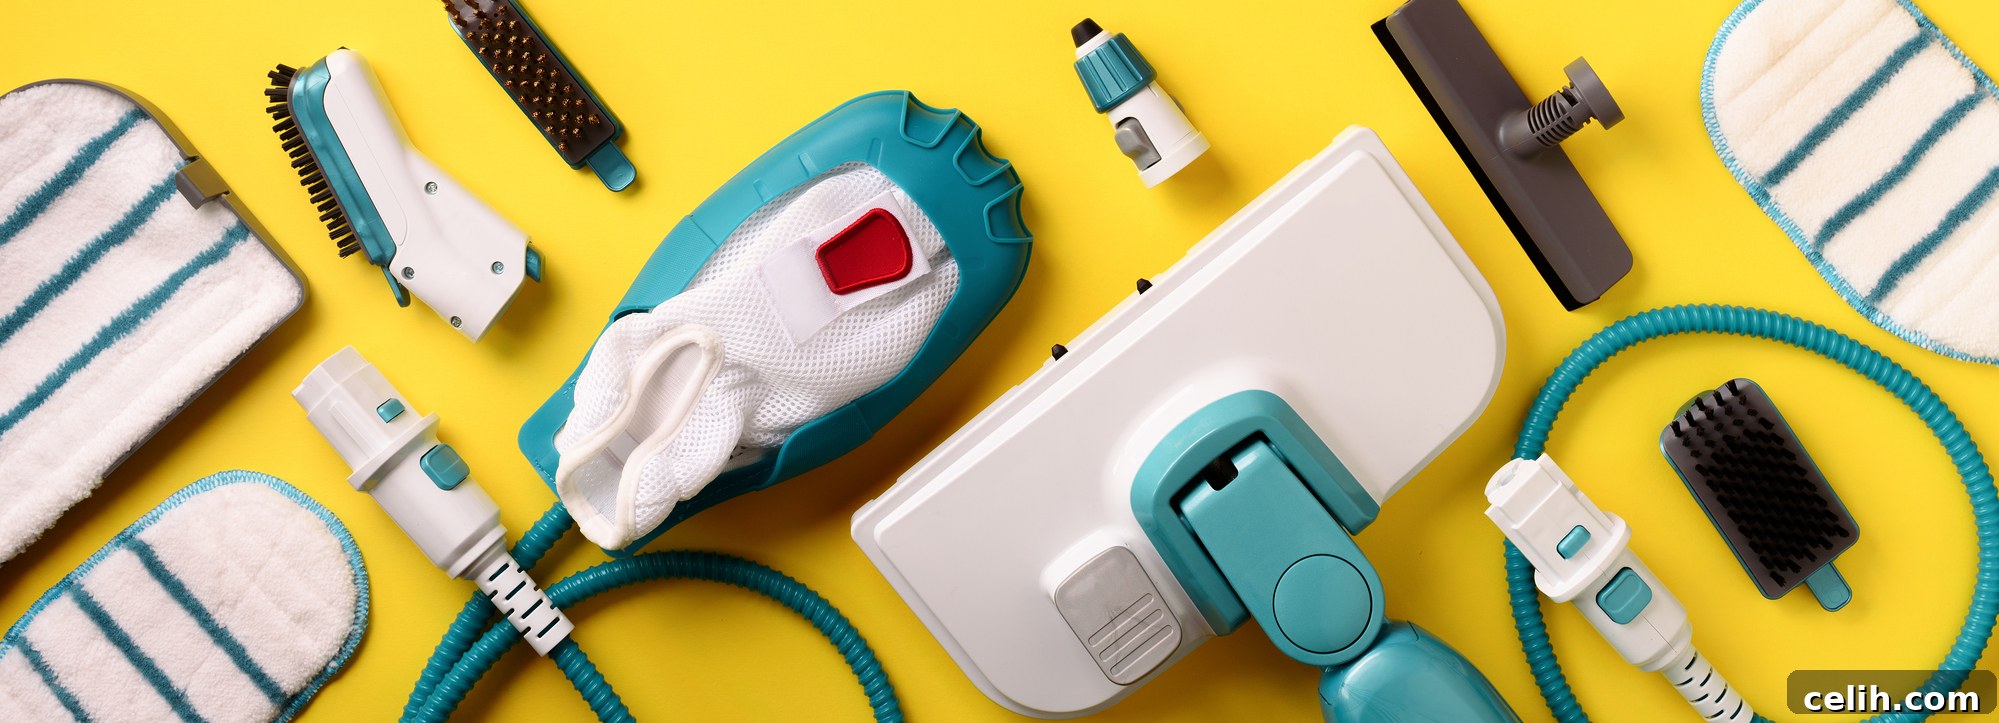
As the days grow longer and a refreshing breeze fills the air, spring heralds the perfect opportunity to revitalize our homes. While the thought of a complete spring clean might feel daunting, tackling a few key areas can make a profound difference, transforming your living space into a haven of freshness and order. More than just tidying up, spring cleaning is about creating a healthier, more organized, and aesthetically pleasing environment for the warmer months ahead. It’s a chance to banish winter’s dust and gloom, enhance indoor air quality, and even boost your mood. Whether you prefer a methodical approach or an energetic blitz, these five essential tasks are guaranteed to bring a renewed sense of clarity and cleanliness to your home, making every effort worthwhile.
1. Deep Clean and Organize Your Refrigerator
The refrigerator is often the heart of the kitchen, yet it can quickly become a forgotten zone for spills, expired foods, and lingering odors. A thorough spring clean of your fridge is crucial not only for maintaining optimal hygiene but also for improving your appliance’s efficiency and extending the life of your groceries. Start by completely emptying the fridge. Place all perishable items, especially raw meats, on ice packs in a cooler or the sink to keep them cool and safe. Other less fragile items can be left on a countertop for a short period while you clean.
Once empty, remove all shelves, drawers, and removable compartments. Wash these components thoroughly in warm, soapy water. For stubborn stains or sticky residue, a paste of baking soda and water can work wonders. Rinse them well and dry completely before returning them to avoid any moisture buildup. Next, turn your attention to the interior surfaces of the fridge. Use a solution of warm water mixed with a dash of washing-up liquid or a natural cleaner like white vinegar and water (which also acts as a deodorizer). Wipe down all walls, the ceiling, and the door seals, paying special attention to corners and crevices where crumbs and spills tend to hide. For a truly fresh finish, follow with a clean, damp cloth and then dry everything with kitchen roll or a microfibre cloth.
Before restocking, take the opportunity to declutter. Discard any items that are past their expiration date, show signs of spoilage, or have been open for too long. Condiments, sauces, and jars should be checked carefully. Wipe down bottles and containers before putting them back. When reorganizing, remember the “cold zones”: the lower shelves are typically the coldest, making them ideal for raw meats and poultry to prevent cross-contamination. The middle shelves are best for dairy products, eggs, and leftovers. The top shelf and door are generally warmer, suitable for condiments, drinks, and less perishable items. Group similar foods together – all dairy in one section, all produce in designated drawers – to enhance visibility and make items easier to find. This strategic organization not only keeps your fridge tidy but also helps reduce food waste by ensuring nothing gets forgotten at the back.
2. Declutter and Reorganize Kitchen Cabinets and Pantry
After conquering the fridge, extending your organizational efforts to your kitchen cabinets and pantry is a natural next step. This task offers immense rewards, transforming chaotic storage into an efficient, user-friendly space. Over time, cabinets accumulate an assortment of expired goods, rarely used gadgets, and mismatched containers. Spring is the perfect time to give these vital storage areas a much-needed overhaul.
Begin by emptying one cabinet or pantry shelf at a time. This prevents overwhelming yourself and allows for a focused approach. As you remove items, categorize them into three piles: keep, donate, or discard. Be ruthless with anything expired, stale, or unrecognizable (those label-less tins or ancient spice jars from 2002 often fall into this category). For items you rarely use but are still good, consider if they truly belong in prime cabinet real estate or if they can be stored elsewhere, perhaps in a less accessible spot or donated if they’re still functional.
Once empty, wipe down the interior surfaces of your cabinets and shelves, removing crumbs, dust, and any sticky residue. Line shelves with new liners if needed for a fresh look and added protection. When returning items, think about accessibility and frequency of use. Everyday plates, bowls, and glasses should be stored in easily reachable cabinets. Pantry items can be grouped by type – baking supplies, breakfast cereals, snacks, pasta – to create logical zones. Consider investing in kitchen organizer shelves, expandable shelf organizers, stackable bins, or clear containers. These tools maximize vertical space, help you see what you have at a glance, and prevent items from getting lost at the back. Labeling containers for bulk items like flour, sugar, or rice further enhances organization and freshness. By creating a system that works for your cooking habits, you’ll not only enjoy a cleaner kitchen but also streamline meal preparation and minimize unnecessary purchases, making your kitchen a more enjoyable space to be in.
3. Deep Clean Your Carpets
Carpets bear the brunt of daily foot traffic, trapping dirt, dust, allergens, and pet dander. Even with diligent regular vacuuming, deep-seated grime accumulates over the colder months, making spring an ideal time for a thorough carpet refresh. A deep clean not only improves your home’s appearance but also significantly enhances indoor air quality and can extend the life of your carpeting. For households with children, pets, or allergy sufferers, this step is particularly vital.
Before any deep cleaning, give your carpets a comprehensive vacuuming. Move furniture, if possible, to reach every hidden corner and along baseboards. This preliminary step removes loose dirt and debris, allowing the deep cleaning method to be more effective. When it comes to deep cleaning, you have a couple of options: professional services or a DIY approach. Professional carpet cleaners use powerful equipment and specialized solutions to extract dirt, stains, and allergens, often leaving carpets looking brand new. They are an excellent choice for heavily soiled carpets or for those who prefer convenience.
If you choose the DIY route, you can rent a carpet cleaning machine (often called a steam cleaner or carpet extractor) from many hardware or grocery stores. These machines use a mixture of hot water and cleaning solution to penetrate carpet fibres, loosen dirt, and then extract the dirty water. Carefully follow the manufacturer’s instructions for the machine and the cleaning solutions. Test a small, inconspicuous area first to ensure there’s no discoloration or damage. Work in sections, moving slowly to allow the machine to do its job thoroughly. Pay extra attention to high-traffic areas and any visible stains. For stubborn spots, pre-treat them with a suitable carpet stain remover before running the machine over them. After cleaning, ensure proper ventilation by opening windows and using fans to help the carpets dry quickly. This prevents musty odors and the potential for mold growth. A freshly cleaned carpet not only looks brighter and feels softer but also imparts a noticeable feeling of freshness throughout the entire room, making your home feel truly spring-ready.
4. Vacuum and Clean Upholstery
Our upholstered furniture—sofas, armchairs, and decorative cushions—are often well-loved gathering spots, especially during the colder months. Unfortunately, they also act as silent collectors of dust, crumbs, pet hair, skin cells, and allergens. Spring is the perfect time to give your upholstery the attention it deserves, refreshing its appearance and contributing to a cleaner, healthier living environment. This task is especially important for households with pets, whose dander and hair can deeply embed themselves into fabric.
Start by removing all removable cushions from sofas and chairs. You might be surprised by what treasures (or forgotten snacks!) you discover beneath them. Use your vacuum cleaner’s crevice tool to thoroughly clean all the nooks and crannies of the furniture frame, reaching into seams, under arms, and along the backrest. Switch to the upholstery attachment (a flat, wider nozzle, often with a brush) to vacuum the entire surface of the furniture frame, including the back and sides. Pay extra attention to areas where pet hair or dust tends to accumulate. For the cushions themselves, vacuum all sides carefully.
After vacuuming, check the care labels on your cushion covers and upholstery. Many modern cushion covers are machine washable, which can be incredibly effective for removing dirt and freshening the fabric. If they are, wash them according to the label’s instructions. For upholstery that cannot be machine washed, or if you only need a light refresh, a simple spot clean can work wonders. Dampen a clean, white cloth with a mild upholstery cleaner (test in an inconspicuous area first) or a solution of water and a tiny amount of mild soap, then gently blot any visible marks or soiled areas. Avoid oversaturating the fabric, and always work from the outside of a stain inwards to prevent spreading. For deeper cleaning, consider professional upholstery cleaning services, especially for delicate fabrics or significant staining. Regularly rotating and fluffing cushions, along with using throws or blankets, can also help protect your upholstery and keep it looking its best between deep cleans. A refreshed sofa not only looks more inviting but also feels cleaner and more comfortable for everyone.
5. Wipe Down Doors, Door Frames, and Baseboards
Often overlooked, doors, door frames, and baseboards are magnets for dust, fingerprints, scuff marks, and general grime. While they might not be the first things that come to mind during a spring clean, giving them a thorough wipe-down can dramatically enhance the overall cleanliness and brightness of your home. This satisfying task creates a noticeable difference, making rooms feel instantly fresher and smarter.
Begin by dusting these surfaces with a dry microfiber cloth or a duster to remove loose particles. This prevents turning dust into muddy streaks when you introduce moisture. Next, prepare a simple cleaning solution: a few drops of mild washing-up liquid or all-purpose cleaner mixed with warm water in a spray bottle or a bucket. For painted surfaces, particularly around high-touch areas like door handles and light switches, a gentle approach is key to avoid damaging the finish. Spray the solution onto a clean, damp microfiber cloth, rather than directly onto the surfaces, to control moisture levels.
Wipe down all sides of your doors, paying close attention to the areas around handles, where sticky fingers and grubby paws leave their marks. Don’t forget the tops and bottoms of doors, which can accumulate dust. Move on to the door frames, wiping away dust and smudges from the top trim down to the side casings. Finally, tackle the baseboards throughout your home. These low-lying areas often collect a surprising amount of dust, pet hair, and scuff marks from shoes or vacuum cleaners. For more stubborn scuffs on painted baseboards, a magic eraser can be effective, but always test it in an inconspicuous area first, as it can sometimes remove paint if used too aggressively.
As you clean, rinse your cloth frequently to avoid spreading dirt. The immediate visual impact of this task is truly rewarding. Removing those subtle layers of grime and marks makes painted surfaces look crisp and clean, instantly brightening hallways and rooms. Incorporating this detailed attention to doors, frames, and baseboards into your spring cleaning routine ensures a comprehensive refresh, leaving no corner of your home untouched by the rejuvenating spirit of spring.